How to Make Ocean Playdough: A Step-by-Step Guide to Crafting Magical Seas
Hello, fellow crafters! Today, I’m excited to share with you one of my absolute favorite DIY projects—making Ocean Playdough! As a seasoned crafter, I can assure you this delightful dough is not just a fun activity but also a wonderful way to explore textures, colors, and even the science behind play. Whether you’re a parent looking for engaging activities to share with your kids, a teacher seeking creative classroom materials, or simply someone who enjoys the art of crafting, this ocean-themed playdough will transport you straight to the sea.
What is Ocean Playdough?
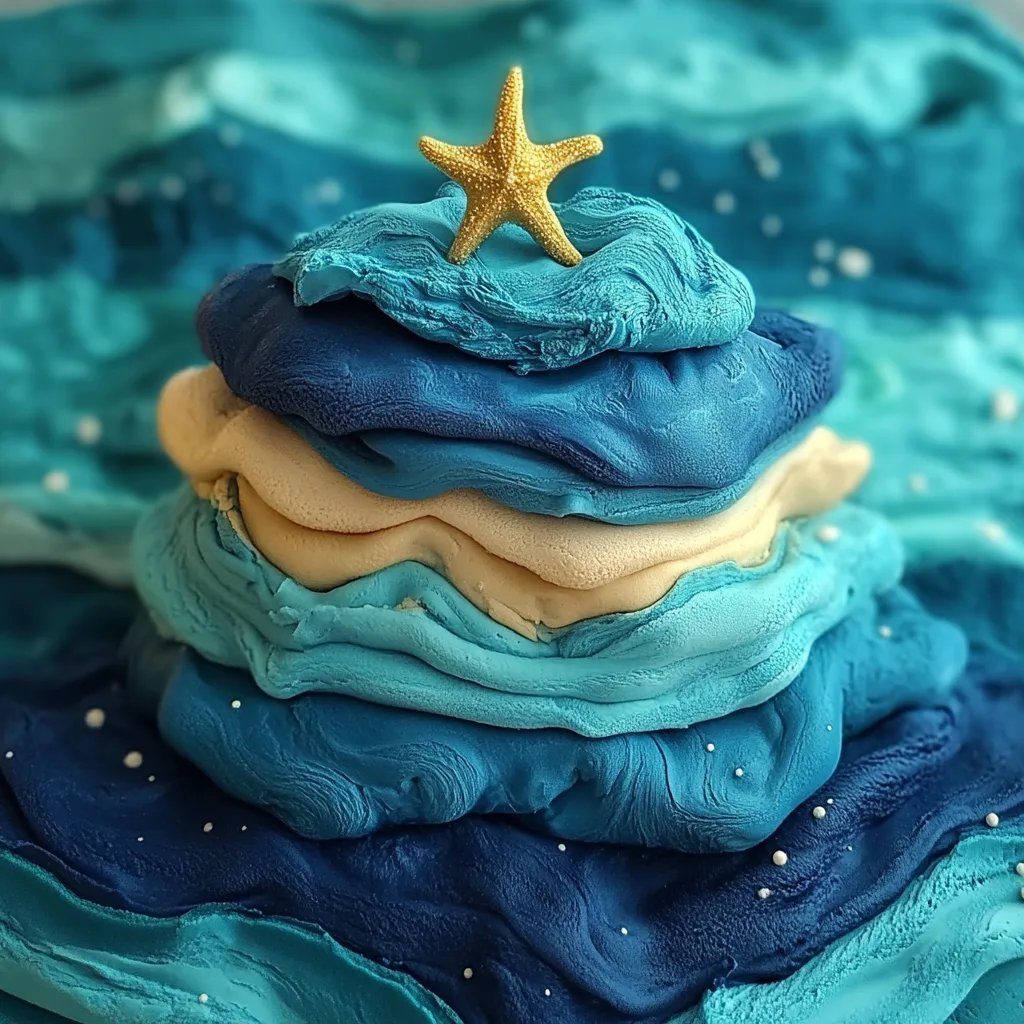
Ocean Playdough is a colorful, sensory-rich dough that captures the essence of the sea. It often features vibrant shades of blue, green, sandy beige, and glittery details to mimic ocean waves, sand, and even treasures like shells and starfish. It’s a versatile material that can be used for imaginative play, educational activities about marine life, or simply as a calming sensory experience. Not only does it encourage creativity, but it also promotes fine motor skills in little hands—what's not to love?
In this post, I’ll walk you through a detailed, step-by-step process to make your own Ocean Playdough. This simple and accessible project only requires a few basic ingredients, most of which you probably have at home. So, roll up your sleeves, and let’s dive into the wonderful world of Ocean Playdough!
What You’ll Need
Before we embark on our crafting journey, here’s a handy list of materials you’ll need to create your Ocean Playdough:
Ingredients:
- 2 cups all-purpose flour
- 2 cups water
- 1 cup salt
- 2 tablespoons vegetable oil
- 2 tablespoons cream of tartar
- Food coloring (blue and green are ideal for an ocean theme)
- Optional: Glitter (for a shimmery effect), sand, small plastic sea creatures, and shell shapes
Tools:
- A large mixing bowl
- A saucepan (for cooking the dough)
- A spoon or spatula
- Airtight container (for storage)
Step-by-Step Tutorial
Step 1: Mixing the Ingredients
First, I like to gather all my ingredients and tools to ensure a smooth crafting process. In a large mixing bowl, combine the 2 cups of flour, 1 cup of salt, and 2 tablespoons of cream of tartar. This combination creates the base of your playdough, giving it that perfect, pliable texture.
Tip: Make sure you whisk these dry ingredients very well; clumps can lead to spots in your dough that don’t mix properly later.
Step 2: Preparing the Liquid Mixture
Next, grab your saucepan and add the 2 cups of water, 2 tablespoons of vegetable oil, and desired food coloring (start with a few drops). If you want a deeper ocean color, you can always add more later.
Make sure to mix the colors thoroughly so that you get a solid ocean hue throughout your playdough when it is cooked.
Why It Matters: The oil helps to make the dough smoother and adds a level of moisture, while the salt acts as a preservative to make the dough last longer.
Step 3: Cooking the Dough
Now, it’s time to combine the dry and liquid ingredients. Pour your flour mixture into the saucepan, and heat over medium heat.
Pro Tips:
- Stir continuously to prevent any lumps from forming. This step is crucial as it will help the dough solidify into a ball that you'll be able to knead.
- Depending on your stove, this could take anywhere from 5-10 minutes. Be patient, and keep stirring!
As you mix, you will notice the dough start to clump together and pull away from the sides of the saucepan. This is a good sign—it means your playdough is nearly ready!
Step 4: Kneading the Dough
Once the dough is fully formed, carefully remove it from the saucepan (it will be hot, so using a spatula or letting it cool slightly is wise!). Knead it on a clean surface for a couple of minutes. This step helps to ensure that your playdough is smooth and not flaky.
Safety Warning: Always make sure that the dough has cooled down enough to handle. I usually let it sit for about 5 minutes before kneading, but you can always test a small bit to check.
Step 5: Adding Sparkle and Texture
Here comes the fun! You can mix in your optional ingredients, like glitter for shimmer, or sand for a beach-like texture. This personalization is where you can get creative. Even add little plastic sea creatures and shell shapes to the dough for added fun and detailing!
Step 6: Storage
Once you’re satisfied with your Ocean Playdough, store it in an airtight container to keep it fresh. If done right, it should last for several weeks—just check for any signs of dryness or spoilage!
Troubleshooting
Sometimes things may not go exactly as planned, and that’s okay! Here are a few common issues and their fixes:
- Dough too sticky: If your playdough turns out sticky, you can add a little more flour while kneading until it reaches that ideal consistency.
- Dough too dry: If the dough feels crumbly or dry, try adding a touch of water or oil slowly, mixing until the right texture is achieved.
Creative Variations
While Ocean Playdough in basic form is fantastic, I encourage you to experiment! Here are a few fun variations:
- Scented Ocean Playdough: Add a few drops of essential oils like eucalyptus or peppermint to mimic a fresh ocean breeze.
- Layered Dough: Create layers of different colors to represent various ocean depths. This aesthetically pleasing result will captivate both kids and adults alike!
- Ocean-Themed Tools: Use small cookie cutters or rolling pins shaped like sea creatures to take the play to another level!
Final Thoughts
Crafting Ocean Playdough is an incredibly rewarding experience that not only fosters creativity but also makes for great bonding moments between family members. Remember to relax and enjoy the process—crafting is about exploration and expressing yourself, whatever your age may be.
I hope this in-depth guide inspires you to make your very own Ocean Playdough. If you decide to try it out, I’d love to hear about your experience, any creative twists you added, or questions you may have. Dive into creativity, and let the ocean of inspiration flow! Happy crafting!