How to Make Ocean Playdough: A Step-by-Step Guide for Crafters of All Ages
As an experienced crafter and a lover of all things creative, I'm excited to share one of my favorite DIY projects with you: Ocean Playdough! This vibrant, sensory-rich dough not only provides endless imaginative play for children but can also be a therapeutic activity for adults. Whether you’re a parent looking to keep your little ones entertained or a teacher seeking engaging activities for your classroom, this ocean-themed playdough is sure to capture attention and inspire creativity.
In this article, I’ll walk you through the entire process of making Ocean Playdough, sharing tips and insights that I’ve picked up along the way. Plus, I’ll sprinkle in personal anecdotes and alternative options for those who might want to customize their playdough experience. Let’s dive in!
Why Ocean Playdough?
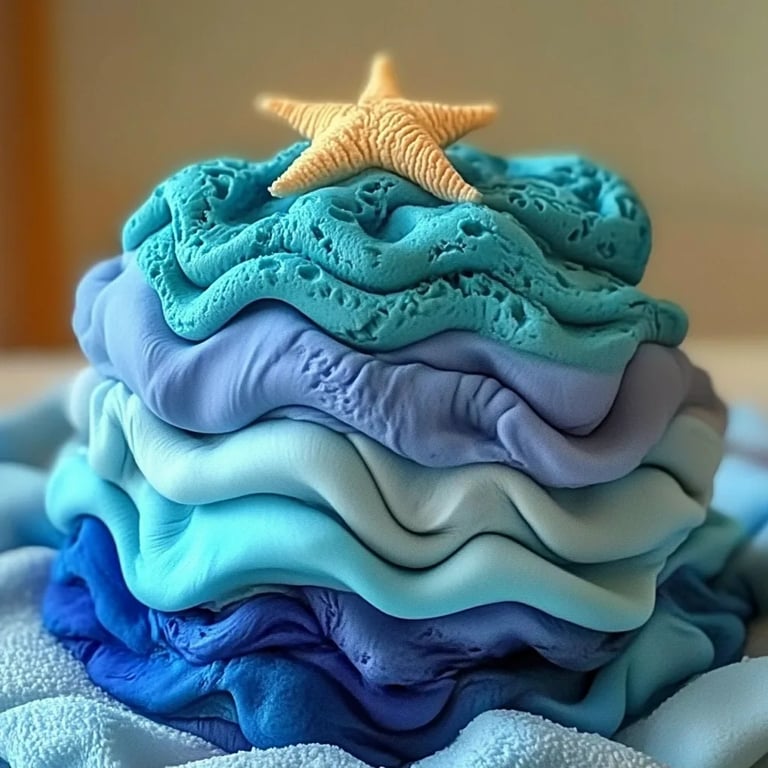
Ocean Playdough is gaining popularity not just for its beautiful colors and fun textures but also for how it inspires imaginative play. Kids can create their own underwater scenes, sculpt sea creatures, and explore ocean themes while developing their fine motor skills. It’s perfect for birthday parties, summer playdates, or even as part of a homeschooling curriculum. Playdough can be transformed into a learning tool, prompting discussions about marine life and environmental conservation, making this craft both entertaining and educational.
Now, let’s get started on making our own Ocean Playdough!
What You’ll Need
Ingredients:
- 2 cups all-purpose flour – This is the base of our playdough.
- 2 cups water – Essential for combining all the ingredients.
- 1 cup salt – Helps to preserve the playdough and enhances texture.
- 2 tablespoons cream of tartar – Adds elasticity and improves the dough's consistency.
- 2 tablespoons vegetable oil – Makes the dough smoother and helps prevent it from sticking to your hands.
- Food coloring – For creating beautiful ocean-inspired shades (blue, aqua, green, etc.).
- Optional: Fine glitter – To mimic shimmering ocean water or sand.
- Optional: Essential oils (like lavender or eucalyptus) – For a calming aromatic experience!
Tools:
- A large mixing bowl
- A whisk or spoon
- A saucepan
- A heat-resistant spatula
- Plastic wrap or an airtight container for storage
Step-by-Step Tutorial
Step 1: Combine Dry Ingredients
In a large mixing bowl, combine 2 cups of all-purpose flour, 1 cup of salt, and 2 tablespoons of cream of tartar. Mix these dry ingredients well using a whisk or spoon. The cream of tartar is crucial because it helps create that stretchy consistency that we all love in playdough.
Why this matters: Accurate measurements are essential. If your flour ratio is off, your dough might end up too crumbly or too sticky.
Step 2: Prepare Wet Ingredients
In a separate saucepan, mix together 2 cups of water and 2 tablespoons of vegetable oil. You can also add your desired food coloring at this stage, but I recommend starting with just a few drops—this way, you can adjust the color intensity later. I often use a blue and green combination to capture the essence of the deep ocean and the bright sea.
Tip: If you're using glitter or scents, it's better to add them later to avoid altering the dough’s consistency.
Step 3: Combine and Cook
Pour the wet mixture into the dry ingredients and stir with a spatula until combined. Now, it’s time to put the saucepan on low heat. Stir continuously as the mixture heats. In a few minutes, you’ll see it start to clump together.
What could go wrong: Be cautious not to overheat the mixture. If it's left too long, the dough can become too dry. If you find it’s not coming together, add a tablespoon of water to help.
Step 4: Kneading
Once the dough has formed a ball and pulls away from the sides of the pan, remove it from the heat. Let it cool for a minute, then transfer it to a clean surface. Knead the dough for a few minutes until it’s smooth and elastic.
Personal anecdote: When I first made playdough with my niece, I was amazed by how much fun we had kneading the dough. It became a mini workout for her tiny muscles, developing her coordination while giving us a chance to talk and bond.
Step 5: Add Optional Ingredients
If you’d like to enhance your Ocean Playdough, now’s the time to mix in any fine glitter or essential oils, distributing them evenly throughout the dough. This extra touch adds a magical feel to the experience and makes the playdough even more special.
Step 6: Storage
Once you’ve created and played with your Ocean Playdough, make sure to store it properly. Wrap it in plastic wrap and place it in an airtight container to keep it fresh. When stored correctly, it can last several weeks.
Troubleshooting Common Issues
- Dough is too sticky: Add a little more flour slowly until it reaches the right consistency.
- Dough is too dry: If it feels crumbly, add a teaspoon of vegetable oil or water, working it in gradually until the consistency improves.
- Colors bleed together: To prevent mixing colors, use separate containers if you plan to store multiple colors and keep them isolated during playtime.
Creative Variations
Feel free to experiment with different colors, scents, and textures:
- Tropical Twist: Use yellow and bright pink with pineapple aroma.
- Underwater World: Add tiny shells or foam sea creatures into your dough for sensory play.
- Sand Dough: Create a beach-like experience by mixing brown playdough with fine grains of sand for texture.
Final Thoughts
Making Ocean Playdough has become one of my favorite DIY activities, and I hope it becomes a cherished craft in your home or classroom too. This project not only provides a fantastic outlet for creativity but also fosters connection through shared experiences. As you create and play, remember that the main goal is to enjoy the process.
Now go ahead, gather your materials, and start crafting your very own Ocean Playdough. Dive into the endless possibilities of imaginative play—let your creativity flow like the waves!