How to Make Ocean Playdough: A Comprehensive Guide to Tactile Fun
As a long-time crafter and parent, I often find joy in creating innovative ways for my children to play, learn, and engage with their imaginations. One of my most cherished crafting projects is making Ocean Playdough. This vibrant, sensory-rich dough is perfect for beach-themed play, educational activities, or simply enjoying the calming colors and textures of the ocean. Whether you're looking for something fun to do during a rainy day, a fantastic beach-inspired birthday party activity, or simply a way to incorporate ocean-themed learning into your routine, this playdough is a crowd-pleaser!
In this article, I’ll take you step-by-step through my process of making Ocean Playdough, sharing my personal tips, insights, and creative variations along the way. By the end, you'll not only have your own batch of delightful playdough but also a set of invaluable crafting skills that you can use for future projects!
Why Ocean Playdough?
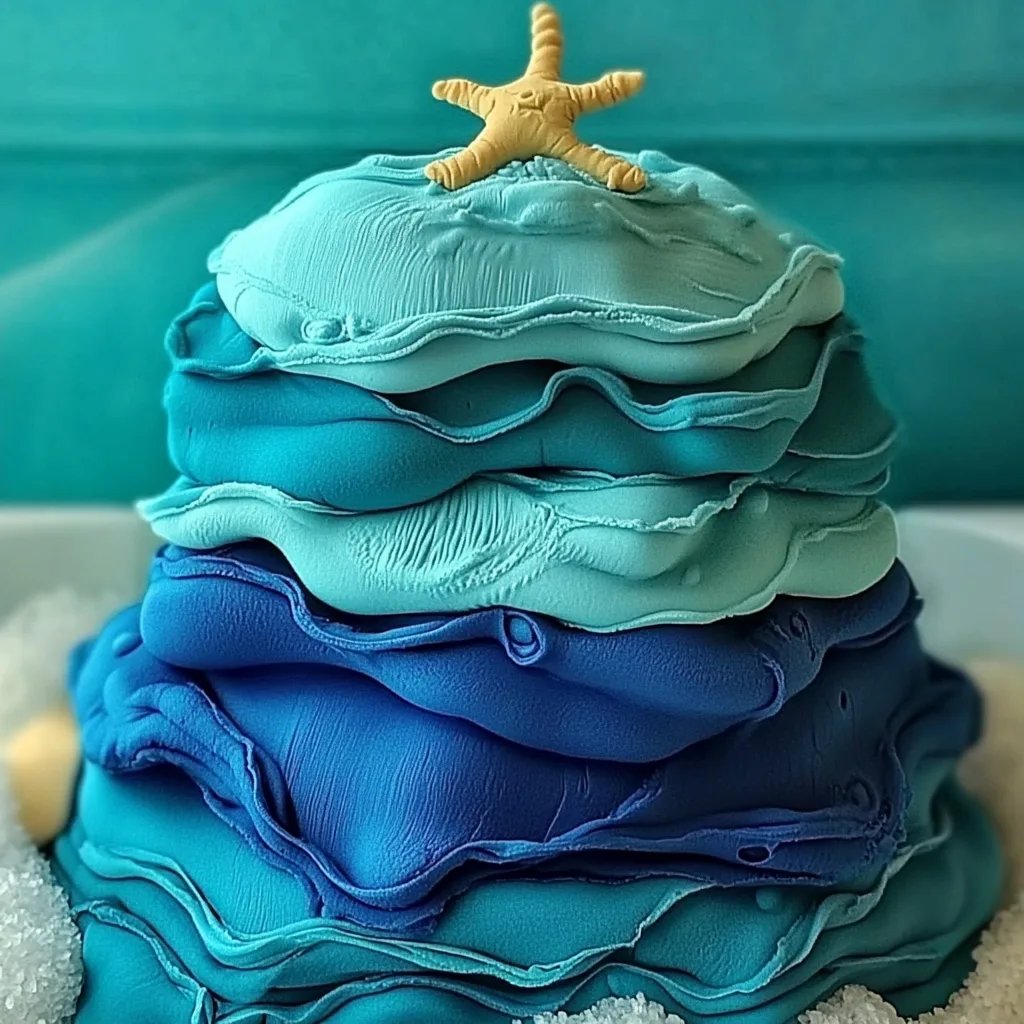
Ocean Playdough is beloved for a reason—it's colorful, versatile, and encourages hours of imaginative play. The soothing shades of blue and green mirror the beautiful colors of the sea, and the addition of ocean-themed accessories, like shells, tiny sea creatures, and even glitter, can enhance the sensory experience. The tactile nature of playdough engages multiple senses, fostering creativity while providing calming benefits. It’s also safe and easy to create with your children, making it a perfect bonding experience.
Ideal Scenarios for Ocean Playdough
- Rainy Day Activities: Engaging kids indoors with craft projects.
- Educational Themes: Perfect for teaching about marine life, the ocean ecosystem, and colors.
- Party Activities: A delightful craft at a beach or nautical-themed party where guests can make and take home their creations.
- Quiet Time: An excellent resource for promoting focus and calming down after a hectic day.
Now, let's dive into the crafting process!
What You'll Need
Ingredients:
- 2 cups all-purpose flour
- 1 cup salt
- 2 tablespoons vegetable oil (adds elasticity)
- 2 cups boiling water
- 2 tablespoons cream of tartar (this helps with the dough's elasticity and texture)
- Blue and green food coloring (or gel colors)
- Optional: Glitter, shells, or small ocean-themed toys
Tools:
- A large mixing bowl
- A spoon or spatula
- A clean surface for kneading and playing
- Airtight containers (for storage)
Step-by-Step Tutorial
Step 1: Mixing Dry Ingredients
In a large mixing bowl, combine 2 cups of flour, 1 cup of salt, and 2 tablespoons of cream of tartar. Mixing these dry ingredients thoroughly is crucial as they form the foundation of the dough. Make sure there are no lumps; otherwise, they can lead to uneven textures in the final product.
Tip: If your flour has been sitting for a while, consider sifting it before measuring.
Step 2: Adding the Wet Ingredients
Next, make sure your water is boiling hot, then carefully add 2 tablespoons of vegetable oil and 2 cups of boiling water to the dry mixture.
Note: Be cautious during this step. Boiling water can cause burns, so I recommend wearing oven mitts while pouring.
Step 3: Combining Ingredients
Using a wooden spoon or spatula, mix the water and oil into the flour mixture until it starts to come together, and it is too hot to mix with your hands. This is a necessary step as it helps incorporate air and ensure a smooth consistency.
Step 4: Kneading
Once the dough has cooled enough for you to touch, gather it together and knead it with your hands on a clean surface. Kneading is essential to develop the gluten in the flour, giving the dough its soft texture.
What Could Go Wrong: If the dough feels too sticky, sprinkle a little extra flour until it reaches the desired consistency. Conversely, if it's too dry, you can add a tiny bit of water.
Step 5: Coloring Your Dough
Now comes the fun part! Divide the dough into two or more portions, depending on how many colors you want. Add a few drops of blue food coloring to one portion and green food coloring to the other. Knead each piece until the colors are well blended.
Personal Anecdote: I often let my kids help during this part. Watching their eyes light up as the dough transforms into mesmerizing shades of blue and green always brightens my day!
Step 6: Optional Add-Ins
For that authentic ocean feel, consider adding some glitter to your dough for a sparkling effect, or incorporate tiny seashells or small ocean creature toys. This can enhance the sensory experience and add more imaginative play options.
Step 7: Storage
Store the Ocean Playdough in air-tight containers to keep it fresh. It can last up to several weeks, depending on humidity and storage conditions.
Safety Warnings
While this playdough is made with non-toxic ingredients, it's important to supervise young children during playtime to prevent them from putting it in their mouths. Instruct them to wash their hands before and after playing. Should the dough become dry or lose its texture, simply add a little water or oil to revive it.
Alternative Methods & Ingredient Substitutions
If you're looking for healthy alternatives, consider the following substitutions:
- For Gluten-Free Playdough: Use gluten-free flour blends available at most grocery stores.
- Natural Dyes: You can use natural coloring agents like beet juice for red or spinach for green if you want an all-natural approach.
Creative Variations
- Ocean Sensory Bins: Create a sensory bin with different textures like sand, marbles (representing pebbles), and ocean-themed toys for extended play options alongside your Ocean Playdough.
- Underwater Adventure Play: Use your dough to design a complete underwater scene, incorporating different shapes of fish, seaweed, and ocean floor decorations.
In conclusion, making Ocean Playdough is not just a simple crafting project; it’s an opportunity to create lasting memories with your children while engaging in tactile, soothing play. I hope my detailed guide inspires you to gather your materials and create your very own batch. Remember, the key is to enjoy the process, learn from any hiccups, and let your creativity flow as freely as the ocean tides. Happy crafting!