How to Make No-Glue Soap Slime: A Fun and Easy Craft Your Kids Will Love!
Hello fellow crafters! Today, I’m thrilled to share my tried-and-true method for making an incredible, squishy, and entirely no-glue soap slime. If you’re like me and love the joyous squelch of slime in your hands but want to avoid the mess that comes with glue, then you're in for a treat! This DIY slime has become quite popular recently—not only for its tactile joy but also for being a great sensory activity for kids. Whether you want something to keep the little ones entertained on a rainy day or you're looking to create a fun party favor, this slime is sure to impress.
What is No-Glue Soap Slime?
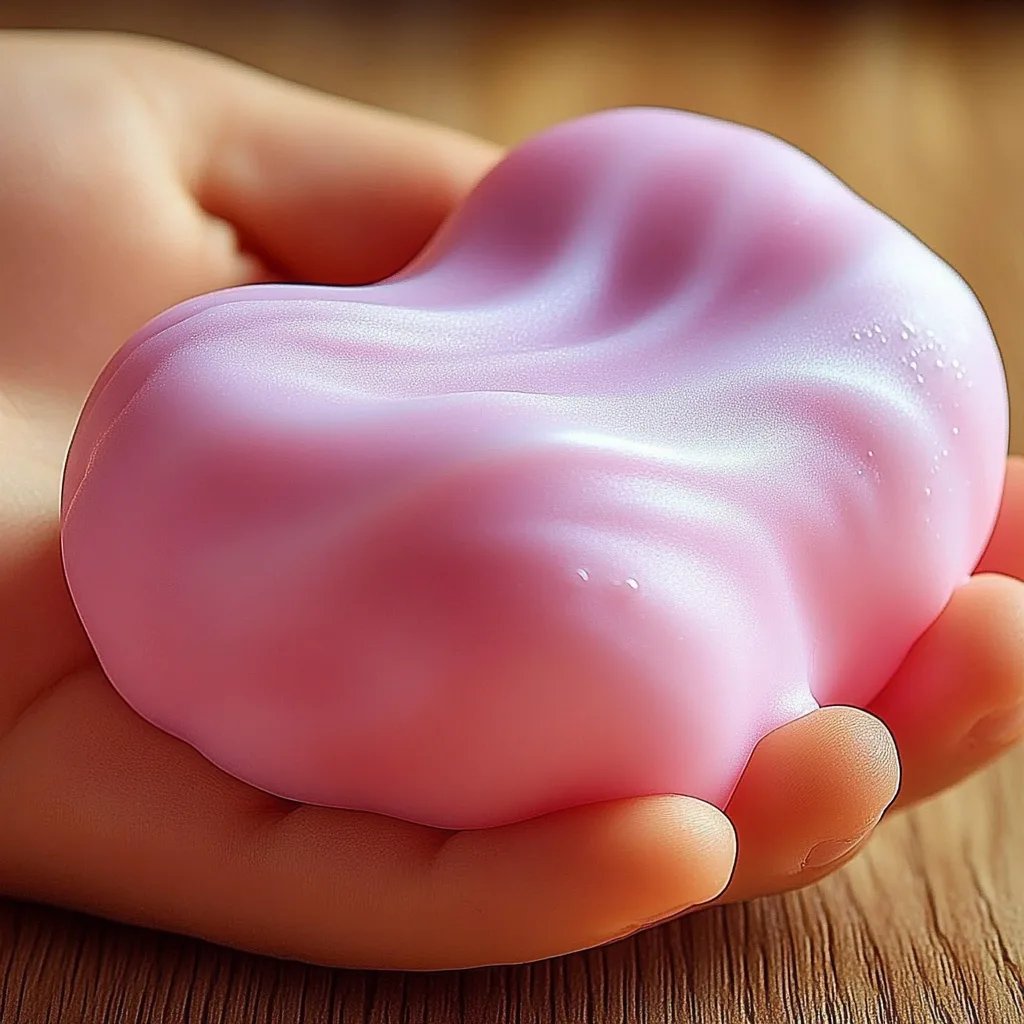
No-glue soap slime is a delightful concoction that combines liquid soap with other ingredients to create a stretchy, moldable substance that children can knead, roll, and squish. This type of slime can be used for sensory play, stress relief, or simply a fun experiment in creativity! One of the primary benefits of making soap slime is that it’s easily washable—so no need to panic if it accidentally ends up on the couch!
Materials You'll Need
Before we dive into the steps, let’s gather our supplies. Fortunately, the ingredients are simple and often found around the house:
- Liquid Soap: Choose a clear or opaque liquid soap. I recommend something mild like dish soap or hand soap without too many added chemicals. This will be the base of our slime.
- Cornstarch: This will help thicken your slime and provide that desired stretchy texture.
- Water: Warm water tends to work better as it helps to dissolve the cornstarch easily.
- Food Coloring (optional): To add some flair, you can choose any color you desire.
- Mixing Bowl and Spoon: You’ll need these for combining the ingredients.
- Seal-able Container: A plastic container is perfect for storing your slime when you’re not playing with it.
Step-by-Step Tutorial to Make No-Glue Soap Slime
Step 1: Measure Your Ingredients
To get started, I like to prepare my workspace by measuring out the ingredients first. For this recipe, you’ll need:
- 1 cup of liquid soap
- 1 cup of warm water
- 1 cup of cornstarch
- Food coloring to your preference
This ratio will yield a good texture, but feel free to adjust the amounts if you want to make more or less slime.
Step 2: Mix the Soap and Water
In a mixing bowl, pour in 1 cup of liquid soap and then 1 cup of warm water. The warm water will help the soap dissolve better and create a smoother mixture. Stir gently with your spoon until the two are fully combined.
Tip: If you notice bubbles forming, don’t worry! Just allow it to settle for a moment.
Step 3: Add Cornstarch
Next, gradually add in 1 cup of cornstarch while continuously stirring the soap-water mixture. This step is crucial, as the cornstarch thickens the mixture to our desired slime consistency. It may take a little elbow grease, but keep stirring until you see a cohesive ball forming.
Warning: If the mixture feels too runny, add more cornstarch—one tablespoon at a time—until you achieve your desired consistency.
Step 4: Create the Slime
At this point, you'll notice the slime starting to form. If it’s still too sticky, add a bit more cornstarch. The texture should be stretchy and smooth. Once you’re satisfied with the luminescent stiffness of the slime, knead it with your hands for a few minutes. This will enhance the texture further and make it more enjoyable to play with.
Step 5: Optional: Add Color
At this stage, you can personalize your slime! I like to drop in a few drops of food coloring and knead it into the slime until it's evenly distributed. Feel free to blend colors for a marbled effect—a little creativity goes a long way!
Step 6: Store Your Slime
Once finished, store your no-glue soap slime in a seal-able container. This will keep it fresh and prolong its lifespan. I recommend using it within a week for the best experience—after that, it may start to lose its magic.
Common Issues and How to Fix Them
- Too Sticky: If your slime is overly sticky, don’t hesitate to sprinkle in more cornstarch. Just do it gradually and knead it until you achieve the right texture.
- Too Hard: If your slime has turned out too hard, consider adding a teaspoon of warm water, mixing it in vigorously to see if it can soften up.
Creative Variations
As an experienced crafter, I encourage experimenting with different themes and additions to your soap slime! Here are a few ideas:
- Scented Slime: Add a few drops of essential oils to give your slime a delightful fragrance—think lavender for relaxation or citrus for energy!
- Glitter Slime: Mix in some craft glitter for a sparkly finish that’s sure to excite any child.
- Textured Slime: Add small foam beads or sequins for a fun tactile experience.
Personal Anecdote
The first time I made no-glue soap slime with my kids, I was amazed at how engaged they became. We spent hours stretching, creating shapes, and even turned it into an art project, using the slime as stamps for painting! Such simple ingredients brought laughter and joy to our family, and it remains a favorite activity.
Safety Warnings
As with all crafts, I recommend supervising young children during play. Although these ingredients are safe, they shouldn’t be ingested. If you or your child has sensitive skin, test the soap on a small area before committing to using it in your slime.
Conclusion
There you have it, friends—a detailed guide to creating your own no-glue soap slime. It’s a straightforward, enjoyable project that you and your little ones can tackle together. Whether you’re a seasoned crafter or a beginner, I hope you find joy in this slime-making experience. Don’t forget to share your creations and maybe even explore different variations. Happy crafting!