How to Make No-Glue Soap Slime: A Fun and Easy Craft for All Ages
As a passionate crafter, there's something incredibly satisfying about making slime. It's a sensory experience that captivates both kids and adults, and with the current trend on social media, it has become a beloved pastime. Today, I’m excited to share with you how to create no-glue soap slime, a delightful alternative to traditional slime that’s easy to make, incredibly fun to play with, and best of all—uses soap instead of glue!
What is No-Glue Soap Slime?
No-glue soap slime is a unique variant of slime that combines liquid soap, water, and other household ingredients to create a stretchy, pliable substance that's perfect for sensory play, stress relief, or even as a creative medium for crafting. Its popularity stems from its simplicity, accessibility, and versatility— you can customize it with different colors, scents, and textures. What’s more, it can be a fantastic project for a rainy day or a fun indoor activity, giving you quality time to bond with friends or family!
Crafting Your Own No-Glue Soap Slime: Step-by-Step Guide
Ingredients and Materials You’ll Need
Before we jump into the nitty-gritty details, let’s gather the materials. Here’s what you’ll need:
- Liquid soap (I recommend using a clear, unscented variety but feel free to use your favorite scented soap for an aromatic experience)
- Water (filtered or tap water works well)
- Cornstarch (this acts as a thickening agent)
- Food coloring (optional, of course, but I always recommend it for that magical aesthetic!)
- Mixing bowl
- Mixing spoon or spatula
- Storage container (an airtight container is ideal)
- Measuring cups/spoons
Step 1: Measure Your Ingredients
Start by measuring out your liquid soap. For a good-sized batch, I usually go for about 1 cup. This fundamental step ensures that your slime has the right consistency. Too much soap could lead to a runny slime, while too little might make it too thick.
Step 2: Combine Soap and Water
In a separate mixing bowl, combine your measured liquid soap with ½ cup of water. This will help to dilute the soap and give your slime a softer consistency. Stir gently to avoid creating too many bubbles; excess foam can affect your slime's final texture.
Step 3: Add Cornstarch
Next, sprinkle in approximately 2-4 tablespoons of cornstarch. This ingredient is critical as it helps to thicken the mixture and achieve that desired slimey texture. The number of tablespoons you use will depend on the thickness you want—more cornstarch for a thicker slime and less for a softer one. Mix until well combined; the consistency should be gooey but not too sticky.
Tip: If your mixture seems too watery, gradually add more cornstarch until you reach your desired texture.
Step 4: Add Color (Optional)
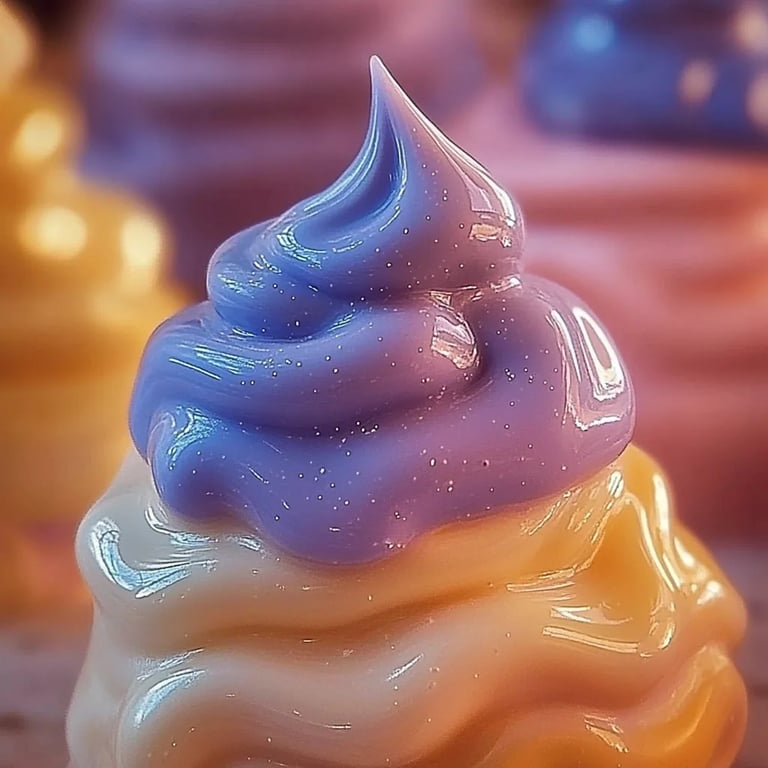
If you want your soap slime to be bright and colorful, now’s the time to add your food coloring. Just a few drops will do! Mix it in until the color is evenly distributed. One of my favorite memories was mixing vibrant colors and creating a marble effect—definitely gives your slime an extra wow factor!
Step 5: Knead the Slime
Once your mixture is well combined, it's time to get your hands involved! Knead the slime in your hands for a few minutes. This step is crucial; it helps to develop the texture. If you find the slime is too sticky, sprinkle a little more cornstarch, but avoid overdoing it—this could make the slime too dry.
Warning: Always wash your hands and the surfaces after handling, especially if you’re adding food dye—it can stain!
Step 6: Store Your Slime
Finally, store your no-glue soap slime in an airtight container when you're done playing with it. This will keep it fresh and ready for the next session of squishy fun! I’ve often found that if stored properly, it lasts for about a week before the texture starts to degrade.
Troubleshooting Common Problems
Even seasoned crafters encounter a few hiccups. Here are some popular issues you might face along with my personal tips on how to fix them:
- Too Sticky: If your slime is sticking to your hands, sprinkle in a little more cornstarch to thicken it up. You want it to be pliable but not leaving goo all over your fingers.
- Too Hard or Dry: If your slime has turned into a rock-hard mass, don’t give up! Add a few drops of water and knead it back to life. Sometimes it takes a little coaxing.
- Bubbles or Foam: If you’ve managed to incorporate bubbles, they can detract from the final product. An easy solution is to patiently let your slime sit for a few minutes to let the bubbles rise and pop on their own.
Creative Variations
One of my favorite aspects of crafting is the room for creativity. Here are some fun twists you can try:
- Scented Slime: Use scented liquid soap or add a few drops of essential oils for a fragrant experience. Lavender, lemon, or peppermint can transform your slime into a calming or invigorating play experience.
- Textured Slime: Add small beads, glitter, or even sand to create a fascinating texture. This can add a tactile element that makes your slime even more engaging.
- Glow-in-the-Dark Slime: Use glow-in-the-dark paint or powder to give your slime an ethereal night-time look. Just be sure the coloring is compatible with skin contact.
Final Thoughts
Making no-glue soap slime is an enjoyable and straightforward process that yields impressive results. With this guide, you should feel empowered to create your very own batch and experiment with different styles. I cherish the laughter and connections that make crafting sessions unforgettable. By sharing these moments, you’re not just creating slime; you’re creating memories.
So, roll up your sleeves, grab your materials, and dive into this lovely adventure of crafting slime! I promise you’ll have a blast—just don’t forget to let your inner child out to play!