How to Make Minecraft Cupcake Party Bag Treats: A Step-by-Step Guide
Hello, fellow crafters and Minecraft enthusiasts! Today, I'm thrilled to walk you through a delightful project that merges the worlds of crafting and gaming: Minecraft Cupcake Party Bag Treats. Whether you’re planning a birthday party for your little gamer or just want to surprise a friend with a unique snack, these treats are sure to delight!
Why Are Minecraft Cupcake Party Bag Treats So Popular?
Minecraft is an incredibly popular game among kids (and adults) all over the world. These cupcake party bag treats encapsulate the charm of Minecraft—bringing the pixelated world of crafting and adventure right into our kitchens. Not only are they edible treasures, but they also serve as amazing party favors that can make any child's birthday party extra special. Plus, they can be adapted for various occasions, from school events to gaming sleepovers.
What You'll Need:
Before we dive in, let’s gather our materials! You’ll need:
For the Cupcakes:
- 1 box of chocolate cake mix (or your favorite homemade recipe)
- 3 large eggs
- 1 cup of water
- 1/2 cup of vegetable oil
For the Frosting:
- 1 cup of unsalted butter, softened
- 4 cups of powdered sugar
- 2-3 tablespoons of milk
- Green food coloring (for the grass)
- Brown food coloring (optional, for dirt)
- Other colors (for various pixelated designs)
For Decorations:
- Edible glitter (optional)
- Minecraft-themed cake toppers or chocolate figures
- Miniature plastic tools or figures (just make sure they’re food-safe)
For the Party Bags:
- Small paper or plastic party bags (Minecraft-themed if possible)
- Tissue paper or crinkle paper for padding
- Minecraft stickers or printable tags to seal the bags
Step-by-Step Tutorial
Step 1: Bake the Cupcakes
Let's start with cupcakes! Follow the instructions on your cake mix box—this typically involves preheating your oven and mixing the ingredients.
Why This Step Matters: Properly baked cupcakes form the base of your treats. Over-mixing can lead to dense cupcakes while under-baking can leave them gooey.
What Could Go Wrong: If your cupcakes dome too much, they may not look uniform when frosted. This can be fixed by carefully cutting off the excess dome with a serrated knife after they cool.
Tips: Make sure your oven is fully preheated. I usually set a timer for 18-20 minutes, but always check for doneness by inserting a toothpick; it should come out clean.
Step 2: Cool the Cupcakes
Once you've baked your cupcakes, let them cool completely. I recommend placing them on a cooling rack; this prevents sogginess from steam.
Why This Step Matters: If you frost warm cupcakes, the frosting will melt away into a puddle, losing its structure altogether.
Step 3: Make the Frosting
While your cupcakes cool, let’s make some delicious frosting! In a large mixing bowl, cream together your softened butter, powdered sugar, and milk. Blend until smooth.
Adding Color: Divide the frosting into small bowls for different colors. Add your green food coloring to one bowl, mixing until you achieve that perfect grass hue. If you're feeling adventurous, mix in a bit of brown for a dirt effect.
What Could Go Wrong: Too much milk will make your frosting runny—add it slowly and adjust by adding more powdered sugar to thicken it up.
Step 4: Frost the Cupcakes
Using a spatula, frost your cupcakes with the green frosting. Think of creating a grassy block—make it thick and textured!
Creative Variations: You could use a piping bag and different tips to create heights and peaks, resembling terrain.
What Could Go Wrong: Make sure your cupcakes are completely cool. Frosting may slide off warm cupcakes. If your frosting isn’t thick enough, try chilling it a bit for easier application.
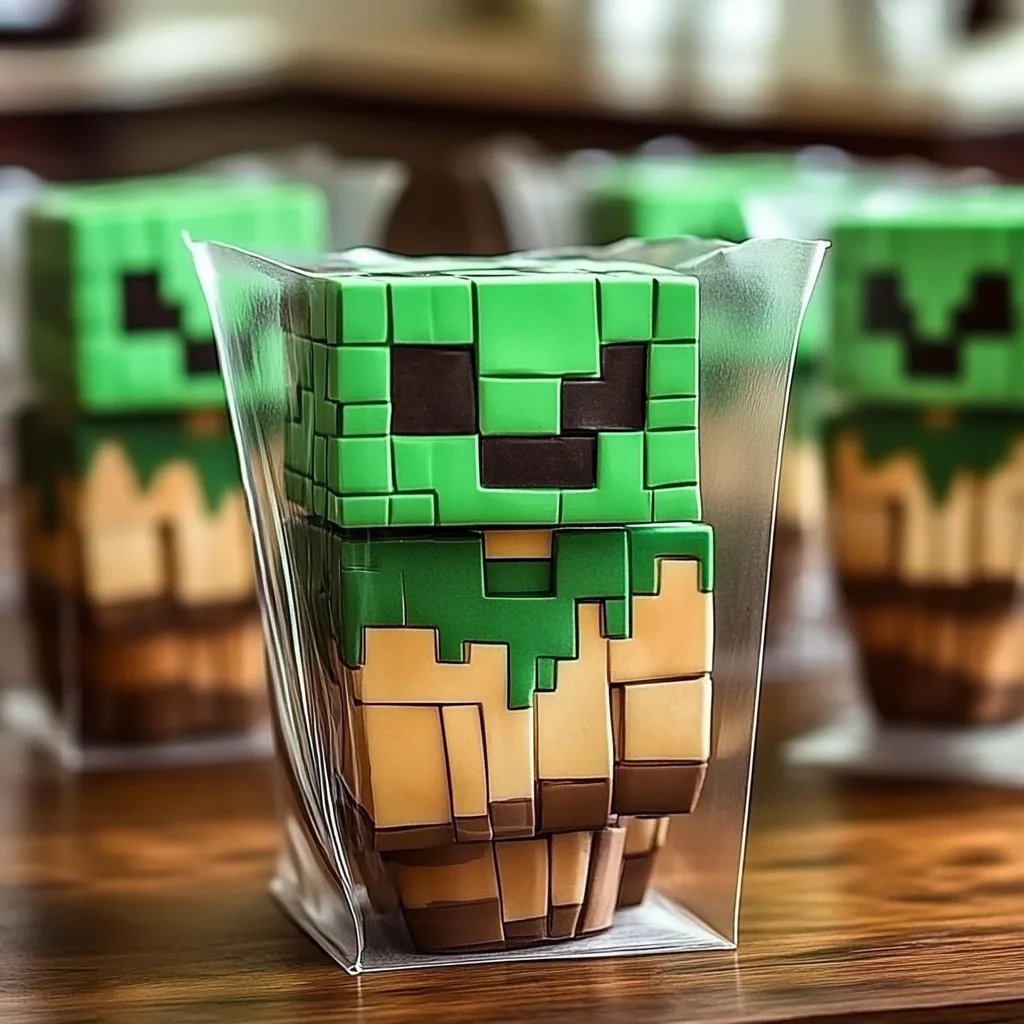
Step 5: Add Decorations
This is my favorite part! Use edible glitter to sprinkle “magic” on top, or add Minecraft-themed toppers or figures right onto the frosting.
For that pixelated look, you can use colored frosting to create squares on top of the green frosting to mimic the iconic grass blocks in Minecraft.
Safety Warning: If you use plastic figures, ensure they’re food-safe. Avoid decorations that aren't designed for food consumption.
What Could Go Wrong: If toppers are too heavy, they may sink into the frosting. Just press them on lightly and use a little bit of extra frosting to anchor them if needed.
Step 6: Prepare the Party Bags
Once your cupcakes are frosted and decorated, it’s time to package them up! Line your party bags with tissue paper or crinkle paper and carefully place a cupcake inside without squishing it.
Personal Touch: Add Minecraft stickers or create fun tags from printable designs online. It adds a unique touch that kids will love!
Tips and Tricks for Success
- Storage: If not serving immediately, keep the cupcakes in an airtight container at room temperature to maintain freshness.
- Ingredient Substitutions: Feel free to use gluten-free cake mix if you want to cater to dietary restrictions!
- Alternative Frosting: For a healthier option, consider using whipped coconut cream.
Final Thoughts
Crafting these Minecraft Cupcake Party Bag Treats is not just about putting together a whimsical snack—it's about creating joy! From the proud smiles of kiddos enjoying these special treats to the healthful act of crafting something from scratch, these bags are bound to be a hit.
Remember, creativity knows no bounds, so feel free to improvise and make this project your own! Happy crafting, my friends! I can't wait to hear about your cupcakes and see your creative journeys in the comments below!