How to Make Mason Jar Lanterns: A Comprehensive Guide to Crafting Enchanting Glow
Hello fellow crafters! Today, I'm excited to share one of my all-time favorite DIY projects: Mason Jar Lanterns. They not only add a lovely glow to any space but also serve as an enchanting piece of decor for various occasions—from intimate dinners at home to garden parties and even cozy winter nights. Their popularity has soared thanks to their simplicity, versatility, and the magical ambiance they create. So, let’s dive into the world of DIY Mason Jar Lanterns and explore how you can craft your own!
Why Mason Jar Lanterns?
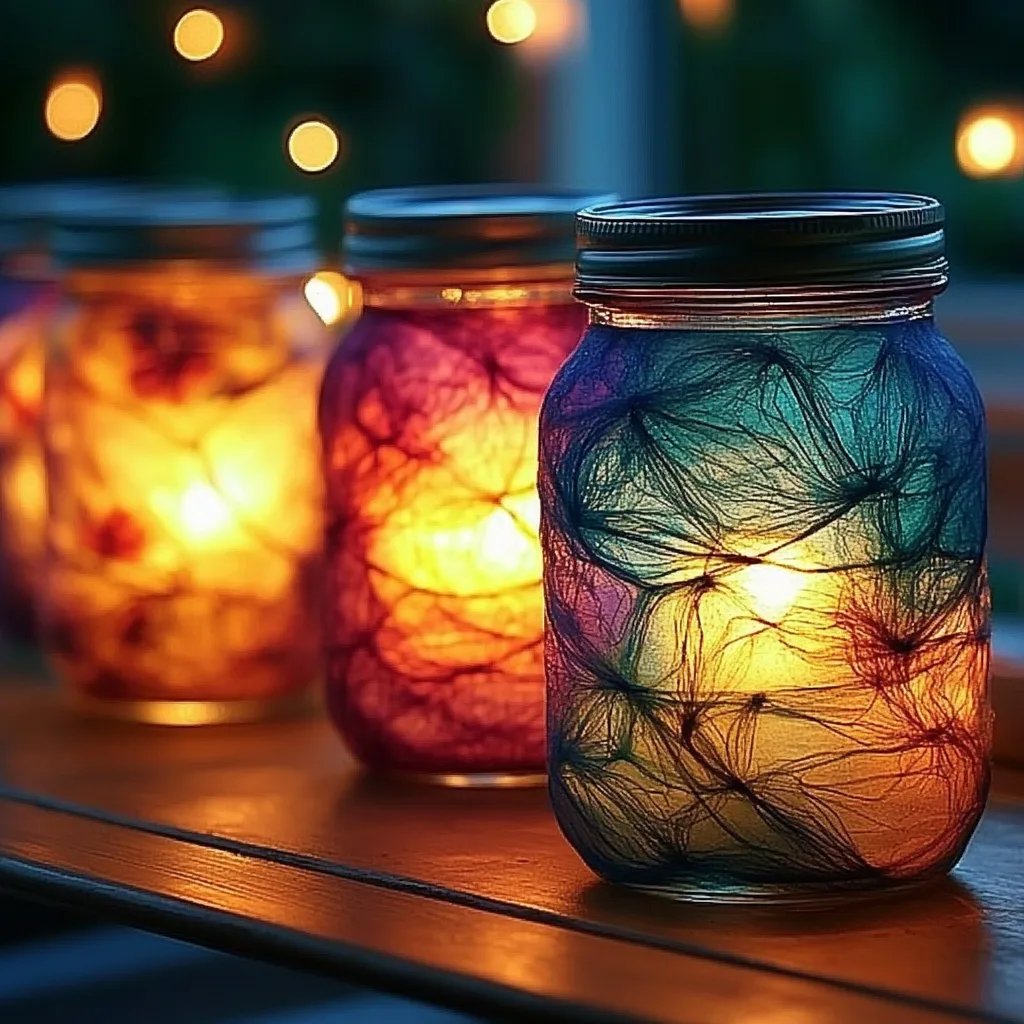
Mason Jar Lanterns are more than just pretty lights; they encapsulate warmth and charm. The soft flicker of candlelight can transform any environment, making it feel welcoming and intimate. I love using these lanterns in my backyard during summer evenings or setting them along the pathway for festive gatherings. Plus, they’re incredibly easy to customize—whether you want a rustic feel or a modern touch, the choice is yours!
What You'll Need
Materials:
- Mason Jars (wide-mouth jars work best for accommodating candles)
- Tea Light Candles (LED tealights are a great alternative for a safer option)
- Wire (22-gauge floral wire or sturdy twine)
- Paint/Glass Paint (optional, for decorating the jars)
- Brushes or Sponges (for painting)
- Sandpaper (optional, for distressing)
- Battery-operated Fairy Lights (optional, for the twinkling effect)
- Scissors or Wire Cutters (for cutting wire)
Safety Warning:
Always be careful when working with glass and hot surfaces. If using real candles, never leave them unattended and ensure they are placed away from flammable materials.
Crafting Your Mason Jar Lanterns
Let’s get crafting! Follow this step-by-step guide, and I’ll sprinkle in my tips, potential pitfalls, and creative variations throughout.
Step 1: Choose Your Jars
I love starting with a clean canvas. Depending on your style, you might want to select different sizes or shapes of mason jars. Perhaps you prefer uniformity, or maybe you like a mismatched collection that tells a story over time. Keep in mind that wide-mouth jars allow for easier access when placing your candles inside.
Tip: Print labels or stencils to create themed lanterns for special occasions. Imagine Halloween-themed jars with spooky designs or festive holiday jars, perfect for winter gatherings!
Step 2: Prepare Your Jars
Wash your jars thoroughly to remove any labels, dirt, or residues. A soapy bath followed by thorough drying is essential. If you plan to paint your jars, now is the time to sand down the surfaces lightly for better paint adhesion.
Pitfall Alert: Ensure the jars are completely dry before moving to the next step. Any moisture can cause paint not to adhere properly and lead to disappointment later.
Step 3: Painting Your Jars (Optional)
This is where the magic happens! Take your brush or sponge and apply a layer of paint. You can go for solid colors or create a gradient effect. If you want a frosted look, consider using spray paint.
Alternative Method: If you’d like more texture, try decoupage with patterned papers or natural elements like leaves. I once used pressed flowers, and the result was stunning.
Step 4: Inserting the Lights
If you're using tea light candles, simply place them at the bottom of the jar. For battery-operated fairy lights, wrap them around the inside of the jar, letting some of the wire hang over the edge for easy access.
Tip for Safety: If using real candles, I recommend putting a small layer of sand or pebbles at the bottom for stability and heat resistance.
Step 5: Creating the Handle
Now comes the fun part! Cut a piece of wire about 18 inches long (adjust according to your preference). Insert one end of the wire through the lid’s opening, twisting it tightly to secure it. Bring the wire back up and create a handle by forming a loop and twisting it back down.
Creative Variation: Instead of wire, you could use twine or even colorful ribbon for a softer, rustic look. Just wrap it around the neck of the jar and tie a bow.
Step 6: Lighting the Way
If you used LED lights, simply turn them on and watch the glow illuminate. For traditional candles, ensure they are securely situated, light them up, and enjoy the warmth of flickering candlelight in your space.
Step 7: Final Touches
Personalizing your lanterns can make them extra special. You could embellish with natural elements such as twigs or leaves hot glued around the rim if you're looking for a rustic vibe.
Troubleshooting Tips
If your paint didn’t stick well, you can either sand it down and try again or embrace the rustic look as part of the charm! Remember, crafting is about trial and error—don’t be discouraged by minor setbacks.
If your handle feels wobbly, you can reinforce it by using a sturdier wire or ensuring it’s twisted securely.
Conclusion
In just a few simple steps, you’ve created beautiful Mason Jar Lanterns that can brighten up your space or serve as unique gifts for loved ones. They’re a testament to personal creativity and expression. As an experienced crafter, I can tell you that no two lanterns are ever alike, each reflecting a part of you.
Every time I light my lanterns, I’m reminded of the little moments that bring joy—whether it's outside on a summer night or sitting by a cozy fire in the winter. I hope this detailed guide inspires you to embark on your own Mason Jar Lantern journey.
Additional Creativity
Once you’ve mastered the basics, consider exploring various themes for your lanterns—seasonal designs, color themes for parties, or even incorporating essential oils with diffusing candles to create an aromatic experience!
Happy crafting! I can't wait to hear about your experiences and see your creative Mason Jar Lanterns. Crafting is not just about the end product—it's about the joy and fulfillment along the way. Let’s light up our lives together, one lantern at a time!