How to Make Magical Sensory Bottles for Kids: A Step-by-Step Guide
As an experienced crafter, I’ve explored countless creative projects for kids, and one of my absolute favorites is making Magical Sensory Bottles. These delightful creations are not only visually captivating but also serve essential purposes in nurturing mindfulness, focus, and sensory exploration for children. With swirling glitter, vibrant colors, and interactive movement, sensory bottles offer a world of wonder. I’ve found them to be particularly engaging during quiet moments at home or as calming tools in classrooms.
In this detailed guide, I’m thrilled to share my process for making these magical sensory bottles, covering everything from the materials you’ll need to troubleshooting tips and creative variations. So, grab your crafting supplies, and let’s dive into the enchanting world of sensory bottles!
What Are Sensory Bottles and Why Are They Popular?
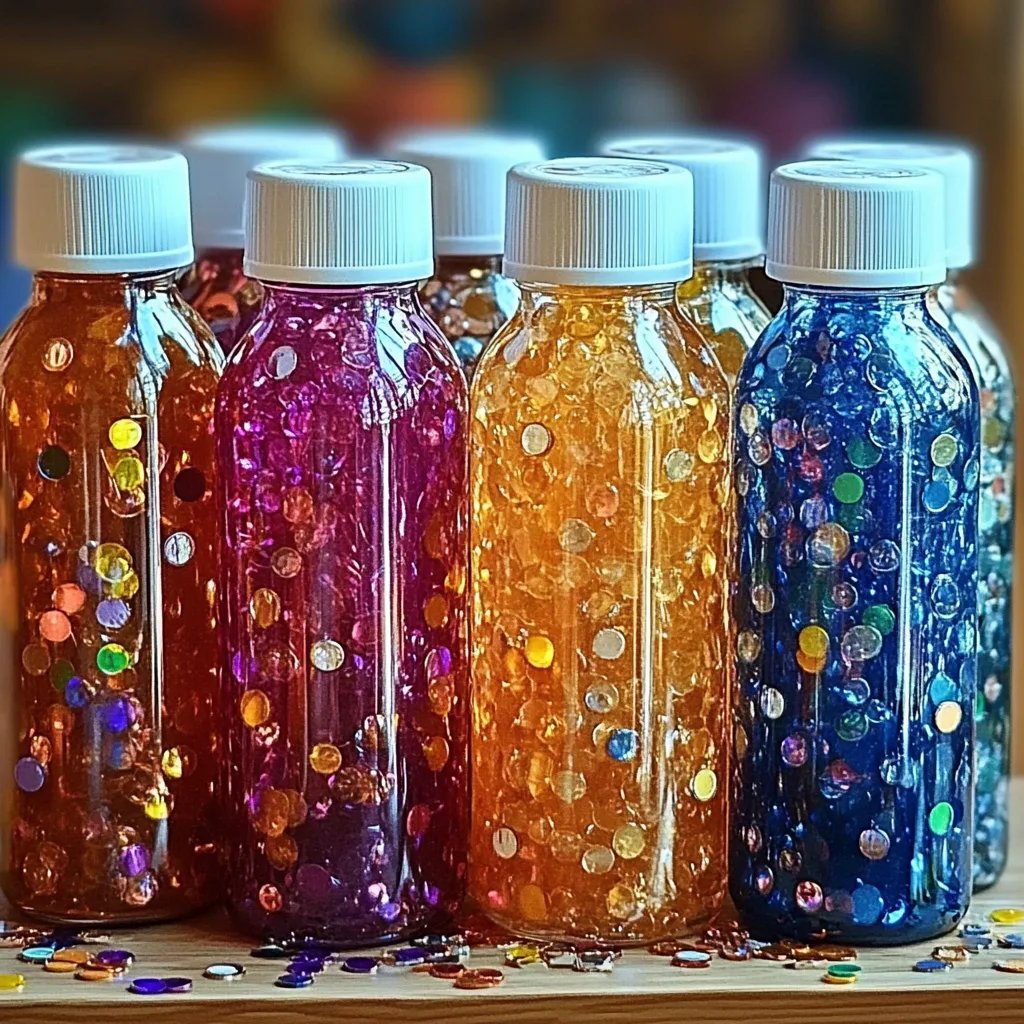
Sensory bottles are transparent, sealed containers filled with various elements—liquids, beads, glitter, and more—that create mesmerizing visual displays. They’re designed to engage children’s senses and can serve multiple functions: calming anxious feelings, enhancing focus, or simply providing a fun visual experience. The act of watching the contents swirl, settle, and move can be incredibly soothing, making them a popular choice among parents and educators alike.
When and How to Use Sensory Bottles
You can use sensory bottles during:
- Calm-Down Moments: When a child is upset or needs to transition from one activity to another.
- Quiet Playtime: Activities like reading, puzzles, or resting time can be accompanied by a sensory bottle for additional engagement.
- Educational Experiences: Use them to teach about colors, motion, and science concepts like density and viscosity.
Step-by-Step Tutorial for Creating Magical Sensory Bottles
Materials You’ll Need
- Bottles: Clear plastic or glass bottles with secure tops (like empty water or soda bottles).
- Liquid: Distilled water, baby oil, or glycerin.
- Add-ins:
- Glitter (various colors)
- Beads or small toys
- Food coloring
- Essential oils (optional, for scent)
- Glitter Glue: Optional, but can help thicken the liquid for slower movement.
- Funnel: To help add small items into the bottle.
- Hot Glue Gun: To seal the lid (safety first!).
- Crafting Tools: Scissors, measuring spoons, or cups.
Step 1: Choose Your Bottle
Why It Matters: The size and material of your bottle affect how the contents behave. A larger bottle allows for more swirling and movement, while smaller bottles are great for children’s hands.
Tip: Avoid glass bottles for younger kids. A straightforward, clear plastic bottle works wonderfully.
Step 2: Add Your Liquid Base
Pour your chosen liquid into the bottle, filling it about two-thirds full. You can mix distilled water with a few droplets of food coloring if you want a colorful effect.
Common Mistakes: Just be cautious not to overfill the bottle. Leaving space at the top is crucial for movement.
Step 3: Include Your Add-ins
Add some flair! Here’s where you can let your creativity shine. Add glitter, beads, or small toys using the funnel for precision.
Personal Anecdote: I once used tiny dinosaurs in a sensory bottle, and my kids loved watching them tumble during movement. It turned playtime into an imaginative adventure!
Step 4: Fill with More Liquid
Carefully pour in more liquid to cover your add-ins, leaving enough space at the top to allow the contents to swirl.
Safety Warning: Ensure the bottle is tightly secured once you screw or snap the top back on.
Step 5: Seal It Up
I recommend using a hot glue gun to secure the lid. This prevents little ones from opening the bottle and spilling its contents.
Tip: Give it some time to cool and set—about 10 minutes will do.
Step 6: Shake it Up!
Once everything is securely in place, take the bottle and give it a good shake! Watch as the glitter swirls, and the beads bounce around.
Troubleshooting: What Could Go Wrong?
1. Liquid Leaks: If you notice any leaks, recheck the lid and use more hot glue around the edges for a tighter seal.
2. Glitter Clumping: If your glitter is clumping together, add a little more glycerin or oil. This thickens the liquid and allows for slower, stunning movement.
3. Lack of Movement: You may need to adjust the ratio of your liquid—too much or too little can impact how the items move.
Creative Variations
- Seasonal Themes: Change up your add-ins and colors based on seasons or holidays—think red and green for Christmas or orange and black for Halloween.
- Nature-Inspired Bottles: Fill with natural elements like leaves, flowers, or sand for a sensory experience grounded in nature.
- Glow-in-the-Dark Bottles: Use glow-in-the-dark paints or small toys to create a fun nighttime sensory experience.
Final Thoughts
Creating Magical Sensory Bottles can be a wonderfully fulfilling experience for both you and your child. They’re not only an art project but also a tool for emotional regulation and sensory engagement. I hope this guide has inspired you to embark on your crafting adventure!
Remember, every bottle you create can be unique—experiment with colors, textures, and contents. Don’t stress about perfection; the joy comes from the process of creating together.
Whether you choose to make a calming glitter bottle or a vibrant sensory exploration tool, I encourage you to enjoy each step of the process. Happy crafting, and may your magical sensory bottles bring endless joy and peace to your family!