How to Make Magic Mud: A Complete Guide to a Fun and Messy Crafting Adventure
Hey there, fellow crafters! Today, I'm excited to share with you one of my all-time favorite projects: making Magic Mud! If you’ve never heard of it before, Magic Mud, also known as slime or ooze, is a delightful squishy substance that offers a unique tactile experience. Kids and adults alike love this fun material for its mesmerizing properties and engaging sensory play. Whether you’re looking for a playful activity with your kids, an entertaining party favor, or just need a stress-relieving fidget toy, making Magic Mud is a fantastic choice.
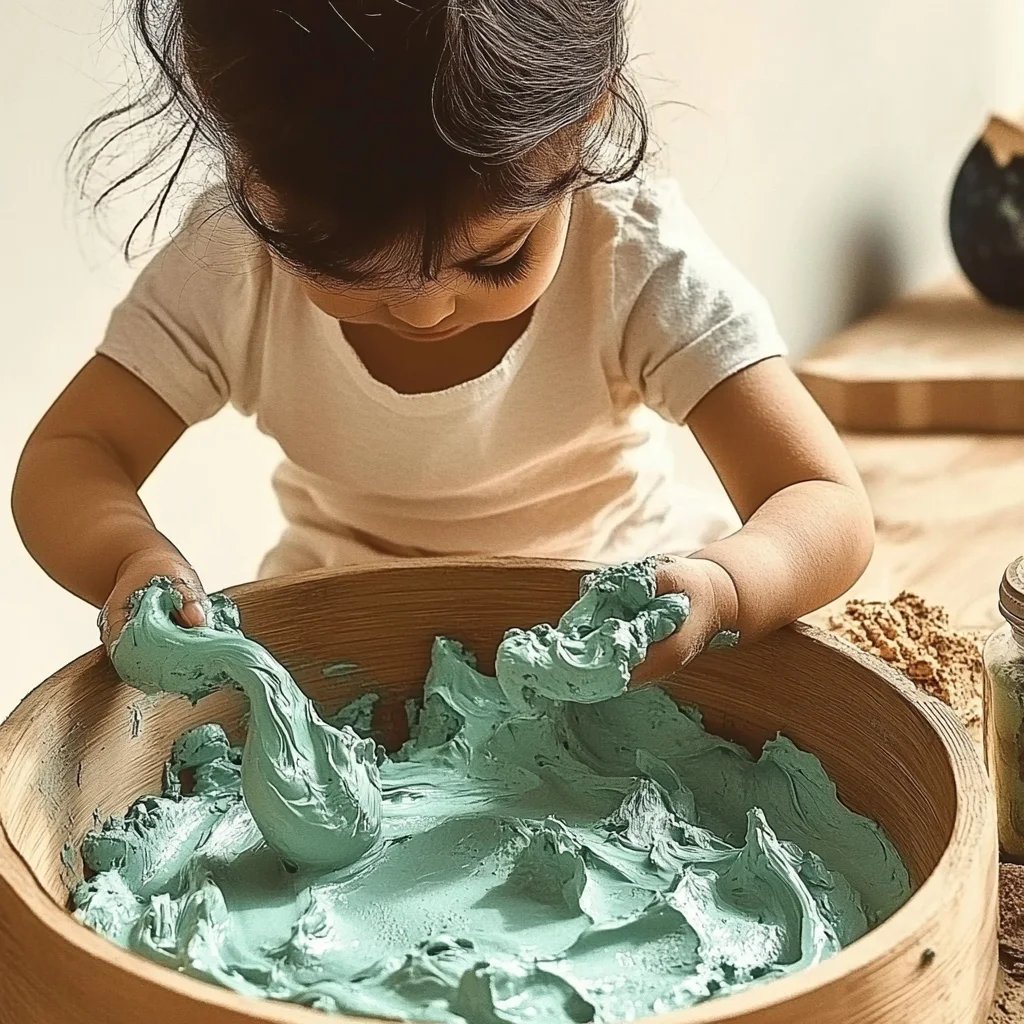
What is Magic Mud?
Magic Mud is a fun and versatile crafting material that combines the best aspects of both clay and slime. It flows when you pour it, but you can also shape it, and it may even appear to break apart when you pull it quickly! This captivating texture is what makes it such a hit in homes, schools, and even therapeutic environments. The popularity of Magic Mud can be attributed to its versatility—it’s eco-friendly, engaging, and can be easily customized to match your mood or theme. Whether you're a classroom teacher looking to incorporate a sensory experience into your lesson or a parent simply aiming to create lasting memories with your little ones, Magic Mud is here to help.
When Can You Use Magic Mud?
Magic Mud can be used in a variety of settings:
- At Home: Perfect for a rainy day, birthday party, or just as an educational project.
- In the Classroom: A fun way to introduce concepts like viscosity, states of matter, and creative problem-solving.
- At Events: Can serve as an interactive activity at parties, playdates, or community gatherings.
- As a Stress Reliever: Therapeutically beneficial for all ages, providing a calming effect through sensory play.
The Basic Recipe for Magic Mud
Materials Needed
Before we dive in, let’s gather our materials. You’ll need:
- 1 cup of flour (All-purpose is best)
- 1/2 cup of water
- 1/4 cup of cornstarch
- Food coloring (optional, for a pop of color)
- 1 tablespoon of vegetable oil
- A mixing bowl
- A mixing tool (like a spatula or whisk)
- An airtight container for storage (if you plan to keep your Magic Mud for future fun)
Step-by-Step Tutorial
Now that we have everything we need, let’s get started on crafting our very own Magic Mud!
Step 1: Combine the Dry Ingredients
In your mixing bowl, add 1 cup of flour and 1/4 cup of cornstarch. This mix is vital because flour provides the base structure and cornstarch enhances the texture, giving the Magic Mud that unique consistency.
Why this step matters: This combination will give your Magic Mud its basic structure. If you skip or mismeasure this step, it might end up too thick or too runny.
Common mistake: If your mud turns out lumpy, don’t panic! You can use a whisk to break down those lumps for a smoother finish.
Step 2: Add the Wet Ingredients
Next, pour in 1/2 cup of water and 1 tablespoon of vegetable oil. The oil will help to keep the texture smooth and make the playtime last longer without becoming dry.
What could go wrong: Be careful with the water—too much and your mud will be soupy. Too little, and you’ll have dry, crumbly concoction. If it feels too sticky, slowly add a bit more water, a tablespoon at a time.
Step 3: Mix It All Together
Now, get your mixing tool and stir the mixture. This is the fun part! Mix until all ingredients are thoroughly combined. You want it to come together into a cohesive, stretchy mass.
Why this step is important: Proper mixing is crucial in ensuring an even texture, making it easier and more satisfying to play with.
Step 4: Add Color (Optional)
If you're feeling creative, now’s the time to add a few drops of food coloring. You can mix and match colors to create your unique shade. Just remember to start with a small amount—it's easier to add more than to take color away!
Tip: If you want a more marbled effect, avoid fully mixing the food coloring into the mud. Just swirl it around and let it create its own unique patterns!
Step 5: Knead for Texture
Once everything is well mixed, use your hands to knead the Magic Mud. This will help improve the texture and elasticity. If it feels too sticky, dust your hands with a little cornstarch.
How to fix sticky Magic Mud: If after kneading it still sticks to your hands, sprinkle a small amount of cornstarch or flour, then continue kneading until you achieve the desired consistency.
Step 6: Store Your Magic Mud
Once you're satisfied with your Magic Mud, store it in an airtight container. This will keep it fresh for weeks! Just remember to keep it away from direct sunlight and extreme temperatures for the best longevity.
Tips and Tricks for Success
- Playing Safe: Always supervise children during play, especially younger ones, as they might be tempted to taste the Magic Mud. It's not toxic, but not something you want them consuming.
- Cleaning Up: Make sure to lay down a protective surface (like newspaper) or do this activity outside. It can get messy! To clean up, just vacuum or sweep any residue left over.
- Experiment with Texture: If you want different consistencies, you can adjust the ratio of flour to water. More flour will give it a thicker texture, while more water can create a looser product.
- Scent it Up: You can add a few drops of essential oils for an aromatic twist. Lavender, peppermint, or citrus can transform your Magic Mud into a truly sensory experience.
Creative Variations
Once you’ve mastered the basic recipe, why not get creative? Here are some fun variations to try:
- Glitter Mud: For a sparkly twist, add a tablespoon of glitter to the mix!
- Scented Magic Mud: As mentioned earlier, adding essential oils can enhance the sensory experience. Cinnamon or vanilla can create a cozy atmosphere.
- Themed Magic Mud: Create seasonal varieties! For Halloween, add black food coloring and pumpkin spice; for Christmas, use red and green with a hint of peppermint.
My Personal Experience
I remember the first time I made Magic Mud with my daughter. We were both a little skeptical at first, worried it would be too messy and not actually come together. But as we mixed and kneaded the dough, our skepticism turned into laughter and joy. We ended up creating a whole rainbow of colors and spent hours molding and shaping it. It’s amazing how something so simple can create such beautiful bonding moments.
Final Thoughts
Magic Mud is more than just a fun DIY project—it's an opportunity to engage in sensory play, get creative, and share precious moments with loved ones. With this guide, I'm confident you’ll be able to create your very own Magic Mud with ease. So grab your ingredients, invite your friends or family to join, and let the crafting adventure begin! Happy crafting!