How to Make Magic Bubbles: A Step-by-Step Guide for Crafting Enthusiasts
Hello there, fellow crafters! If you're reading this, chances are you're looking for a fun, enchanting activity that can captivate both the young and the young-at-heart. Today, I’m thrilled to share with you how to make Magic Bubbles! These shimmering, iridescent bubbles not only float gracefully in the air but can also hold a bit of a dreamy, magical essence, turning mundane afternoons into whimsical adventures.
What Are Magic Bubbles?
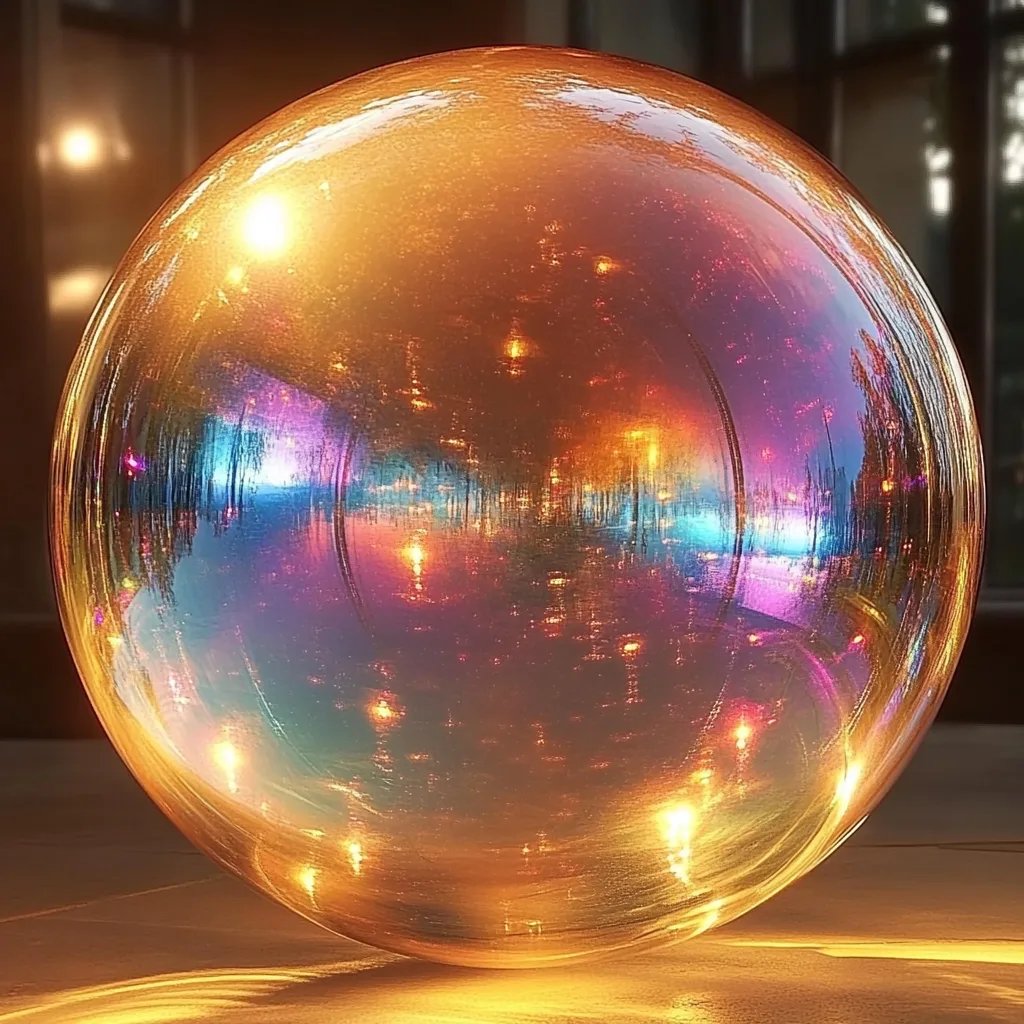
Magic Bubbles are not your ordinary soap bubbles. They are crafted from a special mixture that allows for larger, longer-lasting bubbles with beautiful colors that dance in the sunlight. The popularity of these bubbles has soared due to their entertainment value at parties, gatherings, outdoor activities, and simply for indulging in a little nostalgic fun! It’s a simple yet delightful project that’s perfect for kids, family get-togethers, or even a solo weekday creative escape.
Imagine an afternoon spent in your backyard or at the park, creating stunning, giant bubbles that float high into the sky. What’s better than watching the joy on a child’s face as they chase these elusive orbs? It’s an experience I relish every year, and I can't wait to guide you through this whimsical crafting journey!
Materials You’ll Need
Before we leap into the bubbling excitement, let's gather everything you'll need for crafting Magic Bubbles. This recipe is accessible, using materials you may already have at home.
- 1 cup of distilled water: Distilled water is pure and free of impurities, which helps create stronger bubbles.
- 1/2 cup of dish soap: Choose a gentle but effective dish soap. Dawn or Joy are my personal favorites—they create fantastic bubbles!
- 1/8 cup of corn syrup: This helps to thicken your bubble mixture and makes the bubbles last longer.
- A mixing container: A bowl or large measuring cup works perfectly.
- A whisk or spoon: For mixing the ingredients together.
- Bubble wands: You can buy them, but I'll provide instructions on how to make your own!
Optional Add-Ins:
- Glycerin: Adding glycerin can further enhance the bubble’s durability.
- Food coloring: For a fun twist, adding a few drops of food coloring can make your bubbles even more magical!
Step-by-Step Tutorial
Step 1: Prepare Your Workspace
First, set up your crafting area. You’ll want a clean, flat surface to work on, preferably outdoors, since bubbles can be messy! Lay down some newspaper or a cloth to catch any spills.
Step 2: Mix the Ingredients
In your mixing container, combine the distilled water and dish soap carefully.
Why this step matters: Gentle mixing is key to ensuring you maintain the bubbles' structure. Too vigorous stirring can create unwanted foam, which might not translate well into bubble-making.
Step 3: Add Corn Syrup
Once the water and soap are combined, add in the corn syrup. Stir slowly until the syrup is fully incorporated.
Common Error: Many people skip this ingredient, thinking any sugar would do. Corn syrup is unique in its low evaporation rate and is essential for creating long-lasting bubbles.
Step 4: Time to Let It Sit
After mixing, let your bubble solution sit for at least 30 minutes, or even overnight if you have the time. This resting period is vitally important as it allows the mixture to become more cohesive.
Pro Tip: If you want to add glycerin, this is the time to mix it in. A tablespoon will work wonders!
Step 5: Create Your Bubble Wand
While waiting, let’s make a bubble wand! You can easily create one using pipe cleaners or straws.
- For a pipe cleaner wand, bend the pipe cleaner into a circle for the wand with a handle.
- For a straw wand, simply take two straws—one long and one short—and connect them so that the shorter straw can act as the handle of your wand.
Step 6: Dip and Blow
Once your mixture has sat, dip your bubble wand into the solution and slowly pull it out. Allow any excess mixture to drip off, then blow gently through the wand to create your bubbles!
What could go wrong: If the bubbles aren’t forming well, double-check your mixture’s consistency. A thinner mixture won’t hold together as effectively.
Step 7: Experiment and Enjoy
Now that you’ve mastered the basics, try experimenting! Change the size of the wand, incorporate food coloring, or even add some essential oils for a fragrant bubble experience.
Troubleshooting Magic Bubble Mishaps
- Bubbles Pop Too Soon: This could be due to low humidity or insufficient soap in your mixture. In dry weather, a little glycerin can help stabilize your bubbles.
- Bubbles Won’t Form: Ensure that your wand is adequately coated in the solution. If it’s too dry, the bubbles will fail to form.
Creative Variations
- Bubble Solutions for Different Weather: On a humid day, your regular recipe may work perfectly. But on dryer days, add more corn syrup or glycerin to counteract the effects of evaporation.
- Bubble Art: Use different colored bubble solutions and blow them over a sheet of paper for a beautiful, abstract bubble art project!
- Bubble Games: Create competitions with friends or family. Who can create the largest bubble? Who can keep a bubble floating the longest?
Final Thoughts
Crafting Magic Bubbles is not only about the final product; it’s about enjoying the process and the laughter shared during its creation. I encourage you to get creative, modify the recipe, and make it your own. Remember, every crafter has their own unique twists, and that's where the true magic lies!
What a joy it is to see those bubbles soaring through the air, capturing sunlight and laughter! Thank you for joining me on this bubbly adventure—I can’t wait to hear about your own experiences with Magic Bubbles. Happy crafting!