How to Make Kool-Aid Popping Candy Licorice: A Step-by-Step Guide
Hello, fellow crafters and candy lovers! Today, I'm thrilled to share with you a delightful and captivating treat that brings a burst of nostalgia mixed with an explosion of flavor—Kool-Aid Popping Candy Licorice. If you've ever wondered about those colorful, fun bites of candy that seem to dance and fizz in your mouth, imagine that experience wrapped in chewy, sweet licorice! This candy is perfect for parties, gifts, or just as a fun snack for yourself. Join me as I walk you through the process of crafting this whimsical treat from scratch!
Why Kool-Aid Popping Candy Licorice?
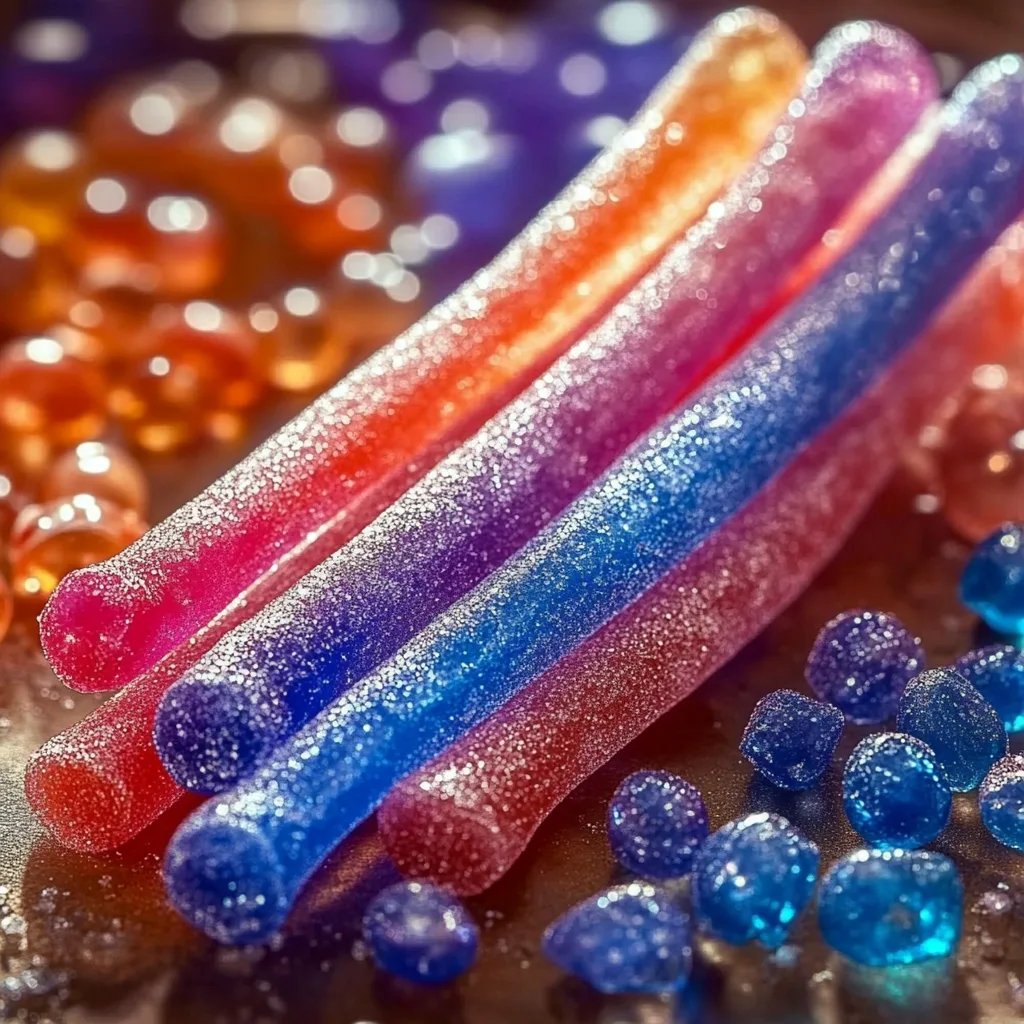
Kool-Aid Popping Candy Licorice is not just a candy; it's a sensory adventure! The vibrant flavors of Kool-Aid combined with the intriguing pop of popping candy create a unique experience that’s both fun to eat and mesmerizing to share. Whether it's a birthday party, a holiday gathering, or simply an afternoon treat for the kids, this candy brings joy and excitement to any occasion.
Imagine seeing the faces of your friends light up as they bite into a piece of this licorice and hear that satisfying fizzing sound—it’s utterly priceless! Plus, it’s an excellent way to get creative in the kitchen and make something truly special.
What You’ll Need
Before we dive into the delightful world of licorice-making, let’s gather our materials. What I love about this project is that it uses simple, accessible ingredients—most of which you may already have at home!
Ingredients:
- 2 cups granulated sugar
- 1/2 cup light corn syrup
- 1/2 cup water
- 1 packet Kool-Aid drink mix (any flavor you like!)
- 1 teaspoon salt
- 1 teaspoon flavored extract (like vanilla or cherry; optional)
- 1/4 cup popping candy (found at most grocery stores or online)
Equipment:
- A heavy-bottomed saucepan
- A candy thermometer
- A silicone candy mold (or a greased baking sheet)
- A spatula
- Heat-safe gloves (safety first!)
- A cooking spray or butter for greasing
Step-by-Step Tutorial
Step 1: Gather Your Supplies
Before you start, take a moment to gather all your ingredients and equipment. Having everything at arm's reach will make the process smoother and more enjoyable. Trust me, you don’t want to be scrambling for supplies when sugar syrup is bubbling away!
Step 2: Prepare Your Mold
If you're using a candy mold, lightly grease it with cooking spray or butter to prevent the licorice from sticking. This initial step is vital because, without proper greasing, you could end up with a sticky mess that’s impossible to remove. If you don’t have molds, a greased baking sheet will work—but keep in mind that you'll need to cut the licorice into strips afterward.
Step 3: Combine Ingredients
In your heavy-bottomed saucepan, combine the granulated sugar, corn syrup, and water. Stir the mixture over medium heat until the sugar has fully dissolved. This is an important step because any undissolved sugar can lead to a grainy texture in your final product.
Step 4: Heat to Hard Ball Stage
Attach your candy thermometer to the side of the pot and bring the mixture to a boil without stirring. You'll want to watch closely and ensure it reaches the hard ball stage (around 250°F or 121°C). If it goes too far, you risk a burnt batch, but if it doesn’t reach the right temperature, the licorice won't set properly. Patience is key here!
Tip: If you notice any sugar crystals forming on the sides of the pan, use a wet pastry brush to wipe them away to prevent crystallization.
Step 5: Add Kool-Aid and Salt
Once you’ve reached the correct temperature, remove the pot from heat. Carefully stir in your Kool-Aid drink mix and salt until they’re fully incorporated. Here’s where the magic happens—the bright colors and flavors of Kool-Aid will infuse the candy! If you want to enhance the flavor further, this is a great time to add flavored extract.
Step 6: Pour into Mold
Wearing heat-safe gloves, carefully pour the hot mixture into your prepared molds. Be cautious, as the syrup will be extremely hot. If you’re using a baking sheet, pour an even layer and allow it to spread naturally.
Step 7: Add Popping Candy
Before your licorice cools completely, sprinkle the popping candy evenly over the top. You may even gently press it into the surface for a more integrated pop!
Step 8: Allow to Cool and Set
Let the licorice cool at room temperature for about 2-3 hours. When it’s completely set, you can either cut it into strips or pop it out of the mold. If you're using a baking sheet, a sharp knife or pizza cutter works wonders for creating uniform pieces.
Troubleshooting Common Issues
- Too Sticky? If your licorice is sticky and doesn’t hold shape, it likely didn't reach the right temperature. Try reheating the batch to the hard ball stage, and work quickly when pouring it into the molds.
- Brittle Texture? If the licorice breaks easily or is too hard, it may have cooked too long. A little experimentation with temperature can help you find the perfect consistency in future batches.
Creative Variations
- Color & Flavor Combinations: Use different Kool-Aid flavors for varied colors and tastes. Think tropical punch for a vibrant red, or blue raspberry for something truly eye-catching.
- Infusing Herbal Teas: If you want a more sophisticated flavor, consider using herbal tea powder instead of Kool-Aid. Combine flavors like chamomile or hibiscus with light honey to create custom candy.
- Texture Twists: For a more interesting texture, substitute some of the granulated sugar with shredded coconut or crushed nuts before pouring into molds.
Personal Anecdote
I recall my first attempt at making Kool-Aid Popping Candy Licorice: my kitchen was a wild mix of colors, and I accidentally added twice the amount of Kool-Aid. The result? An exceptionally vibrant, albeit overpowering, licorice that had family and friends chuckling. It’s moments like these that remind me that crafting and candy-making should be an adventure!
Safety Warnings
Be sure to keep a close eye on your hot sugar mixture to avoid burns. Always use heat-resistant gloves when handling the hot syrup, and ensure that children are supervised during the candy-making process. The mixture can be deceptively dangerous when overheated!
Conclusion
Creating Kool-Aid Popping Candy Licorice is a fun and rewarding project that’s bound to put a smile on your face. With simple ingredients and clear steps, you can embark on a tasty adventure that’s as much about the process as it is about the delicious end product. So gather your ingredients, unleash your creativity, and enjoy the delightful experience of making your own candy treats. Happy crafting, and may your kitchen be filled with sweet laughter and joy!