How to Make Jiggly Aquarium Pops: A Step-by-Step Guide
As an avid crafter and DIY enthusiast, I am always on the lookout for fun, creative projects, and one of my absolute favorites to share with friends and family are Jiggly Aquarium Pops! These colorful, gelatin-based pops are not only a treat for the taste buds but also a visual delight, reminiscent of an aquarium brimming with marine life. Perfect for summer gatherings, kids’ parties, or simply as a personal indulgence, these quirky delights are bound to impress and entertain.
In this article, I will share my tried-and-true method for crafting the perfect Jiggly Aquarium Pops – step by step! Not only will I walk you through the process, but I’ll also share tips, tricks, and variations that I’ve learned over the years. So, grab your crafting supplies, and let’s get started!
What Are Jiggly Aquarium Pops?
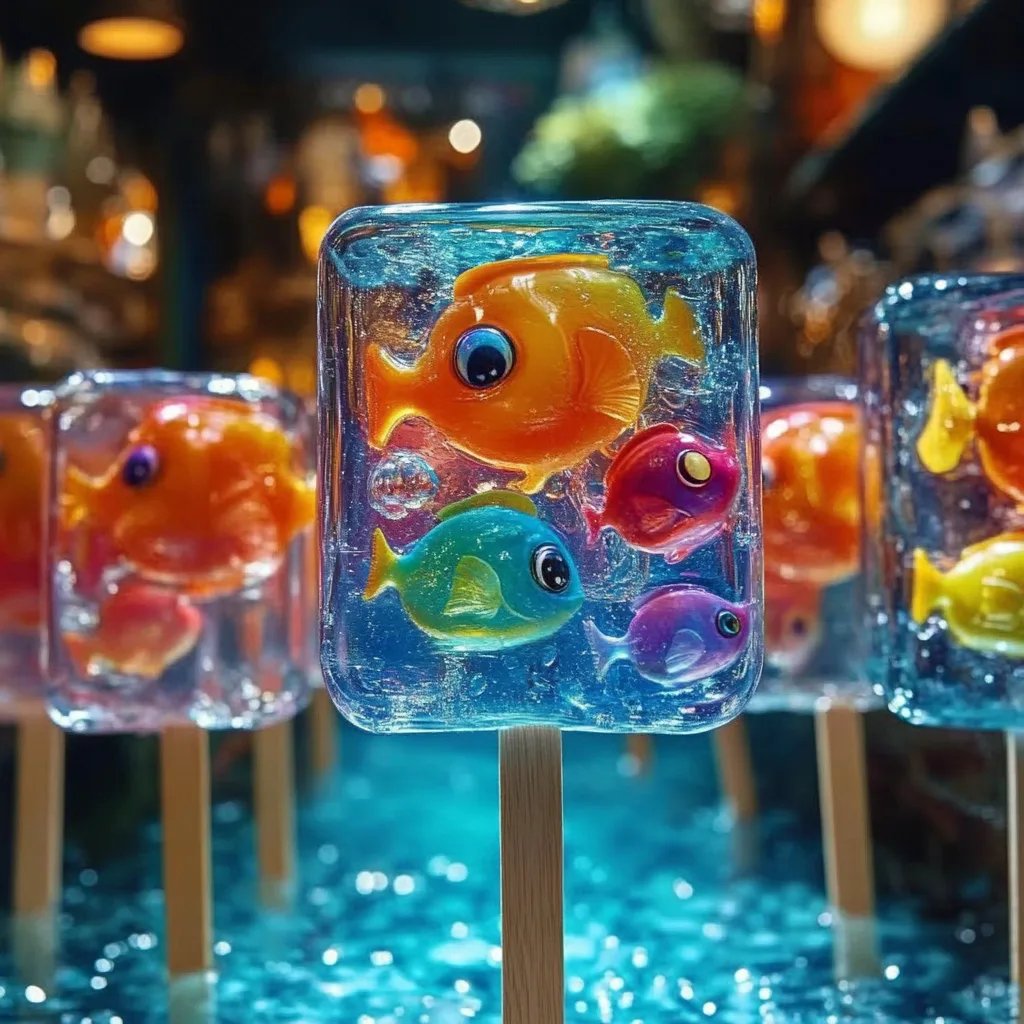
Jiggly Aquarium Pops are colorful gelatin treats that resemble miniature aquariums, complete with edible fish and seaweed. Made primarily from flavored gelatin and your choice of gummy candies, these pops are both visually stunning and deliciously fun. The trending appeal comes from their vibrant colors, playful look, and the fact that they’re especially delightful for kids. I often prepare them for birthday parties or summer picnics; they are always a hit with both kids and adults alike!
Materials You'll Need
Before we dive into the steps (pun intended), let’s gather our supplies. You won’t need anything too fancy; most of these materials you can find at your local supermarket or craft store:
Essential Ingredients:
- Jello Gelatin (3 different colors/flavors – I love blue raspberry, lime, and orange)
- Water (boiling and cold)
- Gummy Candies (such as gummy fish, sea turtles, or gummy sharks)
- Popsicle Molds (the clear kind works best for showcasing your beautiful creation)
- Popsicle Sticks (if your molds don't come with them)
- Mixing Bowls and a Whisk
Optional Ingredients:
- Edible Glitter or Sprinkles (to add some extra flair)
- Fresh Fruit (like blueberries or small slices of kiwi for a realistic look)
- Flavoring Extracts (to enhance the Jello flavor, like coconut or pineapple)
Step-by-Step Tutorial
Step 1: Prepare Your Work Area
Before starting any crafty endeavor, it’s essential to organize your workspace. Clear a counter or table, and don’t forget to lay down a protective covering, especially if you’re a bit messy like I tend to be! Having your tools and ingredients organized will make the entire process smoother and more enjoyable. Set out the mixing bowls, whisk, and all the ingredients within arm’s reach.
Step 2: Understand Gelatin
Why is it critical to read the instructions on your gelatin packets? Well, understanding the gelatin-making process helps prevent mishaps. Gelatin needs to be dissolved properly; otherwise, your pops may end up with unwanted lumps.
Step 3: Make the First Layer
- Dissolve the First Gelatin Flavor:
Boil 1 cup of water (make sure to monitor it closely to prevent it from spilling), then add one packet of blue raspberry gelatin. Whisk until completely dissolved. This should take about 2-3 minutes.
- Chill:
Pour the blue gelatin mixture into your popsicle molds, filling them about one-quarter full. Allow these to cool at room temperature before placing them in the refrigerator for about 30 minutes. Tip: If your molds are opaque, you may have to guess the filling level, so consider using clear molds for visibility!
Step 4: Add Gummy Treats
Once your first layer has set (it should be firm but not solid), it’s time to add a layer of gummy treats. I like to sprinkle gummy fish or sea turtles in this layer—this step really brings your aquarium to life!
Step 5: Add Second Layer of Gelatin
- Repeat Gelatin Process:
Following the same method as before, dissolve the second flavor (like lime) in one cup of boiling water. Once dissolved, mix in ½ cup of cold water. Pour this vibrant green layer over the gummy candy in your molds.
- Set Again:
Repeat the chilling process for another 30 minutes or until it’s just firm to the touch. Caution: Don’t rush this step; if you add the next layer too soon, it may disturb the previous layers, ruining your beautiful pops.
Step 6: Final Layer and Freezing
- Make the Final Gelatin Flavor:
Follow the same steps with the orange gelatin mixture. Add it to the molds, but this time, you can top with edible glitter or sprinkles for that extra sparkle!
- Freeze:
Allow your pops to chill for at least 4 hours, or overnight if you're planning ahead. The longer they sit, the more stable they will be when removed.
Step 7: Unmold the Pops
Once your Jiggly Aquarium Pops have frozen solid, it’s time for the thrilling final reveal! To remove the pops:
- Run Warm Water:
Gently run warm water over the outside of the popsicle molds for a few seconds. This helps loosen the pops from the mold.
- Gently Pull:
Carefully pull out the popsicles, taking care not to break them. If they’re obstinate, dip them again in warm water briefly.
Serving and Enjoying Your Creation
Your Jiggly Aquarium Pops are ready to be displayed and devoured! They can be served in a cute glass or just on a plate. To present them beautifully, consider adding some crushed ice beneath them for that authentic "aquarium" vibe. As a personal touch, I love to label them with fun names like “Ocean Delight” or “Tropical Splash.”
Troubleshooting Common Issues
Sometimes things don’t go as planned, but don’t despair! Here are a few common pitfalls and how to fix them:
- Gelatin Doesn't Set: This could be due to insufficient chilling time or too much water. Always follow the instructions on the packet closely.
- Layering Disturbances: If you find that your layers are mixing, ensure each layer is set properly before adding the next.
- Sticky Pops: If your pops are sticky, you may have added too much gelatin. A great tip to resolve stickiness is to lightly spray the molds with a non-stick cooking spray before pouring in the gelatin.
Creative Variations
After creating the classic Jiggly Aquarium Pops, feel free to experiment:
- Sea-Themed Pops: Use blue raspberry for water, but swap the gummies for fruits shaped like sea creatures (using fruit punch-flavored gelatin).
- Layered Rainbow Pops: Try making pops with a rainbow effect using multiple colors in the same mold for a vibrant, multicolored delight.
- Themed Parties: Modify flavors and colors based on the theme of the event you're attending – Halloween colors, Christmas flavors, or Bright Summer colors!
Conclusion
Creating Jiggly Aquarium Pops is not just about the end product; it’s also a fun and engaging experience that can bring joy to both creators and consumers. Whether you’re preparing them for a special occasion or simply to enjoy at home, these eye-catching treats are sure to bring smiles. I hope you feel inspired to try your hand at making these jelly creations, and I’d love to hear about your variations and experiences! So, grab your ingredients, unleash your creativity, and most importantly – have fun!