How to Make Homemade Pop Rocks: A Sweet Science Adventure
Hello, fellow candy enthusiasts! Today, I'm thrilled to share one of my favorite DIY projects: making Homemade Pop Rocks. Remember the excitement of popping candy crackling on your tongue? Whether they were a staple of birthday parties, a special treat during the holidays, or just a fun way to surprise your friends, Pop Rocks have a way of igniting nostalgia and joy. As an experienced crafter and candy maker, I can't wait to share my secrets with you and take you through the delightful, fizzy process of creating your very own version at home.
What Are Pop Rocks?
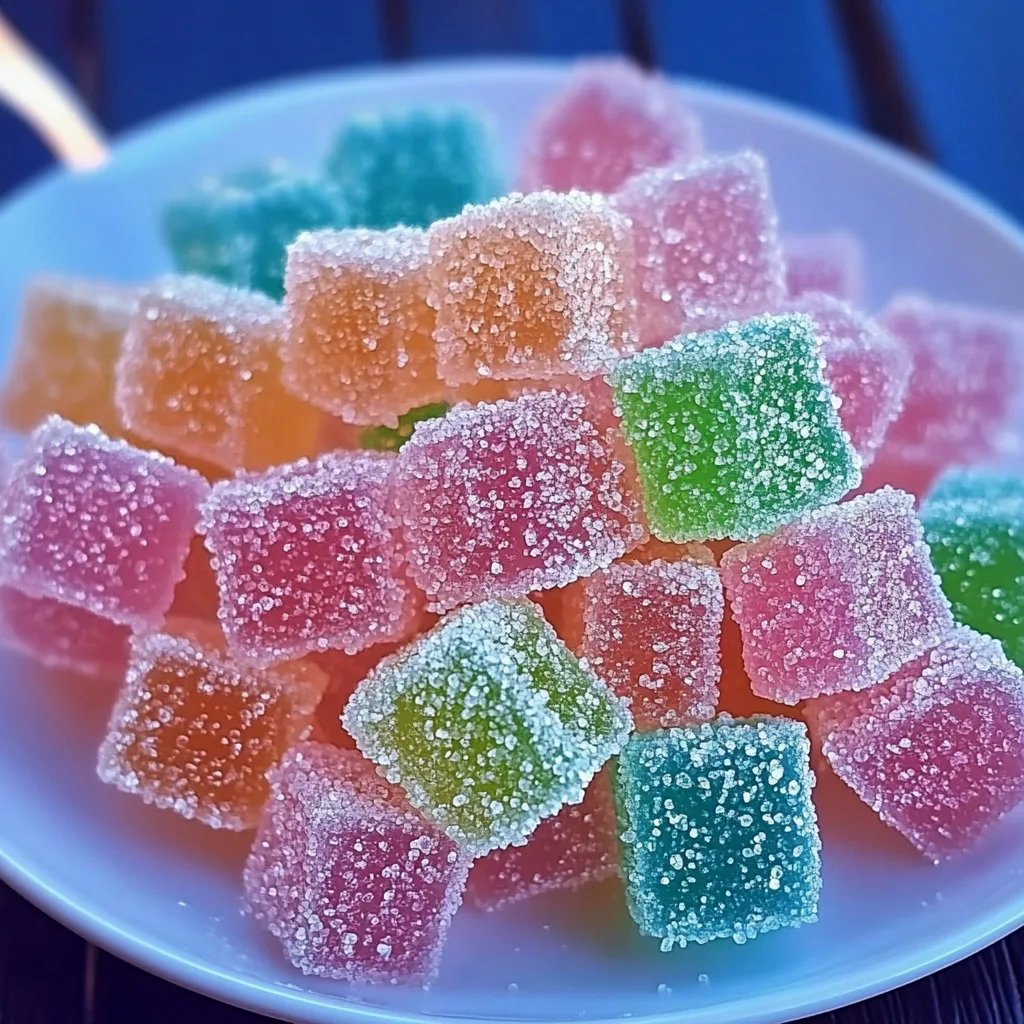
Pop Rocks are a unique candy known for their explosive crackle when they come in contact with moisture, like saliva in your mouth. These gems are essentially small, sugary granules filled with carbon dioxide gas. When you bite into them, the pressure is released, and voilà—pop! They're a fantastic addition to birthday parties, holiday treats, or just a fun snack to surprise your kids (or yourself!). Who wouldn’t want to live continuously with those fun firework-like explosions in their mouth?
Why Make Them at Home?
Making Pop Rocks at home is not only a fun science experiment but also allows you to customize the flavors and colors to reflect your personal taste. Plus, it's a unique bonding activity for family and friends. Just imagine gathering around your kitchen, turning simple ingredients into magical candy creations while sharing laughter and stories.
What You'll Need
Before we dive into the step-by-step guide, gather these accessible ingredients and supplies:
Ingredients:
- 1 cup granulated sugar
- 1/2 cup corn syrup
- 1/4 cup baking soda
- 1 tablespoon citric acid
- Flavoring (extracts or oils; I love using natural fruit extracts!)
- Food coloring (optional for added flair)
Equipment:
- Candy thermometer
- Heavy-bottomed saucepan
- Whisk
- Baking sheet
- Parchment paper
- Airtight container
Step-by-Step Tutorial: How to Make Homemade Pop Rocks
Step 1: Prepare Your Workspace
Before starting, make sure your work area is clean and free of any clutter. Trust me; it makes a world of difference! Lay out your ingredients and tools so everything is within reach. It’s more enjoyable to work in a tidy environment.
*Why this matters:* A clutter-free workspace allows you to focus on the candy-making process without distractions. You’ll thank me later!
Step 2: Combine Ingredients
In a heavy-bottomed saucepan, combine the granulated sugar, corn syrup, and flavoring of your choice. Over medium heat, stir the mixture until the sugar dissolves completely.
*Tip:* Use a whisk for better mixing. Make sure you're stirring continuously to avoid any burning.
*What could go wrong:* If the sugar gets too hot and starts to caramelize, you may end up with burnt-tasting candy. Keep a close eye on the mixture!
Step 3: Bring to The Boil
Once the sugar has dissolved, you can increase the heat and bring the mixture to a boil. Insert your candy thermometer and watch it closely. We want it to reach 300°F (hard crack stage).
*Why this step matters:* This temperature is crucial for the formation of those delightful cracks and texture we associate with Pop Rocks.
*What could go wrong:* If you pull it off the heat too early, your candy may not pop properly. Patience is key!
Step 4: Add Baking Soda
When your mixture reaches 300°F, quickly remove it from the heat and stir in the baking soda. This is where the magic happens! You'll notice the mixture bubbling and expanding.
*Tip:* Make sure you mix thoroughly. The baking soda helps create the “pop” effect by trapping carbon dioxide gas in the candy.
*What could go wrong:* If you don't mix enough, you may end up with uneven textures. If it seems to bubble too much and becomes unmanageable, you can pour it on a baking sheet quickly.
Step 5: Pour and Color
Pour the bubbly mixture onto a baking sheet lined with parchment paper. It can be a bit sticky, so use a spatula to spread it evenly. If you'd like to add color, now’s the time! Add a few drops of food coloring and swirl gently to create marbled effects—keep it subtle as you don’t want to alter the structure too much.
*Tip:* Don’t touch the mixture just yet; it’s extremely hot!
*What could go wrong:* If the candy cools too much before you're able to spread it out, the texture will become hard and won’t be the right consistency!
Step 6: Let It Cool
Allow the candy to cool completely at room temperature. This usually takes about an hour. Patience is key!
Step 7: Break and Store
Once cool, break the candy into small pieces. I recommend using a hammer or your hands (with a light touch) rather than blunt force. Store the pieces in an airtight container to keep them fresh.
*Tip:* You can also add a small packet of desiccant (like silica gel) to maintain dryness and poppiness.
Troubleshooting Common Issues
- Too Soft: If the candy ends up too soft and doesn’t crack properly, it might not have reached the right temperature. Next time, ensure it hits that critical 300°F mark.
- Too Hard: If your candy is too hard, it likely overcooked. Monitor the temperature carefully during that crucial boiling phase.
Safety First!
When working with hot sugar mixtures, please remember always to prioritize safety. Keep a bowl of cold water nearby, just in case of spills. Avoid letting children near hot candy preparation, as burns can be quite serious.
Creative Variations
Here’s where you can let your imagination soar! Try these fun variations:
- Flavor Blends: Mix flavors like strawberry and banana or watermelon and lemonade for a unique treat.
- Colored Layers: Pour the base layer, wait a few minutes, then pour a different color layer on top for a multi-colored pop experience.
- Holiday-Themed: Add seasonal flavors (like peppermint) and colors to make them festive!
Final Thoughts
Creating your own Homemade Pop Rocks can be a delightful journey from start to finish. I hope you’ve enjoyed following along my detailed process—now it’s your turn to dive in!
Remember, candy-making is as much about science as it is about art. Don’t be disheartened by potential hiccups—each attempt is a learning experience. Gather your ingredients, invite your friends or family into the kitchen, and let’s capture the joyous nostalgia of popping candy together! Happy crafting!