How to Make Homemade Play Dough: A Fun, Easy, and Colorful Crafting Adventure
Welcome, fellow crafters! Today, I'm excited to share one of my all-time favorite DIY projects: making homemade play dough! As someone who has spent countless hours crafting with kids and indulging my own creative spirit, I've found that play dough is not only a fantastic sensory activity but also a wonderful tool for imaginative play. Whether it’s rainy days indoors, birthday party activities, or simple afternoon fun, play dough is a timeless classic that delights both children and adults alike.
In this guide, I'll walk you through a step-by-step process to craft your very own play dough. I’ll share my personal tips, insights, and a few creative variations that will make this project uniquely yours. Let’s get started!
Why Make Your Own Play Dough?
You might be wondering, why make homemade play dough when you can easily buy it at the store? The answer is simple:
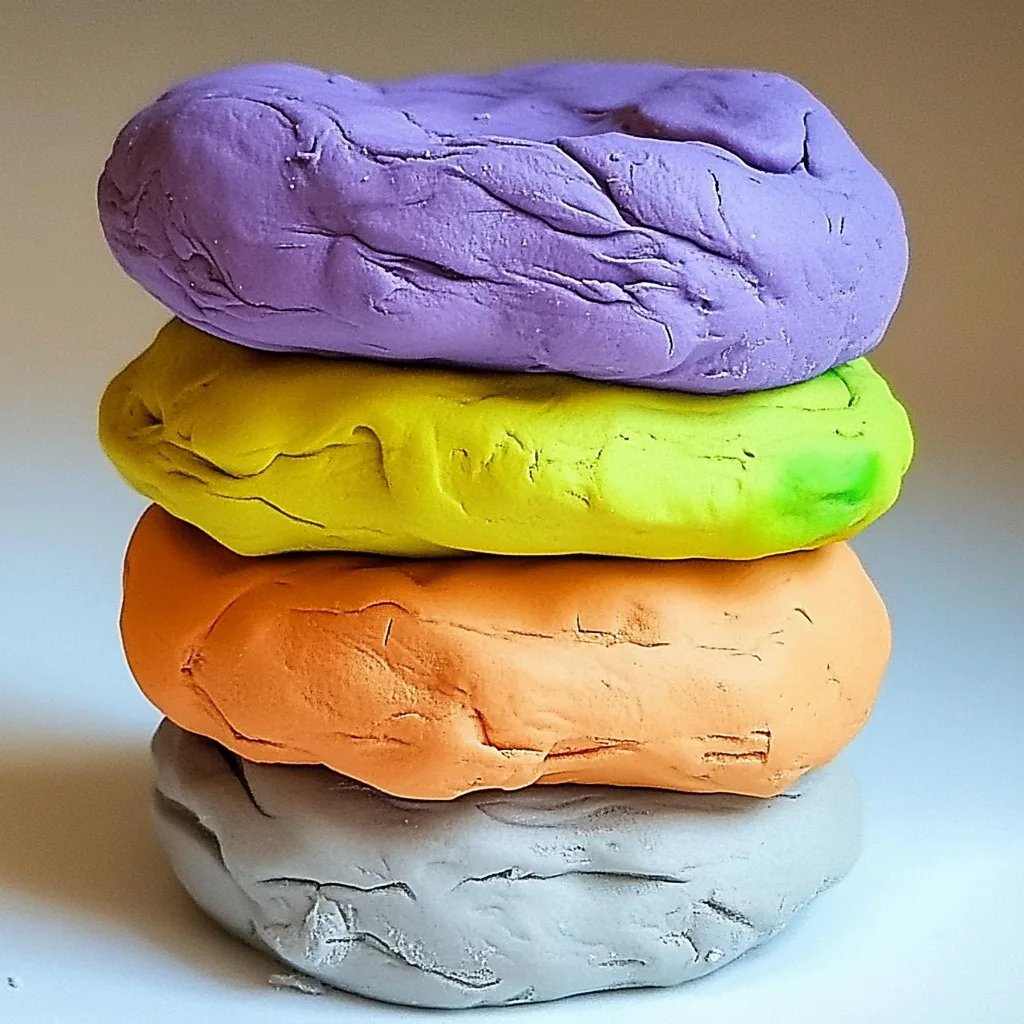
- Customization: You can choose colors, scents, and textures to suit your preferences or those of your little ones.
- Safety: Homemade play dough uses non-toxic, food-safe ingredients, making it a safer option for younger children.
- Cost-effective: Making your own play dough is budget-friendly. The ingredients are typically pantry staples.
- Quality Control: You can adjust for the texture you prefer— whether you like it firm, soft, or somewhere in between.
Now that you're sold on creating your own play dough, let’s dive into the fun part!
What You’ll Need
Basic Ingredients:
- Flour: 2 cups (all-purpose flour works best)
- Salt: 1 cup (this acts as a preservative)
- Water: 2 cups (you can use cold or warm)
- Cream of Tartar: 2 tablespoons (this helps create the dough's elasticity)
- Oil: 2 tablespoons (vegetable or coconut oil works great)
- Food Coloring: Optional (for vibrant colors)
- Essential Oils: Optional (for added scent)
Tools:
- Large Mixing Bowl
- Medium Saucepan
- Wooden Spoon or Spatula
- Measuring Cups
- Plastic Wrap or Airtight Container (for storage)
Step-by-Step Tutorial
Step 1: Combine Dry Ingredients
In a large mixing bowl, combine 2 cups of flour, 1 cup of salt, and 2 tablespoons of cream of tartar. Mixing these dry ingredients first is crucial because it ensures that everything is evenly distributed, which is vital for the dough's consistency.
Step 2: Prepare the Wet Ingredients
In a medium saucepan, combine 2 cups of water with 2 tablespoons of oil. If you'd like to add food coloring or essential oils, this is the perfect moment to do so. Remember to start with a few drops; you can always add more to achieve your desired hue or scent!
Step 3: Combine and Cook
Pour the wet mixture into the dry ingredients. Stir continuously over medium heat with a wooden spoon. The mixture will start to thicken, and that's the magic moment! Do not walk away—stirring ensures that the dough doesn’t burn on the bottom. If you notice that it’s clumping and not fully coming together, don’t panic. Cook it a little longer and stir; it should start forming into a ball.
Step 4: Knead the Dough
Once the dough has pulled away from the sides of the pan and formed a cohesive ball, remove it from the heat and let it cool for a minute. Then, take it out and knead it on a clean, flat surface for about 5 minutes. Kneading not only improves the texture but also enhances elasticity, making it easier to mold.
Step 5: Store Your Play Dough
Allow your play dough to cool completely before storing it. Once cooled, place it in a plastic wrap or an airtight container. Homemade play dough can last for 1 to 3 months when stored properly, though I find it’s usually gone within a week due to all the fun!
Troubleshooting: Common Issues and Fixes
- Too sticky: If your dough is sticky, this usually means it needs more flour. Dust your work surface with flour and knead it in until you reach your desired consistency.
- Crumbly dough: If dough falls apart when you squeeze it, you likely need more moisture. A little water added during kneading should bring it back to life.
- Dough too hard: This can happen if you've overcooked it. To fix hard dough, try microwaving it for a few seconds and kneading in some oil or a tiny splash of water.
Personal Anecdotes and Creative Variations
As a crafting mentor, I vividly remember hosting a play dough-making party for my kids and their friends. The joy in their eyes while mixing colors and fragrances was priceless! We ended up creating a rainbow of play dough, and the kids spent hours sculpting fantastical creatures.
Creative Variations
Why stop at the basics? Here are a few ideas:
- Add Texture: Incorporate sand, cornmeal, or even powdered spices like cinnamon for a sensory experience.
- Scented Play Dough: A few drops of essential oils (like lavender or peppermint) can elevate your dough’s appeal and create a calming atmosphere.
- Holiday Themes: Add glitter for festive sparkle or color the dough to match holiday themes (green and red for Christmas, pastels for Easter, etc.).
- Glow-in-the-Dark Dough: Use glow-in-the-dark paint to create magical play dough that glows when the lights are out! Just make sure it’s non-toxic.
Safety Warnings
Though our ingredients are generally safe, it’s essential to keep an eye on little ones to prevent them from putting play dough in their mouths. If they do happen to consume some, don’t panic—although not tasty, it’s not harmful in small amounts.
In Conclusion
Making homemade play dough is not just a simple craft; it’s a doorway to creativity, fun, and sensory exploration. Whether you’re a parent looking to engage your children in a new activity, or you’re seeking a relaxing way to spend your afternoon, homemade play dough is the perfect solution.
So gather your materials and dive into the joy of crafting! I assure you that the smiles, laughter, and colorful creations will be well worth it. Happy crafting, and may your play dough adventures be as colorful as your imagination!