How to Make Homemade Kinetic Sand: A Step-by-Step Guide
Hello fellow crafters! If you’ve ever marveled at the mesmerizing properties of kinetic sand, you’re not alone. This magical, moldable substance has taken the world by storm, becoming a favorite among kids and adults alike. Its unique texture allows you to build, squish, and shape it without the mess of traditional sand. But here’s a little secret: you don't have to buy kinetic sand from the stores. You can easily whip it up at home! Today, I’m excited to share my personal recipe and tips for making homemade kinetic sand, along with insights that will guide you through every step of the process. Let’s dive in!
What is Kinetic Sand?
Kinetic sand is essentially a mixture of sand and a polymer, giving it that captivating, moldable quality. It sticks together without being sticky, and you can create all sorts of shapes with it. The popularity of kinetic sand goes beyond mere play; it’s therapeutic and great for sensory development in children as well as relaxation for adults. You can use it during playdates, for art projects, or even as a stress-reliever in your own workspace.
Why Make Your Own Kinetic Sand?
- Cost-Effective: Store-bought kinetic sand can be quite pricey, especially if you have multiple children or plan to use it extensively.
- Customization: By making it at home, you can choose the color and texture. Plus, you can experiment with scents or glitter for added flair.
- Safe Ingredients: Homemade kinetic sand can be made with non-toxic materials, ensuring it’s safe for everyone.
Materials Needed
Before we begin, gather these simple materials:
- Play Sand: 2 cups (make sure it’s clean and dry)
- Cornstarch: 1 cup
- Dish Soap: 1-2 tablespoons
- Water: 1/2 cup
- Optional: Food coloring, glitter, essential oils (for scent)
- Mixing Bowl: For combining your ingredients
- Spoon or Hands: For thorough mixing
- Storage Container: For keeping the kinetic sand fresh
Step-by-Step Tutorial
Step 1: Combine the Dry Ingredients
I start by adding 2 cups of play sand to my mixing bowl. Play sand is the best choice because it has a fine texture that blends well. Next, I add 1 cup of cornstarch. The cornstarch is vital as it provides that delightful moldable quality that we love in kinetic sand.
Troubleshooting:
If the sand feels too gritty after mixing, it might be that your play sand is too coarse. I recommend using a finer sand for best results or even sift through the sand before using it.
Step 2: Mix in the Dish Soap
Now, it’s time for the magic ingredient: dish soap! I usually pour about 1 tablespoon at first and mix it in well. The soap acts as a bonding agent. If the mixture feels too dry later on, you can add a bit more soap to achieve the consistency you desire.
Tips:
If you want scented sand, consider choosing a dish soap that has a pleasant fragrance or add a few drops of essential oil later during mixing.
Step 3: Add Water Gradually
I slowly pour in 1/2 cup of water into the dry mixture. This step requires a bit of patience! Stir it in gradually to avoid clumping. The goal here is to achieve a slightly damp and moldable consistency. I’ve found that each batch can vary slightly depending on humidity and the type of sand used.
Troubleshooting:
If the mixture feels too wet, don’t panic! Simply add more sand and cornstarch in equal proportions until you get the desired feel. If it's too dry, add a tiny bit more water.
Step 4: Mix, Mix, Mix!
Now, I use my hands to knead the mixture until it reaches a smooth, moldable texture. I enjoy this part because it’s hands-on and sensory. You're looking for that perfect balance where the sand holds its shape but doesn’t stick to your hands.
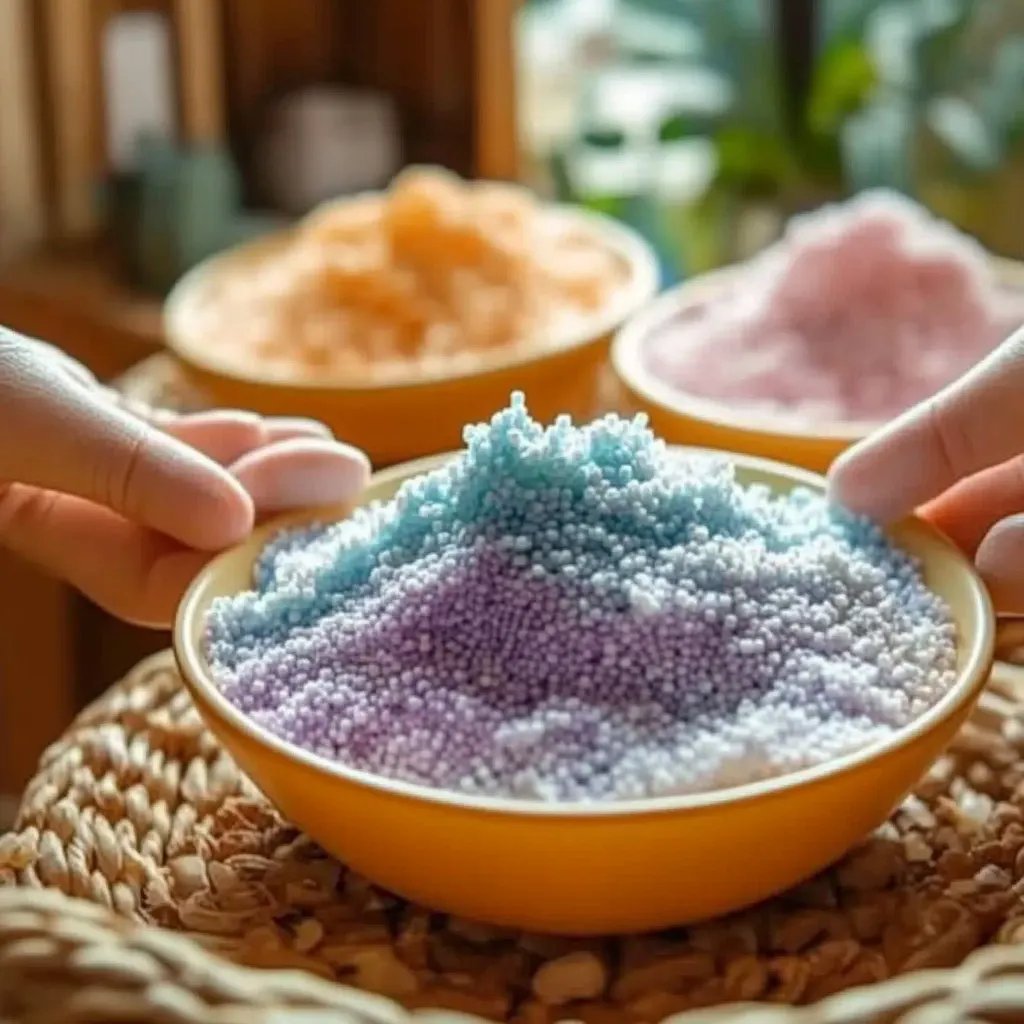
Step 5: Add Colors and Fun
If I’m feeling adventurous, this is the time to incorporate food coloring or glitter. Just add a few drops of food coloring while mixing to achieve the shade you love. I usually try a couple of drops at first, knead it in, and then add more if needed. For glitter, sprinkle it in when you’re almost finished mixing.
Step 6: Store Your Kinetic Sand
Once my kinetic sand is ready, I transfer it to an airtight container. The sand can last for weeks when stored properly, so I make sure to seal it tight after every session.
Safety Warning:
If using food coloring, remember it might stain surfaces or clothing, so work on a surface you don’t mind getting a little color on.
Creative Variations
- Glow-in-the-Dark Kinetic Sand: Add glow-in-the-dark powder to your mix for a fun nighttime experience.
- Textured Kinetic Sand: Incorporate coffee grounds or powdered spice for a unique texture and scent.
- Seasonal Kinetic Sand: In autumn, I like adding pumpkin spice to evoke that cozy fall feeling. In spring, a few drops of lemon essential oil create a refreshing atmosphere.
Final Thoughts
Making homemade kinetic sand is not just a fun activity; it's a chance to unleash your creativity and bond with friends and family. I encourage you to experiment with the ratios and add your unique touches to personalize the sand to your liking. I’ve learned that crafting is a journey—embrace the little hiccups, and you might just discover new techniques along the way.
I hope you feel inspired to try making your own kinetic sand at home! Let your imagination run wild, and don’t hesitate to share your results or ask any questions. Happy crafting!