How to Make Homemade Kinetic Sand: A Crafting Journey
As an avid crafter and seasoned DIY enthusiast, I’ve always been captivated by projects that blend creativity and sensory experience. One such glittering gem in the world of crafts is kinetic sand—a mesmerizing, moldable material that offers hours of fun and tactile delight for both kids and adults. If you’re unfamiliar with it, kinetic sand is a super fun, lightweight substance that holds its shape like wet sand but never dries out. You can squash it, mold it, and watch it flow through your fingers, making it an incredibly popular choice for creative play, stress relief, and even classroom use.
In this article, I’ll be guiding you through my personal step-by-step process for making homemade kinetic sand. I’ll share insights from my crafting journey, tips to finesse your mixture, and creative variations to inspire your own unique creations. So let's grab our materials and dive into the world of kinetic sand!
Why is Kinetic Sand So Popular?
Kinetic sand has skyrocketed in popularity for several reasons. It's a wonderfully calming sensory material, perfect for stress relief. It promotes fine motor skills in children and encourages imaginative play. Additionally, it’s non-toxic and easy to clean, making it ideal for indoor play. Plus, there’s something undeniably satisfying about watching it crumble and reform, making it an excellent tool for reducing anxiety or simply unwinding after a long day.
Materials You'll Need
Before we get started, let me highlight the materials you will need to create your very own homemade kinetic sand:
- Sand: The star of the show—use clean, fine-grain sand or kinesthetic sand found at craft stores.
- Cornstarch: This adds the unique texture that allows the sand to hold its shape.
- Water: Just a bit helps to bind everything together.
- Dish soap: This provides extra malleability and a smooth texture.
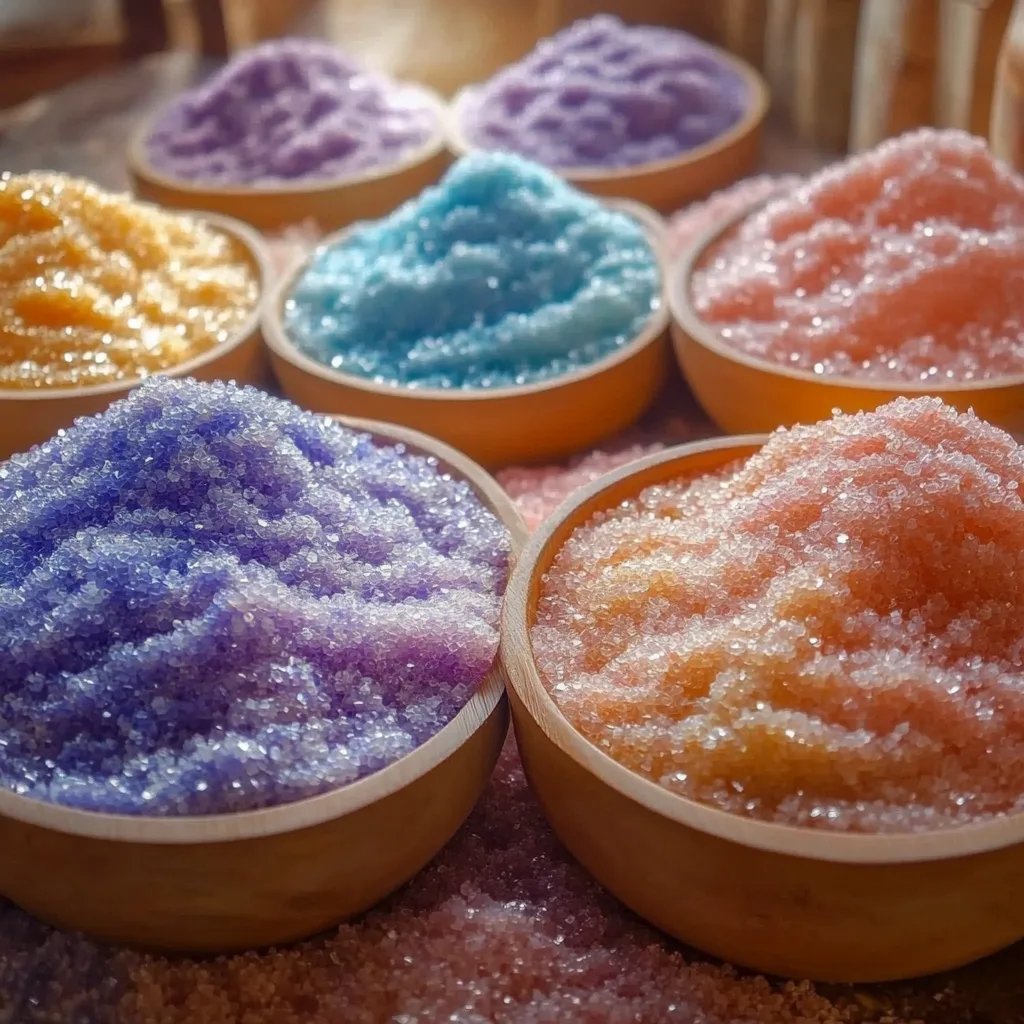
- Food Coloring (Optional): To add a splash of color.
- A large bowl: For mixing your ingredients.
- A spatula or spoon: For thorough mixing.
Step-by-Step Tutorial
Step 1: Measure Your Ingredients
The first step in making homemade kinetic sand is to gather and measure your materials. For a basic recipe, you'll need:
- 5 cups of sand
- 2.5 cups of cornstarch
- 1.5 cups of water
- 1-2 tablespoons of dish soap
- Food coloring if you want to add color
Why This Matters: Getting precise measurements ensures that your kinetic sand has the perfect consistency. Adjusting the sand-to-cornstarch ratio will create a different texture, so stick to the measurements until you’re comfortable experimenting.
Step 2: Mix Sand and Cornstarch
In a large mixing bowl, combine the sand and cornstarch. Utilize a spatula or spoon to thoroughly mix them together.
Tip: This is a great opportunity to get kids involved! They can help with the mixing, which not only makes it fun but also enhances their understanding of textures.
What Could Go Wrong: If you don’t mix well, you might end up with clumps of cornstarch. Make sure to break them apart as you mix.
Step 3: Add Water and Dish Soap
Now, it’s time for the binding agents! Slowly add the water and dish soap to the mixture. It’s best to add the water gradually, mixing as you go until everything is well combined and forms a cohesive mixture.
Why This Matters: Adding water all at once can lead to an overly wet mixture, which is difficult to rescue. Always add it slowly!
Anecdote: I remember the first time I made this; I dumped all the water in at once, and I was left with a gooey mess. It took me some creativity (and a lot of cornstarch) to remedy it.
Step 4: Add Food Coloring (Optional)
If you’re keen to add a personal touch to your kinetic sand, now’s your chance! Add a few drops of food coloring and knead it into the mixture until you achieve your desired hue.
Tip: Wear gloves if you’re worried about staining your hands, or incorporate the color directly into the water before mixing it in—this can help keep things neat!
What Could Go Wrong: Too much food coloring can lead to sticky sand. A little goes a long way, so start small.
Step 5: Test the Consistency
Now comes the moment of truth! Grab a handful of your kinetic sand and begin to mold it into shapes. It should hold together well without crumbling.
If It’s Too Dry: Add a tiny bit more water, mixing thoroughly with your hands.
If It’s Too Wet: Sprinkle in some more cornstarch a little at a time until the desired consistency is achieved.
Step 6: Store Your Kinetic Sand
Once you’re satisfied with your homemade kinetic sand, it’s essential to store it properly. Place it in an airtight container or sealable plastic bag to keep it fresh and pliable for future play.
Creative Variations: Try adding different scents using essential oils or mix in glitter for a fun shine!
Safety Warnings
Always supervise small children during play, especially if they have a tendency to put objects in their mouths. While the ingredients are non-toxic, ingestion of cornstarch or sand can still pose concerns. Make sure to clean up any excess sand after play to prevent slips or messes around your home.
Final Thoughts
Creating homemade kinetic sand is not only a fun project but also an incredibly rewarding experience. I always delight in watching my kids get lost in their creativity as they mold and shape the sand into endless possibilities. Not only is it easy to make, but it also encourages imaginative play and fine motor skills.
Now that you have the skills and insights to make your own kinetic sand, I encourage you to experiment and make it your own. Try adding different textures, colors, or even scents! If you have any experiences or tips from your own crafting journey, I would love to hear them! Happy crafting, everyone!