How to Make Homemade Kinetic Sand: A Crafting Journey
Hello, fellow crafters! I’m delighted to share one of my all-time favorite DIY projects with you: creating your very own homemade kinetic sand! If you haven’t yet experienced the joy of this magical and tactile material, let me just say—it’s a game-changer. Kinetic sand, often referred to as “the sand that flows,” can take our childhood playtime to the next level while providing a delightful sensory experience for kids and adults alike.
Why Kinetic Sand is So Popular
Kinetic sand is soft, moldable, and easy to clean up, making it a hit among parents, educators, and crafters. It’s often used for everything from playtime to therapeutic activities because of its unique texture and feel. This marvelous material sticks to itself, making it extremely easy to shape into castles, shapes, and sculptures without leaving crumbs all over your living room floor. It’s perfect for rainy days indoors, sensory bins for young children, or even as an engaging tool for stress relief as an adult.
Now, let’s roll up our sleeves and embark on the journey of making our very own kinetic sand!
Materials Needed
Before we dive into the process, gather all your materials. This recipe is simple, using ingredients you'll likely have at home. Here’s what you will need:
- 1 cup of fine sand (you can find this in craft stores or outdoor supply stores)
- ½ cup of cornstarch
- 1 cup of water
- 1 tablespoon of dish soap (for added moldability)
- Food coloring (optional for a colorful twist)
- A mixing bowl
- A whisk or spoon for mixing
- An airtight container for storage
Step-by-Step Tutorial
Step 1: Prepare Your Mixing Area
Make sure your crafting zone is clean and clutter-free. I like to lay down some old newspapers or a plastic tablecloth to catch any spills, keeping cleanup easy. This not only protects your table but also creates a fun atmosphere for crafting.
Step 2: Combine the Dry Ingredients
In your mixing bowl, combine the fine sand and cornstarch. Stir this mixture well with a whisk or spoon to ensure they’re thoroughly blended. This step is essential because the cornstarch helps to bind the sand together, giving it that magical kinetic quality. If the ingredients aren’t mixed well, you might end up with clumps that don’t create the smooth texture we’re aiming for.
Step 3: Mix the Wet Ingredients
In a separate jug or bowl, mix the water, dish soap, and food coloring (if you're adding colors). The dish soap will add a level of elasticity to your kinetic sand, giving it that satisfying stretch when you mold it. This is one of my favorite parts because watching the colors swirl together is so satisfying!
Step 4: Combine the Wet and Dry Mixtures
Now it’s time for the big moment! Gradually pour the wet mixture into the dry mixture, stirring continuously. At this stage, consistency is key. If the sand is too dry and crumbly, add a touch more water—a little at a time—to achieve that perfect texture. Conversely, if it’s too wet, sprinkle in a bit more cornstarch.
This molding and adjusting phase is crucial. If it doesn’t feel right, don’t hesitate to tweak it! Kinetic sand should feel damp but not soggy, and it should easily hold its shape when molded.
Step 5: Kneading the Sand
Once everything is combined, dig in with your fingers to knead the sand. This step helps integrate all the ingredients and gives it that smooth, cohesive feel. Don’t be afraid to get your hands dirty! The tactile sensation is part of the fun, and you’ll notice how the texture transforms as you knead it.
Troubleshooting Common Problems
- Too Dry: If your sand feels too dry and breaks apart easily, simply add a few drops of water, kneading it in until the consistency improves.
- Too Wet: If it’s overly sticky and doesn’t hold shape, add more sand and cornstarch to counterbalance the moisture.
- Clumpy Texture: If you see clumps, ensure that you mixed the dry ingredients thoroughly. Sifting the sand may also help maintain a smoother consistency.
Safety Precautions
When crafting with young children, it’s essential to supervise them closely. While the materials used are generally safe, avoid ingestion of the sand mixture. Ensure your workspace is clean, and always wash hands after play to avoid any irritation from the dish soap or food coloring.
Creative Variations
Adding your personal touch is the best part of any craft project! Here are some ideas to customize your kinetic sand experience:
- Scented Sand: Add a few drops of essential oils (like lavender or peppermint) to your wet mixture for a calming sensory experience.
- Textured Sand: Mix in small beads or glitter to give a visual twist to your sand.
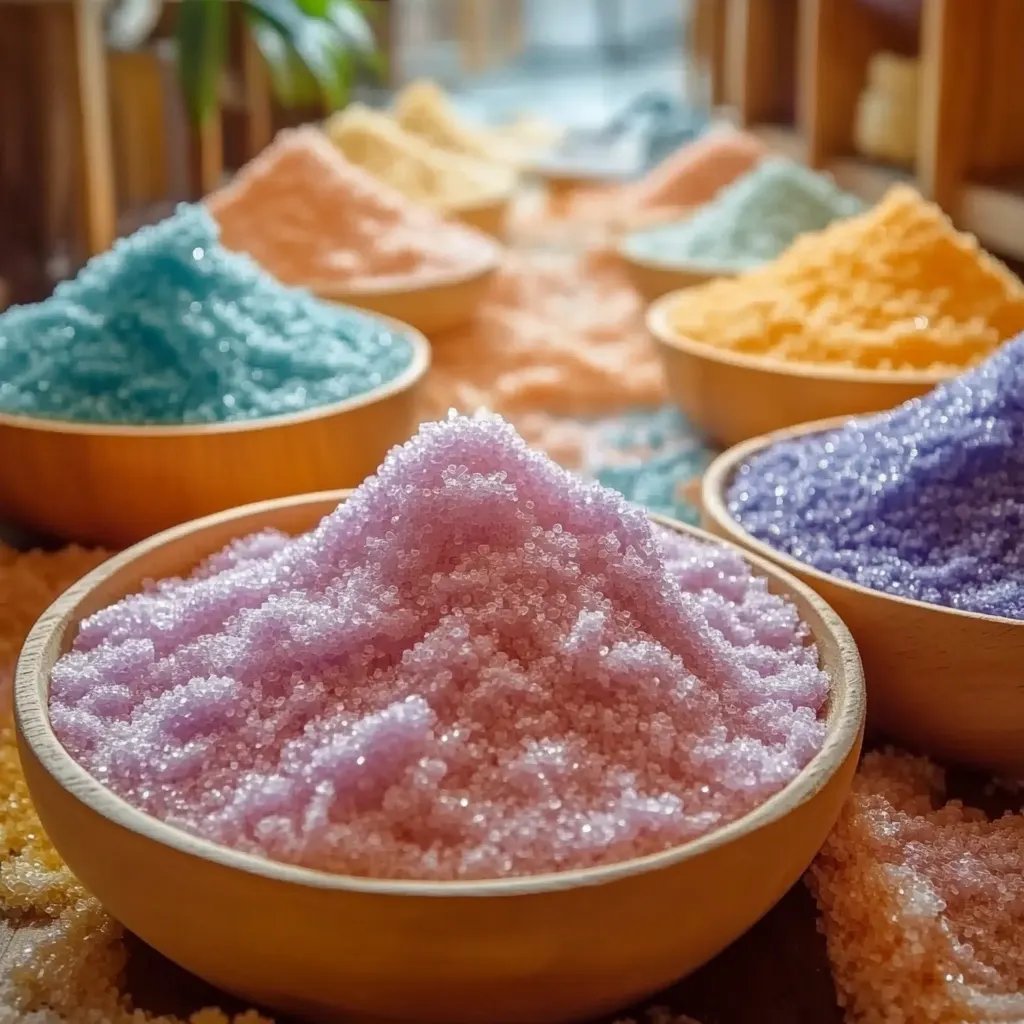
- Themed Colors: Dye your sand using seasonal color palettes—think pastels for spring or autumn tones for fall!
Storage Tips
Your homemade kinetic sand can be stored in an airtight container to keep it fresh. I’ve found that it lasts several weeks when sealed properly. If it starts drying out, you can revive it by adding a little water and kneading it back to life!
Conclusion
Congratulations, you’ve made your very own batch of kinetic sand! Not only did you create a fun, sensory play material, but you also spent quality time engaging in a creative process. I hope this recipe becomes a staple in your crafting repertoire, keeping your hands busy and your mind engaged.
Whether you’re shaping sculptures or simply relieving stress, homemade kinetic sand is a versatile and delightful addition to any crafter’s toolkit. So roll up your sleeves, let your creativity flow, and enjoy every moment with your delightful creation! Happy crafting, my friends!