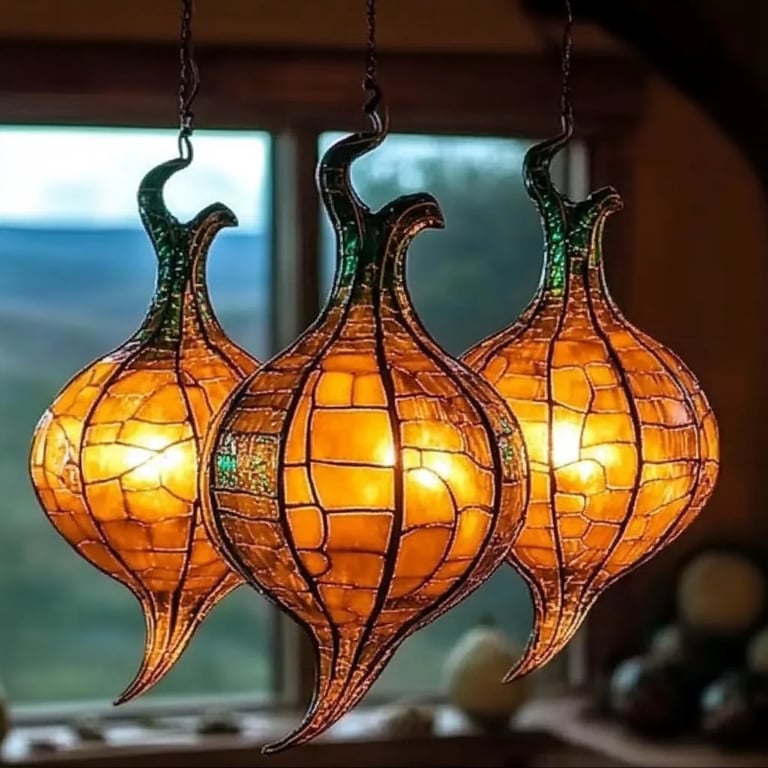
How to Make Glowing Pumpkin Suncatchers: A Step-by-Step Guide to Autumn Magic
As the leaves turn shades of gold, and the air becomes crisp and invigorating, I find myself basking in the beauty of fall. One of my favorite DIY projects to usher in this delightful season is the creation of Glowing Pumpkin Suncatchers. These whimsical creations not only capture the spirit of Halloween but also serve as stunning decorations for your windows, letting in warm, colorful light as the sun sets. They’re incredibly popular because they add a touch of magic to any space—whether it's your front porch, classroom, or even a cozy living room. Plus, they are easy enough to make with kids, making them an ideal craft for family bonding time!
Today, I’m excited to guide you through the entire process of crafting your very own glowing pumpkin suncatchers. I’ll cover everything from materials to techniques, and even share some personal anecdotes that might just inspire your crafting journey. Let's dive right in!
Why Glow Pumpkin Suncatchers?
Glowing Pumpkin Suncatchers exude a warm, playful vibe that’s perfect for the fall season. They're a wonderful way to welcome trick-or-treaters, celebrate Thanksgiving, or just add a bit of cheer to your living space as the days grow shorter. I find that there’s something incredibly satisfying about watching the sunlight filter through these vibrant designs, creating a kaleidoscope of colors across walls and floors. Not to mention, they make for a fun family craft that encourages creativity!
Materials You Will Need:
- Clear plastic sheets (like overhead projector transparencies)
- Permanent markers or acrylic paints (in vibrant colors)
- Black construction paper (for the pumpkin's base)
- LED tealight candles (for the glowing effect)
- Scissors
- Glue stick or strong adhesive
- Hole punch (optional, for hanging)
- String or fishing line (to display your suncatchers)
- Paintbrushes (if using paints)
- Paper towels or a washable mat (to protect your workspace)
Tips for Success:
- Choose Room with Good Lighting: Make sure you have plenty of light while working. Natural light can help you see the true colors of your materials.
- Test Your Materials: Before fully committing to a design, it can help to test your markers or paints on a scrap piece of plastic.
Step-by-Step Tutorial
Step 1: Prepare Your Workspace
Begin by setting up a clean workspace. Lay down some paper towels or a washable mat to catch any accidental spills. I’ve often gotten lost in my creative process and had a stray marker stray onto the table.
Step 2: Design Your Pumpkin
Using your permanent markers or acrylic paints, draw your pumpkin design directly onto the clear plastic sheet. You can go for a simple pumpkin shape, or add additional elements like leaves and a stem. Feel free to get creative! The design will be seen from the other side, so bold colors work best.
Step 3: Allow the Design to Dry
If you’re using acrylic paints, ensure that you allow the paints to dry completely before moving to the next step. This is crucial to avoid smudging; I’ve learned this the hard way! Give it about 30 minutes to an hour, depending on your paint.
Step 4: Cut Out Your Shape
Once your design is completely dry, carefully cut out the pumpkin shape. If your design has intricate details, take your time here—good craftwork is all about patience!
Step 5: Create a Backing
Next, trace the cutout pumpkin shape onto a piece of black construction paper. Cut this out as well; this black layer will serve as the backing for your suncatcher which enhances the glow. It provides a contrasting background that makes your colorful design pop.
Step 6: Assemble the Suncatcher
Using your glue stick or strong adhesive, carefully attach your colorful pumpkin to the black construction paper. Ensure everything is aligned properly before the glue sets; this is where a rushed job can go wrong!
Step 7: Add the Light Source
If you're using an LED tealight candle, place it on a flat space where the suncatcher will be displayed. For safety, never use regular candles which can be a fire hazard.
Step 8: Hang Your Creation
If you'd like to hang your finished suncatcher, use a hole punch to create a hole at the top of your design. Then, thread the string or fishing line through and tie it securely. I usually hang mine in a window where it can catch the sunlight.
Step 9: Enjoy Your Glowing Pumpkin Suncatcher
Now it’s time to bring a bit of warmth into your home! Place an LED tealight behind the suncatcher in your window or on a table. Watch with joy as the colorful rays dance across your walls, creating a cozy atmosphere.
Common Mistakes and How to Fix Them
- Smudging Colors: If you accidentally smudge your colors, let the marker dry completely before continuing to work over it. Alternatively, embrace the 'happy accident' and turn it into a design feature!
- Weak Adhesion: If the pumpkin detaches from the backing, use extra glue and place a weight on top while it dries to ensure a strong bond.
- Color Fading: If you notice that the colors are not as bright as you imagined after a few days, consider reapplying a thin coat of a clear craft sealant to preserve their vibrancy.
Variations on Your Suncatcher
- Spooky Designs: Instead of just pumpkins, consider incorporating ghost shapes or friendly bats into your designs for added fun.
- Mixed Media: Use tissue paper pieces for a more textured look, or mix in glitter for extra sparkle.
- Seasonal Themes: After Halloween, you can transform your suncatchers to depict Thanksgiving themes like turkeys, or even winter themes as fall gives way to winter holidays.
Conclusion
Creating Glowing Pumpkin Suncatchers is not only a delightful craft but also a way to immerse yourself in the wonder of the autumn season. With just a few materials and some creativity, you can craft something truly special that will warm your home and put a smile on your face. Whether you're crafting with children, friends, or simply enjoying some solitary time, this project offers moments of joy and connection. I hope you feel inspired to dive into this project and bring some glowing magic into your space! Happy crafting!