How to Make Glowing Pumpkin Suncatchers: A Step-by-Step Guide
As the days grow shorter and autumn blankets the landscape with a tapestry of vibrant colors, I can’t help but feel the pull of crafting projects that encapsulate the spirit of the season. One of my absolute favorites is creating Glowing Pumpkin Suncatchers. Not only are these delightful decorations a perfect way to add some seasonal charm to your home, but they also glow beautifully in the evening, casting a warm and inviting ambiance. Whether you're preparing for Halloween, Thanksgiving, or simply to enjoy the essence of fall, this project is a wonderful choice that will enthrall both kids and adults alike.
In this guide, I’ll walk you through the entire process of making glowing pumpkin suncatchers, detailing each step, providing helpful tips, and sharing my personal experiences along the way. Grab your crafting materials, roll up your sleeves, and let’s get started!
Why Make Glowing Pumpkin Suncatchers?
The reason these suncatchers are so popular is multi-faceted: they are visually stunning, a fun and engaging craft activity, and they can brighten up any room with a soft, twinkling glow. They work perfectly as a decoration for Halloween parties, make excellent gifts, and provide a creative outlet for children and adults. Plus, they’re incredibly easy to make with materials that are often already at home or readily available at your local craft store.
Materials You'll Need
Before diving into the crafting process, let’s gather all the materials you’ll need:
- Clear plastic sheets (such as transparency sheets or old plastic containers)
- Permanent markers (orange, black, green)
- Craft knife or scissors
- LED tealights (for safety)
- Tape (optional)
- A pencil
- Template for pumpkin designs (printable or hand-drawn)
- Ruler and cutting mat (for safety and precision)
Step-by-Step Tutorial to Create Glowing Pumpkin Suncatchers
Step 1: Prepare Your Design
To kick things off, decide what kind of pumpkin design you’d like to create. You can either sketch your own pumpkin design or print a template off the internet. In my experience, freehanding is super fun, but templates can save a lot of time and effort, especially if crafting with children.
*Tip:* Make sure your design has spaces for light to shine through. Perhaps a classic jack-o'-lantern face or a cute pumpkin with whimsical swirls will do.
Step 2: Cut the Plastic Sheets
Using your ruler, measure and cut a piece of clear plastic sheet roughly 9” x 12”. This size allows for ample drawing space for your design.
*Safety Tip:* When handling a craft knife, always cut away from yourself, and if using scissors, ensure you keep fingers away from the blades.
Step 3: Draw Your Pumpkin Design
Now it’s time for the fun part—drawing your pumpkin! Use orange permanent markers to color the pumpkin body; I typically go for a nice, vibrant orange shade. Don’t hesitate to get creative; you can even blend shades or add detailing with lighter tones.
Next, use the black marker for facial features or fun patterns. If you would like to add green leaves or a stem, the green marker will come in handy.
*Common Pitfall:* If you make a mistake while drawing, you can use rubbing alcohol and a cotton swab to remove it, but be careful not to damage the area around it.
Step 4: Secure The Design into the Frame
If you want to secure your suncatcher to a window, you can create a simple frame using additional strips of plastic sheet. Cut the strips (approximately an inch wide) and tape them around the edges of your designed piece. This frame not only makes it sturdier, but it also gives it a nice finished look.
*Alternative Method:* If you'd like a fancier finish, you can purchase acrylic frames at craft stores or use a solid piece of cardboard covered in foil.
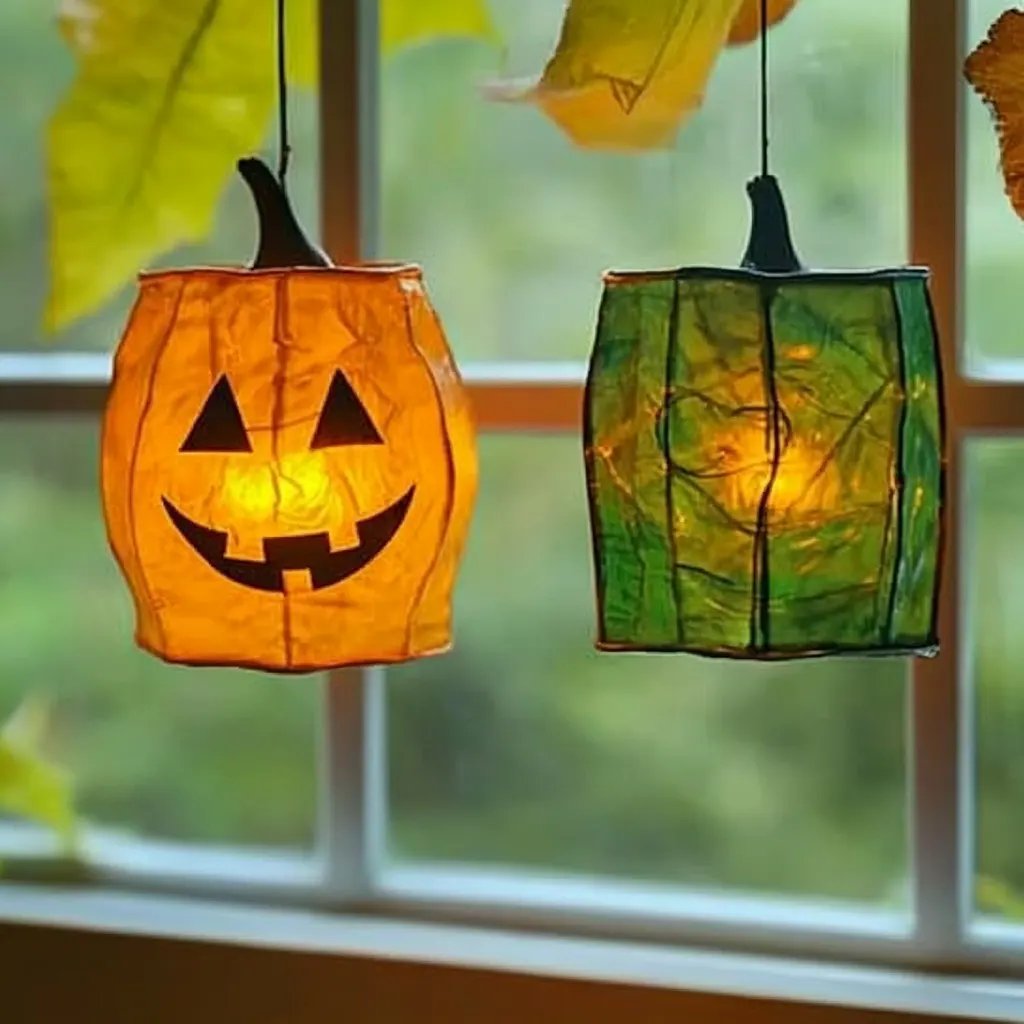
Step 5: Add the Glow
This is the part that always excites me the most! Take your LED tealight and place it directly below your pumpkin suncatcher. These are an excellent alternative to real candles for a child-friendly craft since they don’t pose a fire risk.
I recommend using a tealight unit that flickers; the effect truly enhances the glowing ambiance, making your pumpkin suncatcher pop even more as the sun sets.
Step 6: Display Your Creation
Finally, it’s time to showcase your glowing pumpkin suncatcher! You can hang it in a window using thread or fishing line, stick it to glass using tape, or simply place it on a window ledge.
*Personal Anecdote:* I once made suncatchers with my kids and hung them in every window of our house. The entire neighborhood commented on our warm fall glow!
Creative Variations
- Different Shapes: Instead of traditional pumpkins, try making ghost suncatchers or even the shape of autumn leaves!
- Layering: Create multiple layers of suncatchers to add depth and dimension. Simply create more designs and stack them with spaces in between.
- Themed Sets: Make a series featuring various fall elements such as apples, acorns, and corn—each with its glowing charm.
Troubleshooting Common Issues
If you run into any hiccups while crafting, keep in mind:
- Markers Running: If your markers run while drying, allow them ample drying time before handling, or use a fixative spray to set the ink.
- Opaque Parts: Make sure to color solidly for the optimal glow effect. If you leave any part too sheer, it may block the light.
Safety Warnings
Crafting is all about fun, but do keep safety in mind:
- When using craft knives, supervise children or opt for child-safe scissors.
- Only use LED lights as these are flame-free.
In Conclusion
Creating glowing pumpkin suncatchers has been one of the most rewarding crafting experiences for me, one that I thoroughly enjoy sharing with my loved ones. Whether you choose to create them with children or make them as a festive touch for your home, I encourage you to embrace the process. Remember to have fun, and don’t hesitate to let your creativity shine—literally!
I hope this guide inspires you to create your own glowing pumpkin suncatchers and fills your home with warmth this fall season. Happy crafting!