How to Make Glowing Bubble Lamps: A Detailed Guide for Craft Enthusiasts
Hello there! Today, I’m excited to share with you a project that has become one of my favorites: making glowing bubble lamps. These mesmerizing lamps have taken the crafting world by storm, and it's easy to see why. Not only do they serve as stunning decor for any room, but they also create a whimsical ambiance that can brighten up a cozy evening. Whether you’re looking to add some charm to your living space or searching for a unique gift idea, glowing bubble lamps are a fantastic project to undertake.
What Are Glowing Bubble Lamps?
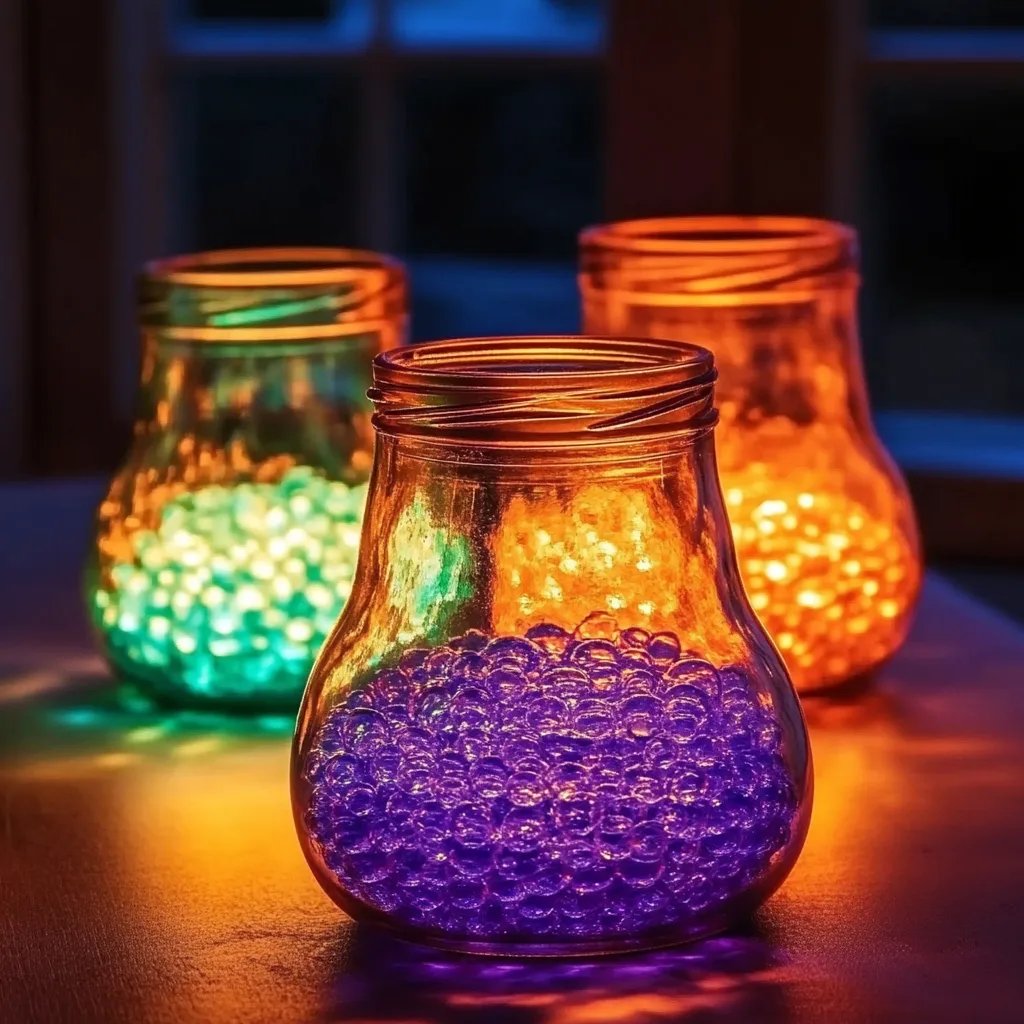
Glowing bubble lamps are decorative light features that mimic the look of bubbles floating in a liquid. Typically, they consist of a clear lamp filled with water mixed with bubble solution and illuminated from below. The result is an enchanting display of bubbles that slowly rise and fall, reminiscent of the calm flow of water and air. I love using these in my living room and even for special occasions like parties or movie nights. They’ve become a conversation starter, and trust me, guests are always fascinated by the magical effect!
Why Are They So Popular?
One of the reasons glowing bubble lamps have gained such popularity is their versatility. They suit a variety of settings: from children’s bedrooms and playrooms, to serene spaces designed for relaxation, to party setups with a vibrant flair. Plus, they’re relatively easy to craft, allowing both seasoned crafters and beginners to get involved in the fun. In my experience, the DIY nature of these lamps invites creativity—each one can be personalized with different colors, sizes, and designs.
When and How to Use Glowing Bubble Lamps
The best part about glowing bubble lamps is that they can be used year-round! Whether you want to create a calming atmosphere for a relaxing night in or add a lively touch to a celebration, these lamps can fit any occasion. They're perfect for:
- Home Decor: Provide unique indoor lighting.
- Parties and Events: Set the mood with colorful light displays.
- Gifts: A thoughtful, handmade present anyone would love.
- Children's Rooms: A soft, comforting nightlight for little ones.
Materials Needed
Before we jump into the tutorial, here’s what you’ll need. Most of these items are easy to find, and you might already have several at home!
- Clear Glass Container or Acrylic Lamp Base (like a jar, vase, or purpose-built lamp body)
- Water
- Bubble Solution (store-bought or homemade)
- LED Light (submersible LED lights work great)
- Food Coloring (optional, for added visual effect)
- Glycerin (optional, to help with bubble creation)
- Spoon
- Measuring Cup
- Scissors (if needed for trimming)
Safety Tips
When working with glass or light sources, always prioritize safety! Make sure to handle everything carefully to avoid breakage and burns. If using a glass container, it’s smart to work on a stable surface and keep it out of reach of young children. I always recommend using LED lights because they remain cool to the touch—even if left on for prolonged periods—reducing the risk of fire hazards.
Step-by-Step Tutorial
Step 1: Prepare Your Container
Choose a clear container that will showcase your glowing bubbles beautifully. If you're using a drinking glass, make sure it’s tall enough to allow for bubble movement. Clean it out thoroughly to avoid any residue that might affect the clarity of your bubbles.
Tip: If you want a more elaborate design, consider using multiple layers and different-sized containers. Stack them for a multi-dimensional effect!
Step 2: Mix Water and Bubble Solution
Fill your container about 3/4 full with water. Now, add a few tablespoons of bubble solution to the water. For best results, I suggest mixing 1 part bubble solution with 2 parts water—your own homemade bubble solution can be made with dish soap mixed with water in a similar ratio.
Why this matters: Using the right ratio ensures good bubble formation. If you add too much bubble solution, the bubbles may rise too quickly and burst prematurely.
What could go wrong: If the bubble solution is too concentrated, it might create sticky residue. If this happens, add more water to dilute it!
Step 3: Add Food Coloring (Optional)
If you’d like to infuse some color into your bubbles, now’s the time! A few drops of food coloring can create a stunning visual effect as the bubbles rise and fall. Mix carefully to avoid creating excessive bubbles during stirring.
Tip: Try layering different colors for a gradient effect, starting with lighter colors at the bottom and darker ones on the top.
Step 4: Incorporate Glycerin (Optional)
This step is optional but can enhance the bubble display. Add about a teaspoon of glycerin to your mixture. Glycerin helps extend the life of the bubbles, allowing them to float longer before breaking.
Why this matters: More durable bubbles are key for an impressive glowing effect.
Step 5: Place Your LED Light
Here comes the magic! Take your LED light and place it at the bottom of the container. If your light is battery-operated, ensure it’s turned on before placing it in the water. Position the light so it’s centered for an even glow throughout.
What could go wrong: If the light is submerged too deep or not aligned, parts of your container may appear dim. A little patience with positioning ensures a balanced glow.
Step 6: Test Your Lamp
Once everything is set, gently stir the mixture if you want to activate the bubbles, then watch as they begin to rise. It’s mesmerizing! Adjust the light's position if needed, creating the ideal luminous effect.
Tip: Allow the bubbles to settle for a few minutes before showcasing your lamp to guests.
Troubleshooting Common Issues
- Bubbles popping too quickly? Ensure the bubble solution isn’t overly concentrated. Dilute with more water.
- Lamp not glowing brightly? Check that the LED is properly submerged and turned on.
- Bubbles forming too few or not at all? Double-check your glycerin levels; sometimes, too much can inhibit bubble formation!
Personal Anecdotes
I remember the first time I made one of these lamps; I was amazed at how the bubbles danced! I decided to experiment with different colors, and in my enthusiasm, I added way too much glycerin! The bubbles formed beautifully but didn’t rise—a lesson learned! After some tinkering, I found the right combination that worked for me.
Creative Variations
Once you're comfortable with the basic design, feel free to experiment. Here are a few extensions of this project:
- Add Glitter or Confetti: Sprinkle in some biodegradable glitter or confetti to enhance the visual appeal.
- Layer Different Fluids: If you want a fun twist, try using colored oils or gels along with your bubble solution for a layered effect.
- Theme It Up: For special occasions, you could use colors specific to a holiday or celebration—red and green for Christmas, or bright pastels for Easter.
Conclusion
So there you have it! Making your own glowing bubble lamps is not only an enjoyable process but also an opportunity to express your creativity. With a few simple materials and a dash of imagination, you can craft delightful decor that charms adults and kids alike. It’s a therapeutic and rewarding project that can bring a little bit of magic into your space.
I hope you found this guide helpful. I encourage you to give it a try! As always, happy crafting, and don’t forget to share your results with me! If you have any questions or need further guidance, feel free to reach out in the comments below. Happy bubbling!