How to Make Glow Stick Bottles: A Step-by-Step Guide for Crafting Enthusiasts
If you’re looking for a creative and eye-catching craft project that’s perfect for parties, outdoor gatherings, or just a fun night in, you’re in the right place. Today, I’m excited to share my technique for making Glow Stick Bottles. These whimsical light-up creations are super popular at events like birthday parties, Halloween gatherings, and even sleepovers, providing a magical glow that enchants both kids and adults alike. Having made these several times, I can confidently say they transform any setting into something truly special.
In this article, I will walk you through the entire process of crafting your very own Glow Stick Bottles, including tips, common pitfalls to avoid, and creative variations. So, roll up your sleeves, and let’s get started!
What Makes Glow Stick Bottles So Irresistible?
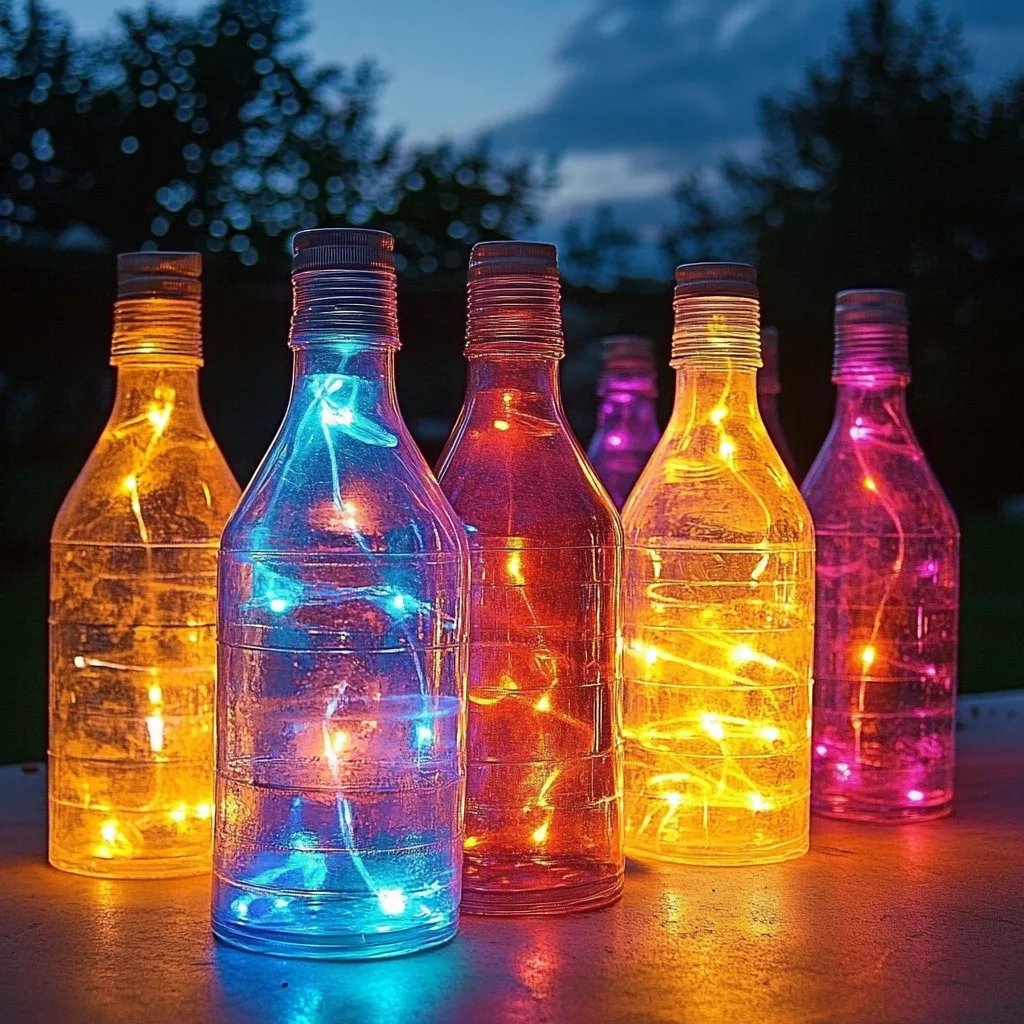
Glow Stick Bottles are essentially bottles that come alive with color when filled with glow sticks and liquid. They’re aesthetically pleasing, easy to make, and only require a few materials. What’s not to love? As the sun sets, these glowing bottles can elevate the ambiance at any event, making them perfect for nighttime picnics, garden parties, or even just to brighten up a dull corner of your home.
Materials You’ll Need
Before we dive into the step-by-step tutorial, let’s gather our supplies. Here’s what you’ll need:
- Plastic Bottles: Clear plastic bottles work best; you can reuse soda bottles or buy new ones.
- Glow Sticks: Any variety of glow sticks will work, but choose different colors for a vibrant effect.
- Water: This will serve as the base for your glow stick mix.
- Glitter (optional): For an extra sparkle, you can toss in some glitter!
- Scissors: To cut the glow sticks.
- Funnel (optional): To help pour water into the bottles without spilling.
- Decorative Tape or Stickers (optional): You can use these to personalize your bottles.
Step-by-Step Tutorial for Making Glow Stick Bottles
Step 1: Prepare Your Bottles
Start by cleaning your bottles thoroughly to remove any residue. If you’re using bottles that contained a sugary drink, I recommend rinsing them out with warm, soapy water. Once clean, let them dry completely. Properly cleaning the bottles ensures that your glow stick mixture won’t have any unwanted remnants.
*Tip*: Removing labels creates a sleeker look. You can soak the bottles in warm water to easily peel off any labels.
Step 2: Cut Open Your Glow Sticks
This is where the magic begins! Take your glow sticks and use scissors to carefully snip off the ends. Gently squeeze the sticks to release the colorful glow liquid into the bottle. Be careful during this step—glow stick liquid can stain, so it helps to wear gloves.
*Common Pitfall*: If you cut them too aggressively, the liquid might splatter everywhere. Always cut slowly and do it over a plate or outside to catch any unexpected spills.
Step 3: Mix in Water
Using your funnel (or if you don't have one, just be careful!), pour water into the bottle. You’ll want to fill the bottle about three-quarters full. This ensures there's enough room for the glow stick liquid and allows the glow to disperse throughout.
*Why This Matters*: The water not only dilutes the glow stick liquid but also adds a floating effect to any glitter you might want to add, creating a dazzling visual.
*Tip*: If you’re not keen on using plain water, you can use tonic water instead. Under a blacklight, it has a unique glowing effect due to the quinine present!
Step 4: Optional Add-Ins
Now comes the fun part! If you're using glitter, toss some in now to create a twinkling effect when the light hits. Mix your ingredients by gently swirling the bottle without shaking it too much—you don’t want to dilute the glow.
*Personal Anecdote*: I once made these for a friend’s birthday party and added a tablespoon of biodegradable glitter, which gave a magical sparkle that everyone loved!
Step 5: Seal Your Bottles
Secure the cap tightly on the bottle, but ensure it isn’t too tight—sometimes, the pressure from the glow stick liquid can lead to leaks.
*Safety Warning*: Make sure to store any leftover glow sticks safely. These are not meant to be ingested, and the liquid inside can be toxic if consumed.
Step 6: Make It Personal!
This is where you can express your creativity! Use decorative tape or stickers to personalize each bottle according to your event's theme. If you’re crafting with kids, this step is particularly fun!
Displaying and Using Your Glow Stick Bottles
Place your finished Glow Stick Bottles in areas where they can shine—like on tables or ledges during parties. If you’re using them for a nighttime outdoor gathering, consider placing them along a pathway to light the way.
Creative Variations
- Theme-Based Bottles: Tailor your glow stick colors to match the theme of your event—red and green for Christmas, pastels for Easter, or bold colors for a summer bash.
- Layered Effects: Try layering different colors of glow sticks and water to create a gradient effect inside the bottle.
- Glow Stick Art: Use different bottle shapes and sizes to create a glowing centerpiece. For instance, a tall bottle with blue at the bottom and green on top can look stunning!
Troubleshooting Common Issues
- Glow Sticks Aren’t Glowing: Ensure you’ve fully activated them by bending them well before cutting. If they’re older, they might be past their prime.
- Liquid is Leaking: If liquid is leaking from your bottle, try sealing it with tape or a hot glue gun for added security.
Final Thoughts
Creating Glow Stick Bottles is not just a craft; it’s an experience filled with joy and creativity. The end results are beautiful, enchanting lights that add a vibrant touch to any setting and serve as an excellent conversation starter.
I hope this guide has empowered you to dive into crafting your own Glow Stick Bottles. Remember, crafting is not just about the end product; it’s about enjoying the process and expressing yourself. Happy crafting, and may your bottles glow as brightly as your imagination!