How to Make Glow-in-the-Dark Jolly Rancher Candy Apple Slices: A Crafty Adventure
Greetings, candy enthusiasts and fellow crafters! Today, I’m thrilled to share my special recipe for creating Glow-in-the-Dark Jolly Rancher Candy Apple Slices. If you’re looking for a fun project that combines creativity, nostalgia, and a touch of magic, then you’ve stumbled upon the right tutorial. These delightful candy apple slices not only look beautiful but also glow with a subtle luminescence when the lights go out—perfect for parties, Halloween treats, or just a quirky snack to brighten your day (literally!).
Why You’ll Love These Candy Apple Slices
Glow-in-the-Dark Jolly Rancher Candy Apple Slices have gained popularity in recent years for a plethora of reasons:
- Unique and Eye-Catching: Their vibrant colors and glowing features make them show-stoppers, inviting oohs and aahs from both kids and adults.
- Fun for Any Occasion: Whether it’s a birthday party, a Halloween gathering, or a cozy movie night, these slices add a creative flair to your dessert table.
- Easy and Accessible: The materials needed are simple to find, and the crafting process is engaging yet straightforward, perfect for both beginners and seasoned crafters.
So let’s dive into the sweet journey of making these amazing candy apple slices!
Gathering Your Materials
Before we begin, let’s make sure you have everything you need. For this project, you’ll want:
Ingredients:
- Jolly Rancher Candies: Choose a mix of flavors and colors for a vibrant assortment. A pack of 12-14 should suffice.
- Apple Slices: Fresh apples are ideal; you can use Granny Smith for tartness or Fuji for sweetness. Pre-sliced apples or whole apples (which you'll slice later) work well.
- Edible Glow-in-the-Dark Powder: Available at many specialty shops or online, this is the star of the show!
Supplies:
- Baking Sheet: Line it with parchment paper for easy cleanup.
- Oven: Preheat to 300°F (approximately 150°C).
- Microwave-safe Bowl: For melting the Jolly Ranchers.
- Parchment Paper or Wax Paper: Helps with transferring the melted candy.
- Knife or Apple Slicer: For slicing apples, if using whole apples.
- Spoon or Toothpick (Optional): To help shape your candy slices.
Step-by-Step Process
Step 1: Prepare the Apples
If you’re starting with whole apples, wash them thoroughly, then slice them into wedges or rounds, about 1/2 inch thick. If using pre-sliced apples, make sure they’re fresh to ensure a crisp bite.
Tip: To prevent browning, you can dip the apple slices in a mixture of water and lemon juice. This not only preserves the color but also adds a nice tang to your candy apples!
Step 2: Melt the Jolly Ranchers
- Unwrap the Jolly Ranchers: Count out your candies and unwrap them. You can group similar colors or mix them for a fun rainbow effect.
- Microwave Method: Place the unwrapped Jolly Ranchers in your microwave-safe bowl. Heat for 30 seconds at a time, stirring in between, until they are completely melted and smooth. This usually takes about 2-3 minutes, depending on your microwave.
Why this matters: Gradually heating helps avoid scorching the candies. If they get too hot, they can become clumpy and unworkable.
Common issue: If your melted Jolly Rancher mix is too thick, try adding a teaspoon of glucose syrup or vegetable oil and mixing until smooth.
Step 3: Mix in the Glow-in-the-Dark Powder
Now comes the fun part! Stir in about 1 tsp (or more as needed) of edible glow-in-the-dark powder into your melted Jolly Ranchers. Mix it thoroughly until evenly incorporated.
Why this matters: This is what gives your slices their magical glow, so make sure it’s well mixed!
Step 4: Dip the Apple Slices
- Prepare for Dipping: Lay out the parchment or wax paper on your baking sheet.
- Dip the Slices: Using a fork or your fingers (be careful, as the candy can be hot!), dunk each apple slice into the melted Jolly Rancher mixture. Ensure the slice is evenly coated.
- Allow Excess to Drip: Let the excess candy drip off before placing the slices on the parchment paper.
Step 5: Let Them Set
Once you’ve coated all your apple slices, place the baking sheet in the fridge for about 30 minutes to allow the candy coating to harden completely.
What could go wrong?: If the candy isn’t fully hardened, it could get messy when handling. Keep the slices chilled until you are ready to serve them.
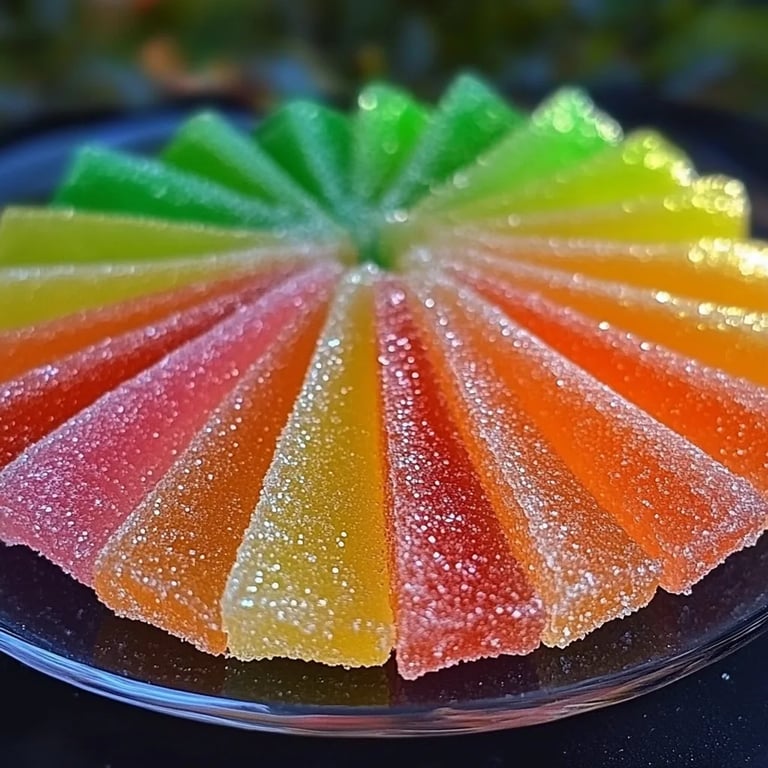
Step 6: Presentation Time!
Once set, you can arrange your beautiful Glow-in-the-Dark Jolly Rancher Candy Apple Slices on a platter. They look particularly stunning under low light, emitting a charming glow.
Step 7: Enjoy and Share!
Now the best part—enjoy your creation! You can savor them yourself or share them with friends and family. They make great party favors and conversation starters.
Creative Variations
As with any creative project, once you’ve got the basics down, feel free to experiment:
- Flavor and Color Combinations: Try different Jolly Rancher flavors for unique color combinations, such as blue raspberry, watermelon, and green apple for a thematic touch.
- Add Toppings: Before the candy coating sets, sprinkle your apple slices with nuts, sprinkles, or edible glitter for an extra pop!
- Use Different Fruits: While apples are wonderful, pears or even bananas can be an exciting substitute!
Safety Tips and Warnings
- Handling Hot Candy: The Jolly Rancher mixture will be incredibly hot right after melting. Use caution and avoid direct skin contact.
- Edible Glow-in-the-Dark Powder: Ensure you purchase food-grade edible glow-in-the-dark powder. Always check labels to guarantee safety.
- Consume Moderately: As delicious as these may be, they're still candy! Enjoy in moderation.
Personal Anecdotes
I remember the first time I made these glowing wonders—it was for my niece’s birthday party, and the excitement when the lights went out was absolutely priceless. Watching the kids’ faces light up as they discovered that their treats looked magical in the dark was pure joy! It’s those kinds of moments that make crafting so rewarding.
Final Thoughts
Creating Glow-in-the-Dark Jolly Rancher Candy Apple Slices is not just about the delicious outcome; it's about the joy of crafting something special and unique. Whether you’re making these treats for a festive occasion or simply to bring a bit of whimsy into your day, I hope you find as much happiness in crafting them as I do. Enjoy the process, experiment with flavors, and most importantly, have fun!
Happy crafting, and may your candy adventures continue to shine bright! 🍏✨