How to Make Glow-in-the-Dark Foam Pile: A Comprehensive Guide
Hello, fellow crafters! Today, I'm thrilled to share my favorite DIY project that brings a whimsical touch to any space—Glow-in-the-Dark Foam Pile! This enchanting creation isn’t just a fun activity; it’s the perfect addition to your home décor, a clever prop for your themed parties, or even a playful surprise for the kids’ bedrooms.
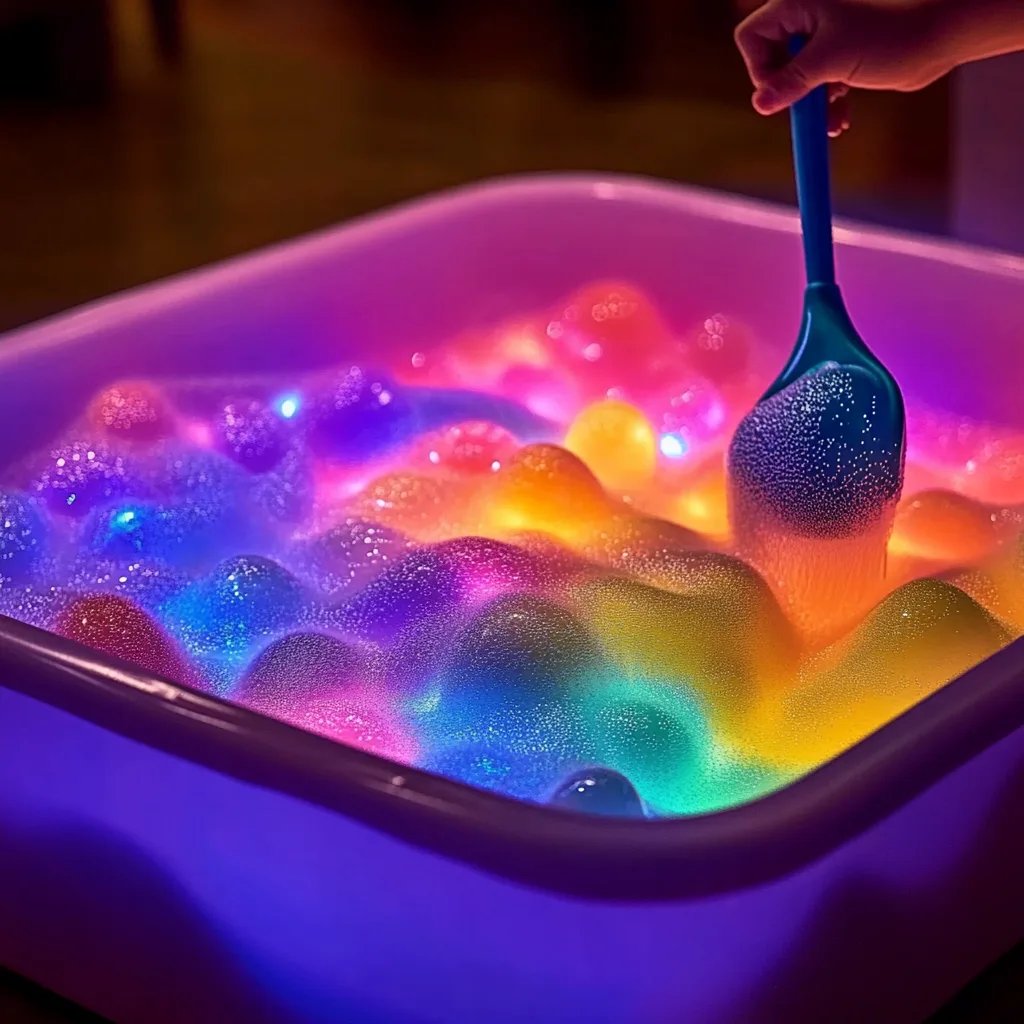
Glow-in-the-Dark Foam Pile is made from a blend of soft foam and glow-in-the-dark materials, enabling you to create a fluffy, luminous pile that glows softly at night. Its popularity has surged in recent years, particularly for those who love to add a magical twist to their environments or for kids who delight in the glow during bedtime. Whether you’re decorating for Halloween, hosting a space-themed birthday party, or simply want to add a soothing glow to a child’s room, this project is for you.
What You’ll Need
Before diving into the crafting fun, let’s gather our materials. You’ll need:
- Soft Foam: Pick up craft foam sheets (available at craft stores) or purchase soft foam balls (often found in toy stores).
- Glow-in-the-Dark Powder or Paint: I recommend using non-toxic glow-in-the-dark powder for an even and bright glow. You can find it online or at specialized craft stores.
- White Elmer’s Glue or a Glue Gun: I prefer Elmer’s glue for its ease of use, but a glue gun will work well for quicker bonding.
- Mixing Bowl: For combining the glue and glow powder.
- Container or Mold : To shape your foam pile. You can use a cardboard box, plastic container, or even create a custom mold from cardboard.
- Paintbrush: If you’re using glow paint, a paintbrush is essential for applying it.
- Optional: Glitter, colored foam, or other embellishments for personalized touches.
Step-by-Step Tutorial
Step 1: Prepare Your Workspace
Before starting, clear a well-ventilated area to work in—think about laying down a protective tablecloth. Crafting can get messy, especially when dealing with glue and powder, so put away any items you don’t want to get sticky!
Tip: Having a damp cloth nearby can help you quickly clean up any spills.
Step 2: Cut Your Foam
If you’re using foam sheets, cut them into small squares or strips. Aim for uneven shapes to give that fluffy, pile-like effect. If you prefer foam balls, don't worry about cutting—just set them aside.
Why This Matters: Creating varied shapes and sizes helps achieve a more natural and visually appealing stack!
Step 3: Mix the Glow in Your Adhesive
In your mixing bowl, blend the glue with the glow-in-the-dark powder. For every cup of glue, I recommend starting with two tablespoons of glow powder, but feel free to adjust according to the brightness desired. Stir the mixture until it’s thoroughly combined.
What Could Go Wrong: If the mixture feels too thick, you can dilute it with a little water. However, be careful—too much water may affect the adhesive properties.
Step 4: Apply the Mixture
Now, start dipping your foam pieces into the mixture, ensuring they are fully covered. If you’re using a glue gun, a light coating of glue on one side will do—follow that with a sprinkle of the glow powder over it.
Pro Tip: Play around! Mixing different pieces with glue and glow powder before stacking them can create a more organic effect.
Step 5: Build Your Pile
Once you’ve dipped several pieces in the glow mixture, start layering them in your chosen container or mold. Arrange the foam into a whimsical pile, ensuring varying heights and widths for a natural look.
Why This Matters: A well-structured base helps ensure your pile holds together once dry.
Step 6: Let It Dry
Allow your creation to dry for at least 24 hours. This is where the magic happens! I always recommend placing it in a well-lit area during this time—bright light helps charge the glow-in-the-dark elements effectively.
Step 7: Finishing Touches
Once dry, feel free to embellish! You can add some glitter on top for extra sparkle or even paint elements to match your décor.
Creative Variation: If you're feeling extra crafty, consider creating themed foam piles, like incorporating star shapes for a space theme or colorful pastels for a fairy garden.
Troubleshooting: What Might Go Awry?
- The Glow Isn’t Bright Enough: This could be due to insufficient charging. Make sure you've exposed your pile to light for longer or add more glow powder in the future.
- Foam Falling Apart: If your pile seems fragile, you might need to rethink your layering technique. Adjust by using more adhesive or sponge-pressing the pieces together while it’s still wet.
- Uneven Texture: If some parts dry rough while others are smooth, try wetting a sponge and gently smoothing out the areas while they're still slightly tacky.
Safety Warnings
Always handle crafting materials with care. If you're working with kids, supervise them closely, particularly when using heat from a glue gun. Opt for non-toxic materials, especially if they may be used in children's spaces.
Personal Anecdotes
I first discovered glowing crafts at a Halloween party a few years back. A friend had created an enchanting glow-in-the-dark backdrop, and I was utterly captivated! That night inspired me to develop this project, melding my love for crafting with a whimsical glow, and since then, it’s been a family favorite. Every time my kids see the foam pile light up, they can’t help but grin—it adds a certain charm to our evenings.
Conclusion
Creating your own Glow-in-the-Dark Foam Pile is a delightful crafting experience, heightened by the sparkle of imagination. By following these steps, you’ll not only have a unique and luminous home accent but also a cherished memory in the making.
So gather your supplies, get messy, and let your creativity shine as brightly as your glowing foam pile! Happy crafting!