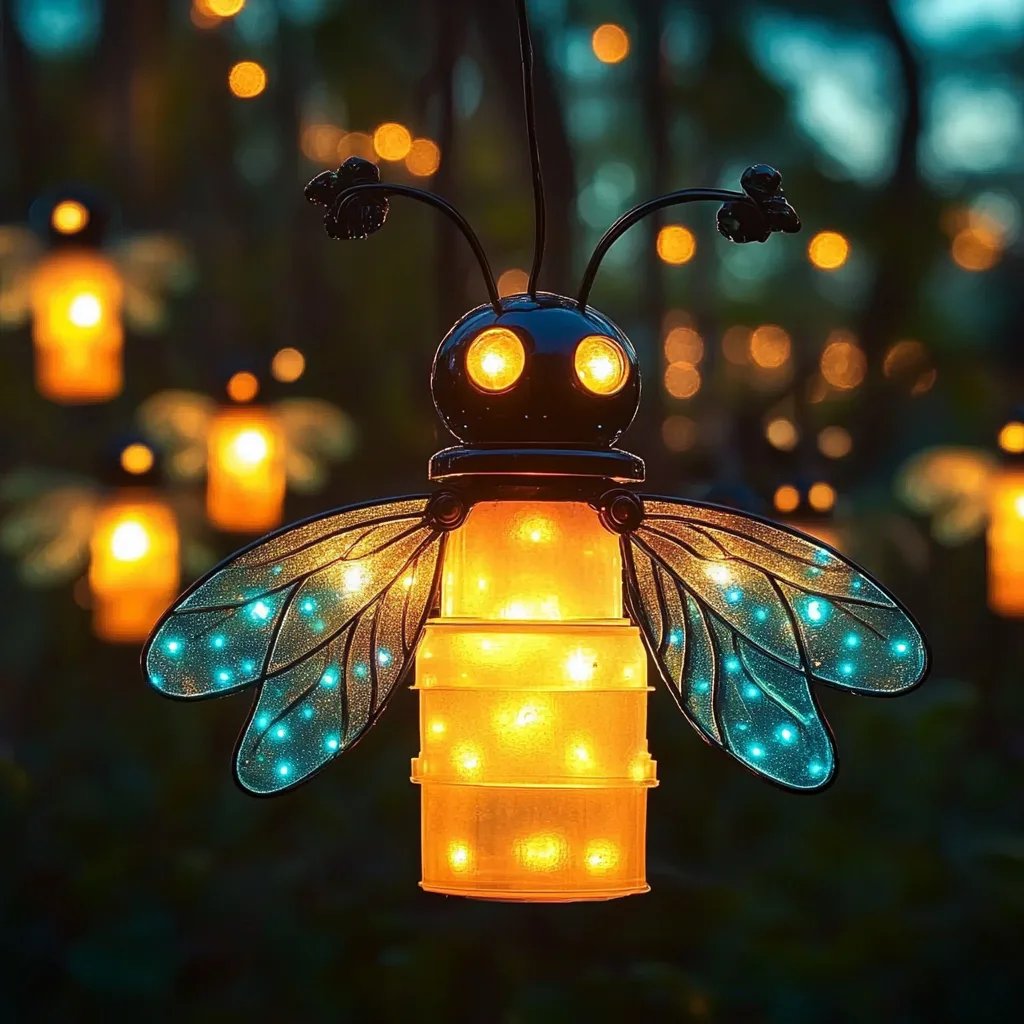
How to Make Glow-in-the-Dark Fireflies: A Step-by-Step Guide
Hello, fellow crafting enthusiasts! Today, I’m excited to share my journey into the enchanting world of homemade glow-in-the-dark fireflies. These whimsical little creations are not only a delightful addition to your home décor but also a wonderful project to tackle with kids or friends during a cozy craft night. Plus, they embody the magic of warm summer nights, lighting up your garden or living room with a soft glow that’s sure to inspire wonder. Let’s dive into the crafting process together!
Why Make Glow-in-the-Dark Fireflies?
Glow-in-the-dark fireflies are incredibly popular for various occasions. Whether you're decorating for a birthday party, creating a mystical ambiance for a romantic evening, or just wanting to add some charm to your kids’ room, these little crafts shine bright and bring a smile to everyone’s faces. They’re perfect for summertime gatherings, backyard picnics, or even just as night lights that soothe children as they drift off to sleep.
What You’ll Need
To start crafting your glow-in-the-dark fireflies, you'll want to gather the following materials:
Basic Materials:
- LED mini lights (preferably in warm yellow or white)
- Clear plastic or glass jars (mason jars work nicely)
- Glow-in-the-dark paint (ensure it’s non-toxic, especially if kids are involved)
- Craft paintbrush
- Black or colored paper (optional for customization)
- Wire or fishing line (for hanging)
Optional Decorative Elements:
- Small sticks or pebbles (for added aesthetic in the jar)
- Glitter or additional paint colors (for a touch of sparkle)
- Labels or decorative ribbons (if you intend to gift them)
Step-by-Step Tutorial
Step 1: Prepare Your Jars
Start by cleaning your jars thoroughly. Any residue or dust can affect the adhesion of the glow-in-the-dark paint. I like to wash them with warm soapy water and let them dry completely before moving to the next step.
Step 2: Paint the Inside of the Jars
Using your craft paintbrush, apply a generous layer of glow-in-the-dark paint to the inside of the jars. Be truthful with yourself here—this step is crucial. The more paint you apply, the brighter your glow will be! It usually takes a couple of coats to get optimal glow-in-the-dark results, so I recommend allowing 30 minutes of drying time between layers.
Common Mistake: Skipping drying times between coats can lead to smudging. Always be patient and follow the instructions on the paint can for drying times!
Step 3: Set Up the LED Lights
Once the jars are fully dry, it’s time to place the LED mini lights inside. If you’ve chosen battery-operated lights, which I adore for their convenience, make sure to thread them through the opening in a way that the lights are evenly distributed at the bottom of the jar.
Tip: For a more magical effect, try to drape some of the lights up the sides of the jar. This mimics the natural glow of fireflies twinkling around!
Step 4: Customize Your Jars
This is where your creativity flows! You can wrap colored paper around the exterior for a beautiful and personal touch, or decorate the jar with glitter (just be cautious with glitter as it can get everywhere). I personally love using black paper to create silhouettes of grass or butterflies, making the fireflies pop even more against the dark background.
Personal Anecdote: One of my fondest memories while crafting these fireflies was when my niece insisted on adding pink glitter to her jars—it wasn’t traditional, but they ended up being the brightest at the party!
Step 5: Illuminate and Enjoy
Once you’ve finished decorating, turn on your LED lights and enjoy the enchanting glow! Place your firefly jars in windows, on porches, or hang them in trees. They make for a beautiful evening display!
Tip: If you're hanging them, make sure to use sturdy wire or fishing line that can handle the weight of the jar.
Safety Warnings
- Always work in a well-ventilated area when using paint or glitter.
- If children are involved in the crafting process, supervise closely, especially with small parts like batteries or wires.
Alternative Methods
If you're looking for some variations, try using:
- Fairy lights instead of LED mini lights for a more starry effect.
- Solar-powered lights might be a wonderful eco-friendly alternative!
- Natural items, like twigs or flowers, to add texture.
Fixing Common Issues
- Dim Glow: If your jars don’t glow as brightly, you might need to add another coat of glow-in-the-dark paint or check that your lights are positioned well to spread the glow.
- Painters’ Mistakes: If you accidentally get paint on the outside of the jar, use a gentle solvent or soap to remove it before it dries.
Conclusion
And there you have it, my friends! Your very own set of glow-in-the-dark fireflies ready to illuminate your life. This fun and creative process brought a lot of joy to my home, and I know it will for you too. Whether you hang them outside or use them to light up a cozy corner, you’ll have a piece of wonder at your fingertips.
Let me know how your fireflies turn out or share your own tips and tricks. Happy crafting, and may your nights be filled with the glow of magic! 🐞✨