How to Make Glow-in-the-Dark Cotton Candy Sushi: A Fun and Creative Craft for All Ages
Hello, fellow crafters! If you’re looking to impress your friends or just bring a bit of whimsy into your life, I can’t recommend enough the joy of creating Glow-in-the-Dark Cotton Candy Sushi. It's an awe-inspiring treat that combines the sugary joy of cotton candy with the delightful presentation of sushi. This quirky delicacy is incredibly popular at birthday parties, summer fairs, and even for cozy movie nights. Imagine your friends' faces lighting up when they see this eye-catching dessert!
In this detailed guide, I’ll take you step-by-step through the entire process of creating these glowing delights. Whether you're crafting for a special occasion, or you want to surprise your kids with a fun snack, this project is sure to be a hit. Let’s dive into the world of edible creativity by making these fantastical treats!
Why Glow-in-the-Dark Sushi?
Glow-in-the-dark cotton candy sushi is not just visually captivating but also incredibly fun to make. Its vibrant colors and unique glow add an element of surprise—perfect for themed parties or as an unconventional treat after dark. The marriage of cotton candy and sushi might sound odd, but trust me, it works wonders!
Materials Needed
Before we get started, gather your materials. You'll need the following:
For the Cotton Candy Sushi
- Cotton candy: Pick your favorite colors and flavors—this is your canvas!
- Rice Krispies cereal: For the “sushi rice” base.
- Marshmallows (approximately 10-15): The glue that holds everything together.
- Butter: About 2 tablespoons, unsalted.
- Food coloring: Choose neon or bright colors for the sushi rice.
- Glow-in-the-dark powder: Make sure it is food-safe (this is essential!).
- Nori sheets: These are seaweed sheets; feel free to use flavored ones for an extra touch!
For Presentation
- Bamboo sushi mat: This will help you roll your cotton candy sushi.
- Kitchen parchment paper: To keep your sushi from sticking to the mat.
- A sharp knife: For slicing your sushi rolls.
- Serving plates: Make sure they are vibrant for contrast!
Step-by-Step Tutorial
Step 1: Prepare Your Cotton Candy Base
First things first, let’s make the sushi rice from the Rice Krispies. In a medium saucepan, melt the butter over low heat. Once melted, add the marshmallows.
Why this Matters: This combination creates a gooey texture that mimics traditional sushi rice.
Common Pitfall: If you melt the marshmallows too quickly, they might burn or become too hard. Keep the flame low and stir continuously.
Fix It: If your mixture is too tough, add a little water and microwave it for 10 seconds to make it pliable again.
Step 2: Add Food Coloring and Glow Powder
Once the marshmallow mixture is smooth, it’s time for the fun part! Add a few drops of food coloring to achieve your desired hue. Incorporate the glow-in-the-dark powder (ensure it’s food-safe) into the mixture, and mix until well combined.
Why This Step Matters: The color you choose will not only affect the look but also the flavor profile. The glow powder turns a simple treat into something magical!
Step 3: Shape the Rice
After mixing, quickly pour the concoction onto a sheet of parchment paper. With greased hands, spread it out into a rectangular shape about 1/2 inch thick.
Pro Tip: Work quickly while the mixture is warm; it's more manageable to shape.
Common Issue: Your rice mixture may spread too thin. Don’t panic; just repack it and pat down until you achieve the thickness you desire.
Step 4: Assemble the Sushi Rolls
Once your rice layer is ready and has cooled slightly but is still pliable, lay your nori sheet over the rice layer. Take your time pressing it onto the rice to get it to adhere properly.
- Place cotton candy spirals or sheets on top of the nori.
- Carefully roll the sushi using the bamboo sushi mat.
Why Rolling is Important: Roll tightly to ensure the sushi holds its form; if it’s loose, it will fall apart.
Tips for Success: If you encounter stickiness, a little oil on your hands can help prevent the rice from clinging. You want your sushi to be tight but not over-compressed!
Step 5: Slice and Serve
Using a sharp knife, slice the sushi roll into bite-sized pieces. Wet the knife slightly before cutting to prevent sticking.
Warning: Sharp knives can pose a danger! Make sure to supervise young children if they’re part of the crafting process.
Step 6: Enjoy!
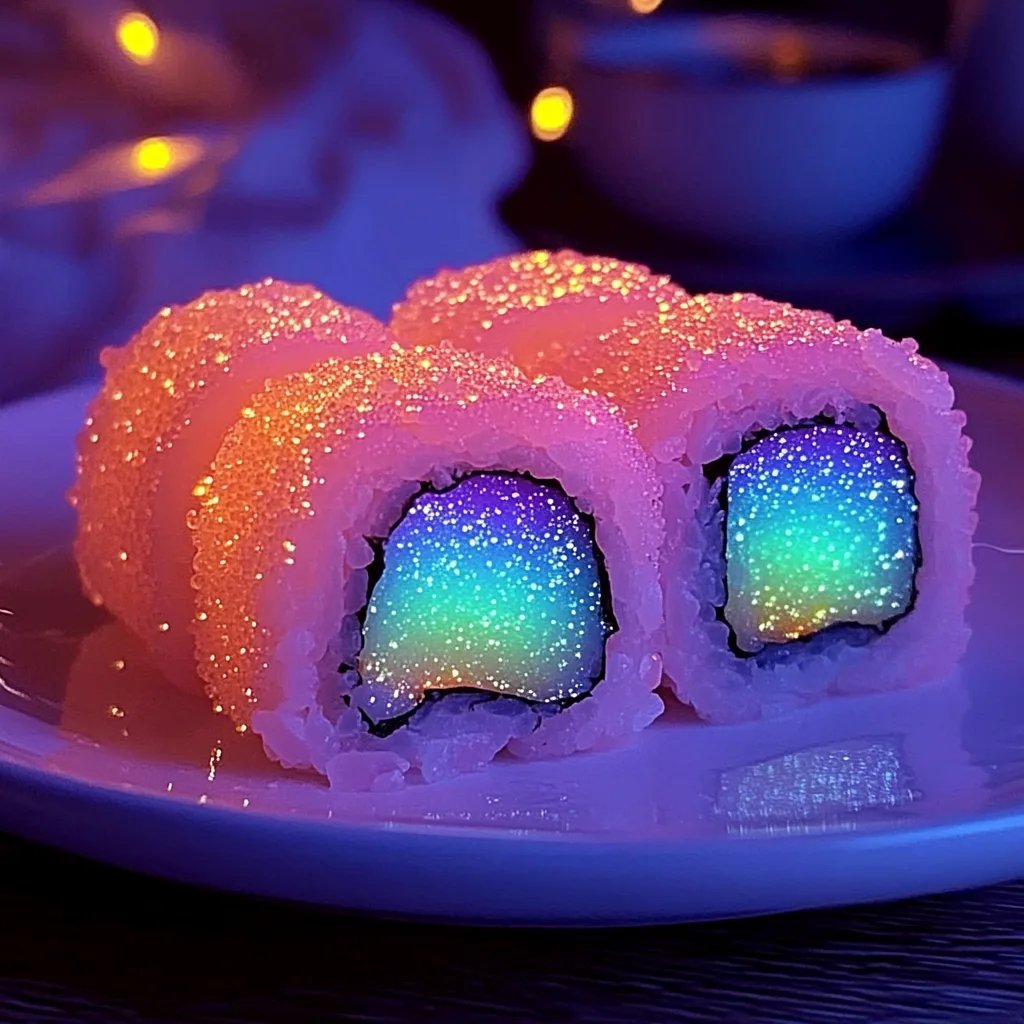
Present your creative creation on a brightly colored plate under a black light or in a darkened room to see it glow!
Creative Variations
- Flavored Cotton Candy: Experiment with different flavors like strawberry, grape, or even cotton candy!
- Filling Alternatives: Swap out the cotton candy for marshmallow fluff or whipped cream for a creamy twist.
- For a Twist: Try adding chopped fruits or gummy candies as additional fillings!
Final Thoughts
Creating Glow-in-the-Dark Cotton Candy Sushi is not just a fun and creative culinary project, but it also encourages imagination and experimentation. Remember, at the heart of crafting is the desire to create and share joy with those around us.
Feel free to share your creations online, tag your friends to join in the fun, and spark a sense of wonder in everyone around you! Whether it’s a glow-in-the-dark party treat or just a surprise for your kids, this sushi will not only impress but also encourage budding chefs to take a bite out of creativity. Happy crafting, and let your glow shine bright!