How to Make Glow-in-the-Dark Bowling: Your Ultimate DIY Guide
Hello, fellow crafting enthusiasts! I'm so excited to share my passion for crafting with you today, specifically focusing on something that brings a whole new level of fun to the traditional game we know and love: Glow-in-the-Dark Bowling! Whether you’re hosting a birthday party, planning a family game night, or just looking for a creative project to dive into with friends, this glowing variant of bowling is sure to delight and entertain.
Why Glow-in-the-Dark Bowling?
Glow-in-the-dark bowling has gained popularity in recent years for its unique twist on the classic game. Imagine this: you're in a darkened room, the black lights are on, and suddenly, all the bowling pins and the ball glow, creating an exhilarating atmosphere reminiscent of a cosmic bowling alley. It’s a perfect activity for night-themed parties or Halloween get-togethers. Plus, it’s a great way to indulge your creative side while providing an entertaining experience for all.
Ready to learn how to make your own glow-in-the-dark bowling? Let’s get started!
What You’ll Need
Before we jump into the step-by-step guide, let’s gather our materials. The best part? Most of these items are easily accessible!
Materials:
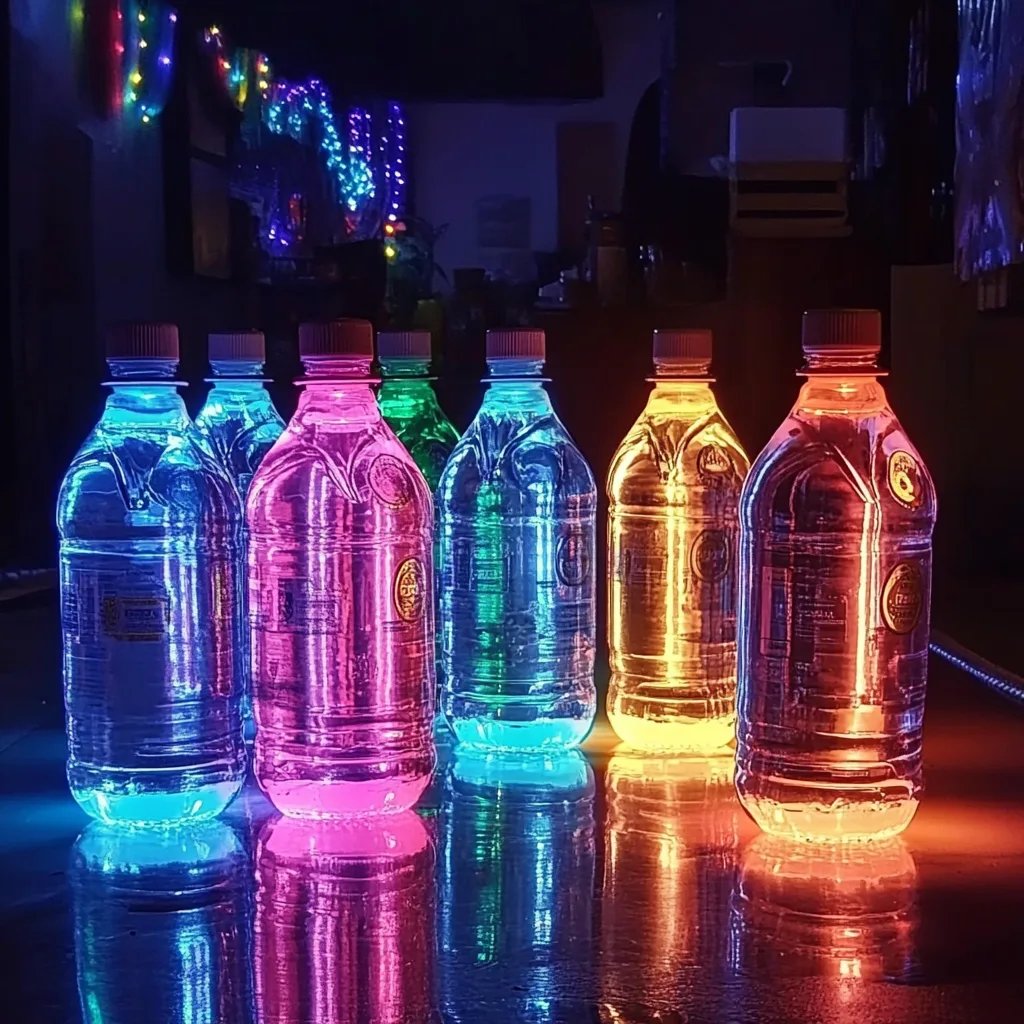
- Bowling Pins: You can repurpose plastic bottles if you don’t have bowling pins.
- Glow-in-the-Dark Paint: Some great brands include FolkArt and Rust-Oleum. Make sure to pick a color that glows brightly!
- A Bowling Ball: You can purchase a foam ball if you want to keep it lightweight.
- Black Light: For maximum glowing effect, a black light really enhances the visibility of your glow-in-the-dark elements.
- Sandpaper: This will help prepare the surface of your bowling pins.
- Sealer (Optional): A clear acrylic sealer can add durability.
- Paintbrush: A medium-sized brush works wonders for even application.
- Drop Cloth or Plastic Sheet: To protect your workspace.
Safety Gear:
- Gloves: To keep your hands clean.
- Dust Mask: If you’re sensitive to paint fumes.
Optional Materials:
- Neon Spray Paint: For an extra pop of color.
- Decoration Supplies: Stickers, decals, or washi tape to personalize your pins.
Step-by-Step Tutorial
Step 1: Preparing Your Workspace
First and foremost, make sure you have a clean and well-ventilated workspace. Lay down your drop cloth to protect the surface from paint splatters. I find that setting up outdoors on a sunny day works wonders, but a garage or a well-ventilated room is perfectly fine too.
Step 2: Preparing the Bowling Pins
Why This Matters: Proper preparation helps the paint stick better, leading to a durable finish.
Take your sandpaper and lightly sand the surface of your bowling pins or bottles. This rough texture allows the glow-in-the-dark paint to adhere more effectively. Wipe them down afterward to remove any dust.
Tip: If your pins are pre-washed plastic bottles, make sure they’re completely dry before painting.
Step 3: Applying the Glow-in-the-Dark Paint
Now comes the fun part! Using your paintbrush, start applying the glow-in-the-dark paint evenly over the entire surface of the pins. Depending on the paint’s opacity, you might need to apply multiple coats.
Common Pitfall: If the paint is too thick, it can clump. To avoid this, apply several thin coats instead of one thick one. Allow each coat to dry completely before applying the next.
Step 4: Keeping it Creative
Add Personal Touches: While the glow-in-the-dark paint is popular, consider spraying some neon paint (if desired) over it to create a vibrant design or to make patterns. You can even use stickers or washi tape to decorate before painting for unique designs!
Personal Anecdote: When I was first trying this project, I transformed my bowling pins into a galaxy theme with blues, purples, and silver stars. The kids at the party loved it!
Step 5: Sealing the Deal
For extra durability, you might want to apply a layer of clear acrylic sealer over your dried paint. Not only does it protect the glow-in-the-dark finish, but it also gives a beautiful sheen to your creation.
Step 6: Setting Up Your Bowling Lane
Once your painted pins are dry and sealed, it’s time to set up your bowling lane! This can be done in a long hallway, garage, or backyard. Use chalk or tape to mark your lane and set up your pins at the end.
Make sure to turn off the lights and bring in the black light!
Step 7: Enjoying Your Creation!
Now it’s game on! Gather your friends and family for an evening of fun. Remember to keep the atmosphere light and jovial, and don’t take the game too seriously. It's all about the laughter and memories you create together.
What's Next: Troubleshooting and Variations
What Could Go Wrong? The most common issue I encountered was the paint not glowing as brightly as expected. If this happens, try using a brighter paint or applying an additional coat for enhanced glow.
Creative Variations
Once you've mastered the basic glow-in-the-dark bowling, consider these variations:
- Themed Nights: Host themed bowling nights—think Hawaiian luau or spooky Halloween where everyone decorates the pins differently.
- Outdoor Glow Bowling: Fill containers with glow sticks and set them up in your backyard for an outdoor glow bowling experience.
- Glow-in-the-Dark Obstacle Bowling: Add a twist by incorporating obstacles in your bowling lane for added challenges.
Safety Warnings
- Always work in a well-ventilated area to avoid inhaling fumes from the paint.
- If using small children, supervise closely. Non-toxic paints are a must, but it’s always best to err on the side of caution.
Conclusion
Crafting your very own glow-in-the-dark bowling setup can be a thrilling, creative endeavor. I hope this tutorial inspires you to put your own spin on this captivating activity! Remember, the real gift lies in spending quality time with loved ones and creating joyful memories. Now, get out there, immerse yourself in the crafting joy, and enjoy the glowing fun with your DIY glow-in-the-dark bowling!
Happy crafting! 🎳