How to Make Glow in the Dark Balloons: A Complete Guide
Hello fellow crafters! I’m excited to share one of my favorite DIY projects with you today—making glow in the dark balloons! These eye-catching decorations can add a fun, whimsical touch to any party, whether it's a birthday bash, a Halloween gathering, or even a cozy backyard barbecue under the stars. I've used these glowing beauties countless times, and I can say with confidence they're an instant crowd-pleaser.
Why Glow in the Dark Balloons?
Glow in the dark balloons have gained popularity because they bring a fun, magical element to celebrations, especially in dimly lit environments. Imagine a garden party where the balloons lift the ambiance during twilight, or a birthday celebration that transforms into a mini wonderland after sundown!
Additionally, they are uniquely versatile—they can serve as decorations, party favors, or even game materials for themed parties (like glow-in-the-dark capture the flag!). The possibilities are limitless, and illuminating the room (literally!) with your own handmade glow-in-the-dark balloons is immensely rewarding.
Materials Needed
Before we dive into the crafting process, let’s gather the materials we'll need. Luckily, this project doesn’t require anything too specialized; you can often find these items lying around the house or at your local craft store. Here’s what you’ll need:
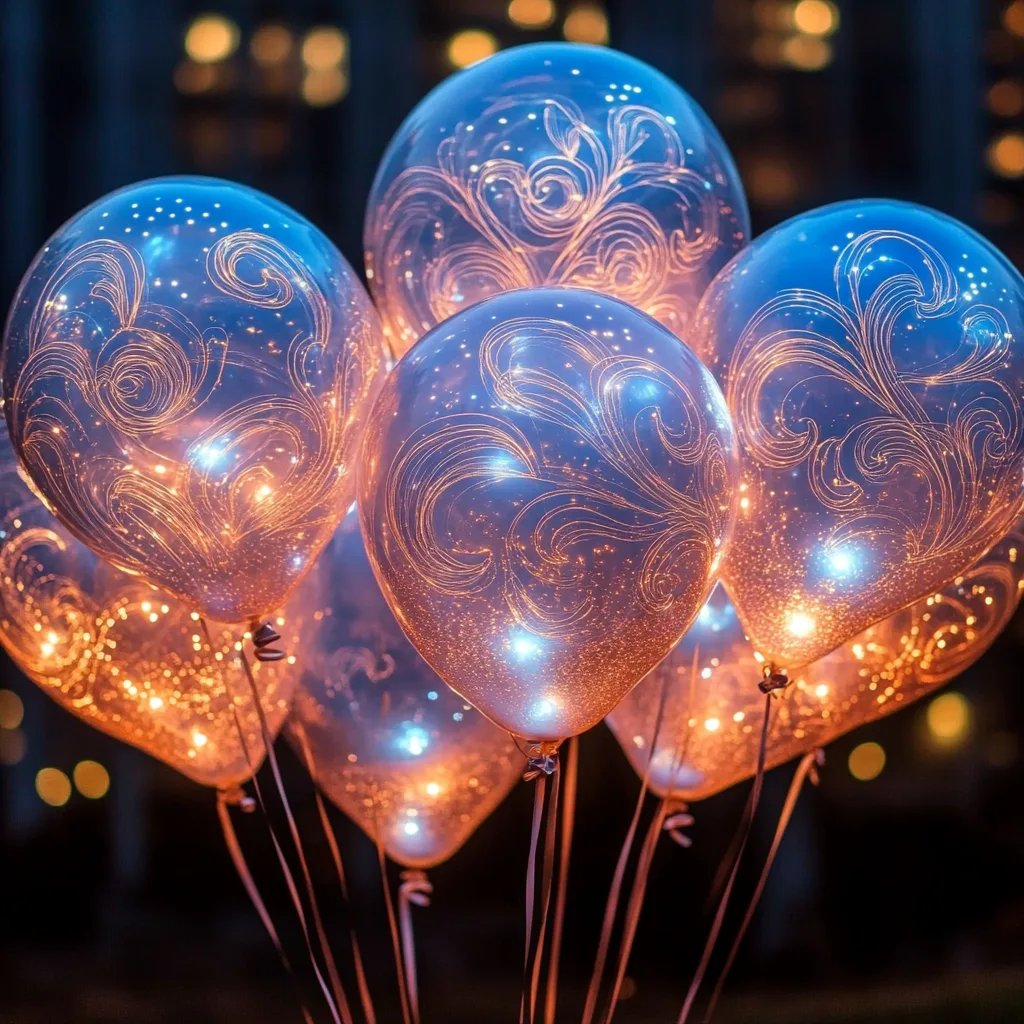
- Balloons (white or light-colored work best)
- Glow-in-the-dark paint (non-toxic and safe for use on balloons; you can find this at most craft stores)
- Brushes or sponges (for applying the paint)
- A mixing container (optional, if you’re blending colors)
- Black light (for the best glowing effect; optional but highly recommended)
- Paper towels or old newspaper (to protect your work surface)
Step-by-Step Tutorial
Now that we have everything we need, let's get crafting! Follow along with these steps, and I promise you'll have some spectacular glowing balloons in no time.
Step 1: Preparing Your Workspace
First, it’s critical to set up a tidy workspace. Lay down your newspapers or paper towels to avoid any accidental paint spills. A tidy space not only keeps your crafting area organized but also helps prevent messes that could distract you during the project.
Step 2: Choosing and Preparing Balloons
Select your balloons—white balloons provide the best glow effect as they allow maximum light reflection. If you can't find white, light pastel colors also work well. Give them a gentle stretch by inflating them a little and then letting the air out. This reduces the potential for them to pop when you apply the paint, ensuring a smoother application process.
Tip: If you're using an air pump, it can reduce the chance of popping the balloon.
Step 3: Painting the Balloons
Now the fun begins! Take your glow-in-the-dark paint and apply it to the balloons using a brush or sponge. Paint in thin, even layers to avoid over-saturation, which can lead to popping.
- Why This Matters: Thin layers allow the paint to dry evenly and adhere properly without weighing down the balloon's structure.
- Common Pitfall: Over-application is a common mistake, so make sure to keep it light and even. If you do apply too much paint, gently blot it with a paper towel to remove excess.
Try incorporating patterns or designs if you’d like—polka dots, stars, or swirls can add personal flair!
An Anecdote: I once painted some balloons with wavy lines for a beach-themed party, and they were a hit! The kids had fun guessing what ocean creatures they represented under the black light.
Step 4: Drying Time
After painting, allow your balloons to dry completely, ideally for several hours. If you're in a hurry, a fan nearby can help speed up the drying process.
Why This is Important: Painting balloons can leave wet spots. If they aren’t dry before moving to the next step, you might end up smearing your hard work.
Step 5: Inflating and Displaying Your Balloons
Once the balloons are dry, inflate them to your preferred size—just be cautious not to over-inflate! Tie them off and, if you like, attach ribbons to give them that classic balloon flair.
Safety Warning: Always ensure your space is free from sharp objects while inflating, as any puncture can lead to unexpected bursts.
Step 6: Charging & Enjoying the Glows
Place your balloons in a spot where they can soak up light—either natural sunlight or artificial light for a few hours. If you have a black light, this will enhance the glowing effect dramatically!
What Could Go Wrong: If your balloons seem dull at night, double-check they have had enough light exposure. You may also want to check if any paint has gotten overly thick, blocking the glow.
Creative Variations
Now that you've mastered the basics, here are a few creative spins you might want to try:
- Color Combinations: Mix different glow colors for psychedelic effects. You can layer glow paints to create gradients.
- Theme Parties: Use thematic paintings like spooky designs for Halloween or floral motifs for spring parties.
- Add Sprinkles: While working with balloon paint, try adding glitter for a dazzling sparkle effect under light.
Conclusion
Making glow-in-the-dark balloons is an enjoyable, creative project that can spark even the dullest celebration into excitement. I hope this guide equips you with the confidence and know-how to create your glowing masterpieces.
Remember, crafting is all about trying new things and making mistakes—don’t stress if your first attempt isn’t perfect. Embrace the craft as you glow through your creative journey!