How to Make Glow & Bounce Balls: A Step-by-Step Guide to Crafting Your Own Fun
Hello, fellow crafters! Today, I’m thrilled to share with you one of my absolute favorite DIY projects: making Glow & Bounce Balls. These squishy, vibrant balls are not only a blast to create, but they also glow in the dark and bounce like crazy! Whether you're planning a fun afternoon of play with family or want to create unique party favors, this project is sure to delight.
What Are Glow & Bounce Balls?
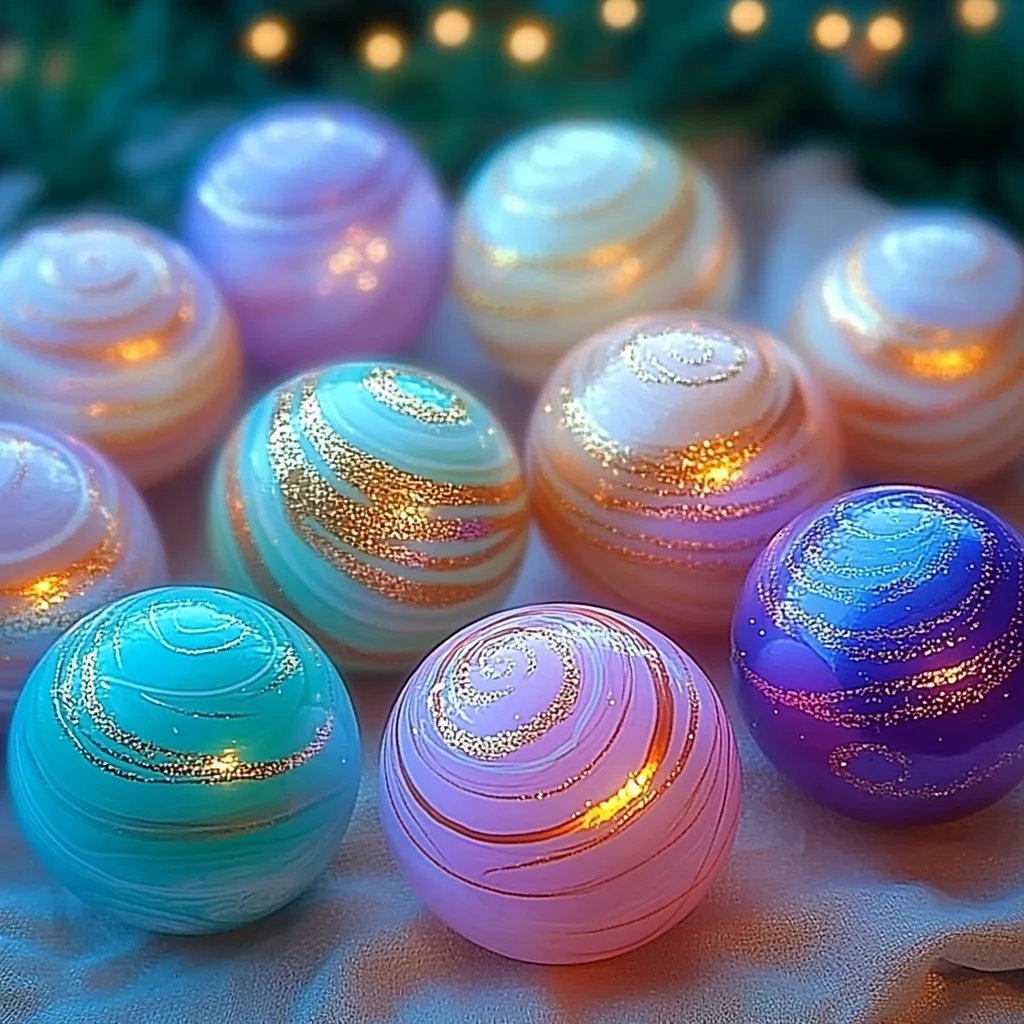
Glow & Bounce Balls are colorful, bouncy balls that you can make yourself using simple materials. They are incredibly popular among kids and adults alike due to their fun factor and the mesmerizing glow they emit when the lights go out. These glow-in-the-dark balls can be used in various settings, from playful backyard games to Halloween parties, or even as a cozy nightlight for children afraid of the dark.
In this article, I’ll guide you step-by-step through the crafting process, share my personal tips, and provide helpful insights to ensure you create the perfect Glow & Bounce Balls.
Materials You Will Need
Before we get started, here’s a list of materials to gather. Most of these items are easy to find, and you may already have some at home:
- School Glue or White Craft Glue: About 1/2 cup. This is the primary binding agent for your balls.
- Liquid Starch: About 1/3 cup. This helps the glue bond and gives the balls their bouncy quality.
- Glowing Pigment powder or Glow in the Dark Paint:Optional – for those who want that extra magical glow.
- Food Coloring: This is how you add color to your creations. Use gel color for more vibrancy if available.
- Mixing Bowl: To mix your materials.
- Spoon or spatula: For stirring.
- Waxed paper or a baking sheet: To place your finished balls on to dry.
Step-by-Step Tutorial
Step 1: Prepare Your Workspace
The first step is to create a clean workspace for your crafting session. Lay down some waxed paper or a baking sheet to protect your table from any sticky mess and ensure that your Glow & Bounce Balls won’t stick to the surface as they dry. This preparation not only makes clean-up easier but also helps keep your creative juices flowing without the worry of accidental spills.
Step 2: Mix Your Glue and Food Coloring
In your mixing bowl, pour in about 1/2 cup of school glue. If you're using colored gel for a brighter hue, now’s the time to squeeze in a few drops of food coloring – the choice is yours! I often find that a mix of blue and green creates a lovely teal that glows beautifully under black light.
Stir your glue and color mix thoroughly until the color is evenly distributed. The consistency should be smooth, resembling a thick syrup. This step is essential because any undissolved color will lead to unevenly colored balls, which could be disappointing. Trust me, I learned this the hard way!
Step 3: Add Liquid Starch
Slowly add in 1/3 cup of liquid starch, but don’t dump it all in at once! Pour it gradually while you stir. You want to mix this until the glue starts to clump up and pull away from the sides of the bowl, forming a cohesive ball of goo. This stage can be tricky, and if your mixture feels too sticky, add a tiny bit more starch; if it's too dry, just a touch more glue.
Tip: Testing as You Go
When testing the feel of the mixture, your hands might get sticky, so don’t hesitate to use a spatula if necessary. Remember, if it turns too sticky, just add more liquid starch!
Step 4: Forming the Balls
When your mixture is fully blended, gather it into a ball. This is where the real fun begins! Pinch off small portions of the mixture – about 1 tablespoon each – and roll them between your palms until you have a smooth sphere. Repeat until you've formed your desired amount.
Common Issue: If the mixture falls apart or is too gooey, it likely needs more starch. On the flip side, if it’s way too sticky, a little glue can work wonders to bring everything together again.
Step 5: Drying Your Balls
Once rolled, arrange your bouncy balls on the waxed paper or baking sheet and let them dry for at least 24 hours. This is crucial! Proper drying ensures that they maintain their bounce. They may feel a bit tacky at first, but don't worry, they'll firm up nicely as they dry.
Step 6: Enjoy the Bouncing Fun!
Once your Glow & Bounce Balls are completely dry, you can now bask in the delight of your amazing creation! If you’re using glow powder, activate the glow by exposing them to a light source for a few minutes, and once you’re in the dark, watch how they illuminate the space!
Safety Tips
While crafting is fun, it’s essential to work safely. Encourage kids to wash their hands after handling the ingredients, especially if they are using food coloring, as it can stain. Liquid starch can sometimes irritate the skin, so if you're sensitive, consider wearing gloves during the mixing process.
Creative Variations
Want to add a little extra pizzazz to your Glow & Bounce Balls? Here are some personal touches you can try:
- Add Confetti or Glitter: Mix in some biodegradable glitter or colored confetti for a magical sparkle when you toss the ball.
- Scenting with Essential Oils: Add a few drops of your favorite essential oil to your glue mixture for a pleasant aroma.
- Themed Colors: Consider using specific color combinations for holidays (like red and green for Christmas or orange and black for Halloween).
Conclusion
And there you have it! A complete guide to making your very own Glow & Bounce Balls. Not only are you left with a colorful, bouncing ball, but you’ve also engaged in a creative activity that’s great for all ages. As someone who’s tackled many crafting projects, I can confidently say that this is one of the most rewarding, and most importantly, fun activities you can do with friends or family.
I hope you enjoy this project as much as I do. Crafting is about experimenting, so don’t hesitate to adjust materials or techniques to suit your preferences. Happy crafting, and may your Glow & Bounce Balls shine brightly!