How to Make Gelatine Flower Suncatchers: A Comprehensive Guide for All Craft Lovers!
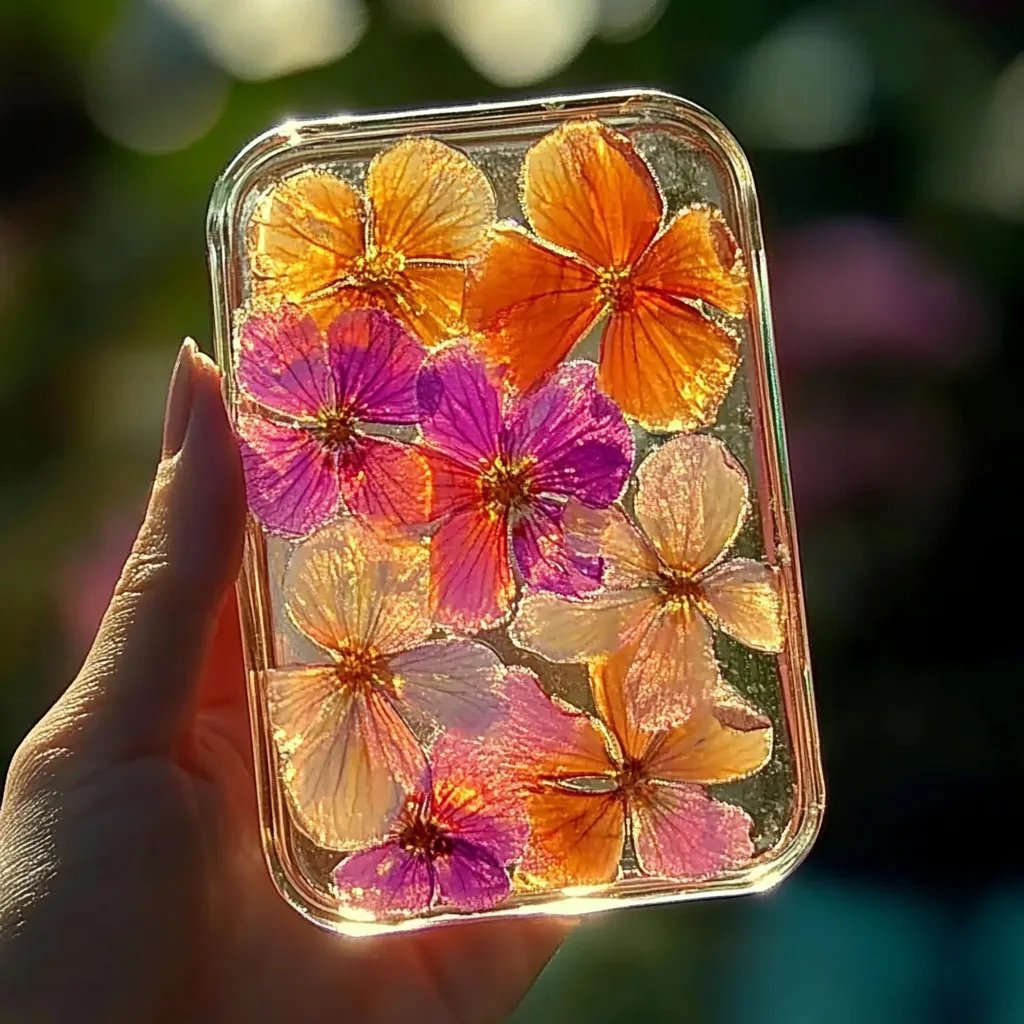
Hello fellow crafters! Today, I'm excited to share one of my favorite projects that perfectly marries creativity and mindfulness—making Gelatine Flower Suncatchers. As the sun streams through my windows, these vibrant decorations dance with light, filling my space with a kaleidoscope of colors that lift my spirits.
Not only are they visually stunning, but Gelatine Flower Suncatchers are incredibly popular for their versatility. These charming artworks can brighten up your home, serve as delightful gifts, or add a whimsical touch to a special celebration like a wedding or a birthday party. The best part? They're simple to make and can be personalized to suit any style!
Why Choose Gelatine Flower Suncatchers?
What I love most about these suncatchers is their dual purpose. They aren’t just pretty; they also serve as a way to reconnect with nature. You can create beautiful floral designs that mimic spring blooms or even your favorite flowers, offering the chance to explore colors and shapes creatively.
Materials You’ll Need
Before we dive into the crafting process, let's gather our materials. I'm always a big believer in having everything prepared upfront— it makes the crafting process much smoother.
Basic Materials:
- Unflavored Gelatin: 1 to 2 packs (I typically use Knox brand).
- Water: 2 cups for dissolving the gelatin.
- Food Coloring: Various gel or liquid colors, depending on your aesthetic.
- Wax Paper: To protect your workspace.
- Flowers: Fresh or dried edible flowers (like pansies, violets, or calendula).
- Silicone Molds: Flower-shaped molds are ideal, but you can use any shape you like!
Optional Materials:
- Scissors: For trimming the flowers.
- Paintbrush: For applying food coloring if you want a more artistic effect.
- Cooking Spray: To help release the suncatchers from the mold.
Step-by-Step Tutorial for Making Gelatine Flower Suncatchers
Step 1: Preparation
Before we start mixing, I recommend preparing your flowers. If using fresh flowers, rinse them gently under cool water to remove any dirt or insects. Pat them dry with a paper towel. When I'm feeling artistic, I also trim my flowers down to ensure they fit perfectly in the molds.
Step 2: Make the Gelatin Mixture
In a medium saucepan, pour in 1 to 2 cups of water. If you’re making multiple colors, you might want to use 2 cups to separate them later. Slowly sprinkle the unflavored gelatin over the water (this is about 2 tablespoons of gelatin for 1 cup of water). Let it sit for about 5 minutes to "bloom."
💡 Tip: Avoid whisking or stirring too soon as it can lead to lumps.
After blooming, gently heat the mixture over low-medium heat, stirring constantly until the gelatin fully dissolves—this usually takes about 5 minutes. Be careful not to bring it to a boil, as boiling can alter the texture.
Step 3: Adding Color
Once the gelatin is dissolved, it’s time to add your color. Here’s where you can really let your creativity shine! I often use a combination of colors to give depth to my suncatchers.
Choose your colors wisely—I recommend starting with a drop or two of food coloring, and then adding more to achieve your desired shade. You can also pour some of the gelatin mixture into separate cups to create layers of colors.
💡 Pro Tip: Wear gloves if you're using vibrant colors, as they can stain your fingers!
Step 4: Pour into Molds
Now it’s time to pour. Lightly spray your silicone molds with cooking spray for easy release, then pour in a thin layer of gelatin to create a base. This base layer should be just enough to cover the bottom of the mold (about 1/4 inch).
Place your flowers carefully: Lay the flowers face down on the gelatin. I like to gently push them down with a food-safe paintbrush to ensure they're submerged fully.
Pour more gelatin over the flowers until the mold is full. Be mindful of air bubbles—you can use a toothpick to pop them gently.
Step 5: Chill and Set
Transfer the molds to the refrigerator and let them set for at least 3-4 hours, or until firm. If they aren’t firm enough, here’s a quick fix: pop them back into the fridge rather than letting them sit out at room temperature.
💡 Safety Note: Avoid touching the gelatin while it’s setting—this reduces the chance of distortion!
Step 6: Unmold and Finish
Once the suncatchers have set, carefully turn the molds inside out to remove the gelatin. If they stick, gently warm the sides of the mold with your hands to allow the gelatin to release more easily.
Final Touch: Trim any excess bits around the edges with scissors. You want them to look polished!
Creative Variations
The beauty of Gelatine Flower Suncatchers is that you can customize them endlessly. You could:
- Layer colors for an ombre effect;
- Use small cookie cutters to create smaller shapes;
- Add glitter to the gelatin for an extra sparkle.
Possible Challenges and How to Fix Them
If you encounter air bubbles, don’t fret! Just use a toothpick to pop them gently after pouring, while the mixture is still wet.
If your suncatchers don't release easily, it might indicate that your cooking spray wasn't sufficient, or the gelatin set too firmly. Both issues can be remedied by warming the sides of the mold gently in your hands.
Conclusion
Creating Gelatine Flower Suncatchers can be a delightful and fulfilling experience, transforming simple materials into beautiful art that brings joy to any space. I hope this guide helps you delve into this project with enthusiasm and confidence.
Whether you choose to hang them in your windows, gift them to friends, or use them as stunning centerpiece decorations, I know you’ll enjoy every moment of this creative journey. Happy crafting, and may your suncatchers illuminate your life with color and warmth! 🌼✨