How to Make Gel Air Fresheners at Home: A Step-by-Step Guide
Hello, fellow crafters! Today, I'm excited to share my passion for homemade gel air fresheners with you. As someone who's spent countless weekends experimenting with DIY projects, I can assure you that creating your own gel air fresheners is not only easy, but it also allows for a customized scent experience that you simply can’t get from store-bought options. Gel air fresheners are not just functional; they're charming little decor pieces that can bring a delightful fragrance to any space, whether it’s your bedroom, bathroom, or even your car.
What Are Gel Air Fresheners?
Gel air fresheners are scented gel-like substances that can release fragrance slowly into the air. Their beauty lies in their versatility— you can make them in different colors, scents, and shapes to suit your home decor perfectly. They're especially popular because they don’t just mask unpleasant odors; they also add a little DIY flair to your home! Plus, they can last for weeks or even months, making them cost-effective and eco-friendly compared to traditional air fresheners.
When to Use Gel Air Fresheners
I use gel air fresheners during gatherings, to eliminate cooking smells after making dinner, or even to add a seasonal scent that puts a smile on my face. They're perfect for:
- Bathrooms – to keep the area fresh between cleanings
- Living Rooms – to create a welcoming atmosphere when guests come over
- Bedrooms – for a serene environment conducive to relaxation
- Cars – to tackle those lingering odors from everyday life
Now, let’s roll up our sleeves and create some delightful gel air fresheners together!
Materials You Will Need
Before you start, gather the following materials:
- Gelatin (1 packet) — this is the base for your air freshener
- Water (1 cup) — to dissolve the gelatin; you can also use distilled water
- Essential oils (20-30 drops) — for fragrance; I love lavender and citrus blends!
- Food coloring (optional) — for aesthetic appeal
- Salt (2 tablespoons) — this helps to preserve the gel
- A heat-resistant container (like a glass jar) — where your gel will set
- A small saucepan — for heating the gelatin
- A whisk or spoon — to mix
Step-by-Step Instructions
Step 1: Preparation
Start by gathering your materials. Make sure to clean your workspace, as hygiene is crucial when crafting anything you intend to have around your home.
Tip: Keep all your ingredients within easy reach to streamline the process.
Step 2: Heat the Water
Pour the 1 cup of water into your small saucepan and turn the stove on to medium heat. You want to heat the water, not boil it. Stir occasionally to ensure even heating.
Why this Matters: Proper heating ensures the gelatin dissolves completely, which will prevent a lumpy texture in your gel.
Step 3: Add the Gelatin
Once the water is hot (but not boiling), add the packet of gelatin and stir continuously until it's fully dissolved. This should take about 2-3 minutes.
Common Mistake: If your mixture does boil, it can create a tough gel. When this happens, you can try adding a little more water post-dissolving to lighten the mixture, but that may alter the scent strength.
Step 4: Add Salt and Essential Oils
Remove the saucepan from the heat and add your 2 tablespoons of salt to the mixture. The salt not only acts as a preservative but also helps to hold the fragrance longer in the air. Stir well to ensure it's evenly mixed.
Now, add your essential oils. I like to experiment with different combinations. For example, try 15 drops of lavender blended with 15 drops of lemon for a refreshing twist!
Tip: Adjust the amount of essential oil according to your scent preference. More drops mean a stronger fragrance, while fewer drops will lead to a subtle scent.
Step 5: Add Food Coloring (Optional)
If you want to add a pop of color to your gel, this is the time to do it! Just a few drops will do—less is more, especially since it can change the look of your final product. Mix until blended.
Step 6: Pour Into Containers
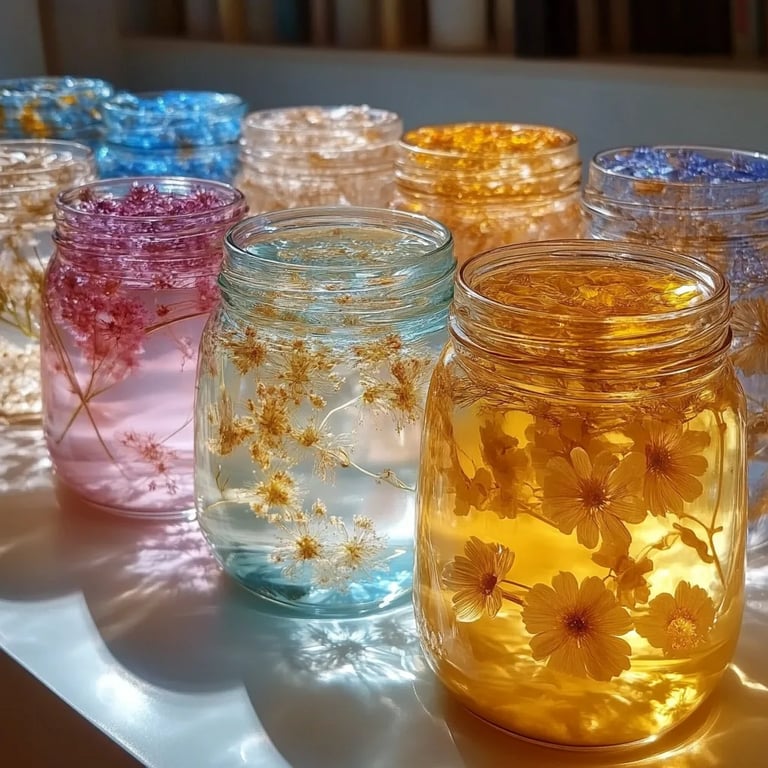
Carefully pour the mixture into your heat-resistant containers. If you have decorative jars, they will add a special touch to the final presentation.
Caution: Be careful while pouring, as the mixture will still be hot. Use a funnel if you have one to avoid spills.
Step 7: Let It Set
Leave your containers at room temperature until the gel solidifies. This usually takes around 6-8 hours. If you’re in a hurry, you can speed up the process a bit by placing them in the refrigerator—but don’t freeze them!
Troubleshooting Common Issues
- Gel Won’t Set: If after a few hours, it’s still liquid, it might be that the gelatin didn’t dissolve properly. And if you added too much water, that could also be a reason. Not to worry! Just add more gelatin dissolved in water and mix it in carefully.
- Gel Is Too Hard: If your gel is rock hard, the ratio of gelatin to water might be off. Next time, cut back on the gelatin.
Creative Variations
- Layered Scents: To create an ombre effect, pour in layers after letting each layer cool slightly, adding different scents/styles as you go.
- Herbal Touch: Before mixing in the essential oils, steep some herbs (like rosemary or mint) in the hot water, then strain it out before adding in the gelatin.
Personal Anecdote
I remember the first time I made gel air fresheners. I was excited to fill my home with a lovely lavender scent, but I accidentally spilled half of the mixture all over my kitchen counter! Despite the mess, I discovered that I could use a few drops on cotton balls to create mini scent sachets for my drawers. Every little mishap taught me something new!
Safety Warnings
- Always handle hot liquids with care—use oven mitts if necessary.
- Store your finished gel air fresheners out of reach of small children or pets, as they might be tempted to taste them.
Conclusion
Making gel air fresheners at home is a pleasant and satisfying crafting experience. With just a few ingredients, you can create personalized scents that can transform your space and express your style. Whether you stick to classic scents or experiment with vibrant colors and blends, the joy of homemade air fresheners is bound to brighten your day!
I hope you thoroughly enjoy this DIY project as much as I have. Happy crafting, and may your home smell ever so lovely!