How to Make Gel Air Fresheners at Home: A Crafting Journey to Refresh Your Space
Hello there! Today, I'm excited to share with you one of my favorite DIY projects that not only fills your home with delightful aromas but is also incredibly fun to make—gel air fresheners! Having experimented with various scents and recipes over the years, I can honestly say that homemade gel air fresheners are a wonderful alternative to commercially available products. Not only are they eco-friendly and customizable, but they also allow you to choose ingredients that suit your preferences and lifestyle.
Why Gel Air Fresheners?
Gel air fresheners are popular for several reasons. They provide long-lasting, concentrated fragrance that can permeate your space without the overwhelming intensity often found in sprays. Moreover, their gel format means they won't spill easily, making them perfect for a multitude of settings—from your bathroom to your living room, and even your car! I love using them during family gatherings to instantly boost the ambiance or to freshen up my workspace while I’m deep in creative mode.
What You'll Need
Let me walk you through the materials you'll need. Don’t worry; these are accessible, and many you might already have at home:
Ingredients:
- Water: 1 cup (distilled is preferred)
- Gelatin Powder: 2 tablespoons (unflavored, it acts as the thickener)
- Salt: 2 tablespoons (acts as a preservative)
- Essential Oils: 20-30 drops (choose your favorite scents)
- Food Coloring: (optional, for visual appeal)
Materials:
- Heat-resistant bowl: for mixing
- Stirring stick: a wooden spoon or spatula works well
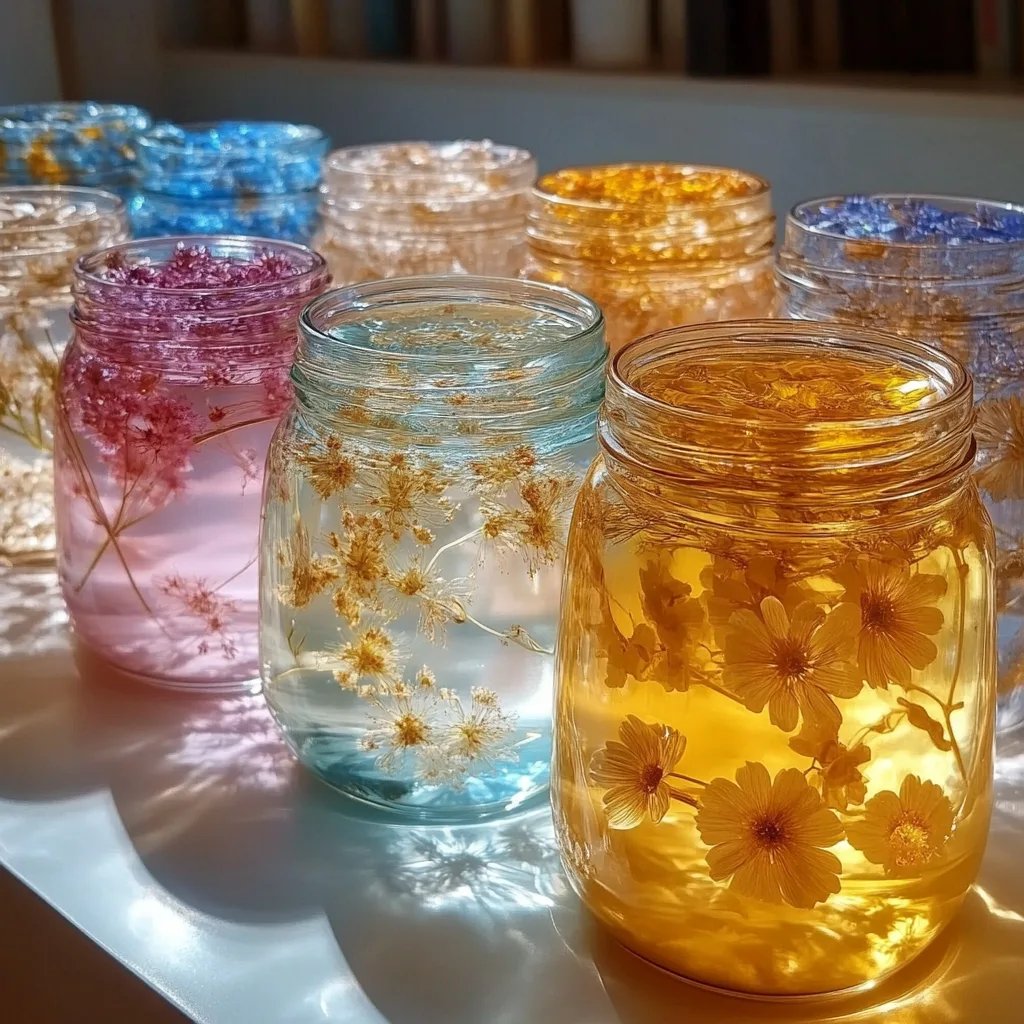
- Small jars or containers: for holding the finished product (mason jars, tiny glass bowls, or decorative jars)
- Funnel: (optional but helpful for pouring)
Step-by-Step Tutorial
- Prepare Your Workspace:
Start by clearing a space on the counter. Gather all your ingredients and tools. It’s essential to have everything at hand for a smooth crafting experience. Don’t forget to wear an apron to protect your clothes from potential spills—trust me, it’s a lifesaver!
- Heat the Water:
In your heat-resistant bowl, pour in one cup of water. Heat it gently in the microwave or on the stove until it's warm but not boiling. I usually aim for about 200°F if using a thermometer, but you can also just tell it’s ready when you see tiny bubbles forming. Why this matters: Heating helps to dissolve the gelatin properly without clumping.
- Mix in Gelatin:
Once the water is warm, sprinkle the 2 tablespoons of gelatin powder over the surface. Allow it to sit for a minute or two before stirring. This phase is crucial because it helps the gelatin bloom, contributing to the gel's lovely texture.
- Add Salt:
Stir in the salt until dissolved. The salt is essential not just for preservation but will also help your freshener last longer! If you notice any undissolved salt, you can heat the mixture slightly more while stirring.
- Incorporate Essential Oils:
This is where the magic happens! Add your chosen essential oils—20 to 30 drops, depending on how strong you want the scent. I particularly love combinations like lavender and chamomile for a calming effect or citrus blends for a refreshing aroma. Pro tip: Always start with fewer drops; you can always add more if needed!
- Add Food Coloring:
If you wish to add a splash of color, this is the time! Just a few drops can turn your clear gel into a vibrant masterpiece. This step is purely aesthetic but can make your air fresheners more appealing, especially if you’re giving them as gifts.
- Cool:
Allow the mixture to cool slightly. Once it’s reached room temperature, use a funnel to pour it into your jars or containers. This part can get a little messy, so take it slowly. As it cools, the mixture will start to thicken into a lovely gel.
- Let It Set:
Place the containers in the fridge for about 4 hours. This will help the gel firm up completely. You’ll know it's ready when it's set and has a nice, firm texture.
- Final Touches:
Once set, you can simply place the jars around your home to enjoy the fragrance! I also love to decorate the jars using colorful ribbons or labels, especially if I’m gifting them.
Troubleshooting Common Issues
- If the Gelatin Doesn’t Dissolve: If you encounter clumps or a gritty texture, try reheating the mixture while stirring.
- If Your Freshener Isn’t Firm: This could be due to too much water or not enough gelatin; next time, add an extra tablespoon of gelatin.
- If the Scent Is Too Weak: Simply mix in a few more drops of essential oil until you achieve your desired fragrance strength.
Creative Variations
- Herbal Gel Freshener: Infuse your water with dried herbs like rosemary or mint before adding the gelatin for a natural aromatic experience.
- Color Theme: Create seasonal scents and colors! Think cinnamon and red for winter or fresh linen and blue for spring.
- Citrus Freshener: Using citrus peels (dried or fresh) in your gel can enhance the fragrance and provide a beautiful touch.
Safety Warnings
- Always handle hot water with care to avoid burns.
- If you’re using essential oils, ensure they are skin-safe and meant for use in DIY products.
- Keep your gel air fresheners out of reach of pets and small children, as certain oils can be harmful if ingested.
Final Words of Encouragement
Making gel air fresheners at home is not just a crafting project; it’s a chance to infuse your living space with your unique touch. As you embark on this journey, remember that creativity knows no bounds. Feel free to mix and match scents, colors, and containers! The joy of crafting often lies in the unexpected discoveries.
I hope this tutorial inspires you to create your personalized gel air fresheners and that your home feels all the more welcoming and fragrant because of it. Happy crafting, and may your space always smell like home!