How to Make Fun Bouncing Bubbles: A Crafting Adventure
Hello fellow crafters! Today, I'm excited to share my favorite summertime project: making Fun Bouncing Bubbles! These delightful bubbles are not only visually captivating but also have a unique twist— they actually bounce instead of pop! Imagine children (and adults alike) chasing shimmering spheres that defy the traditional bubble experience. Whether you're planning a backyard birthday party, a family gathering, or just a fun afternoon activity, bouncing bubbles are sure to steal the show.
In this comprehensive guide, I'll walk you through everything you need to know about creating these wonders, including the materials, step-by-step instructions, troubleshooting tips, and even some creative variations. Let’s dive into this world of whimsy!
What Are Fun Bouncing Bubbles?
Fun Bouncing Bubbles are made using a special recipe that allows the bubbles to be resilient enough to bounce off surfaces without bursting. The science behind them lies in their unique mixture of ingredients that enhance the stretchiness and durability of the bubble film. These bubbles can be enjoyed in sunny parks, during playdates, and at celebrations— almost anywhere you can blow bubbles!
Why They’re Popular
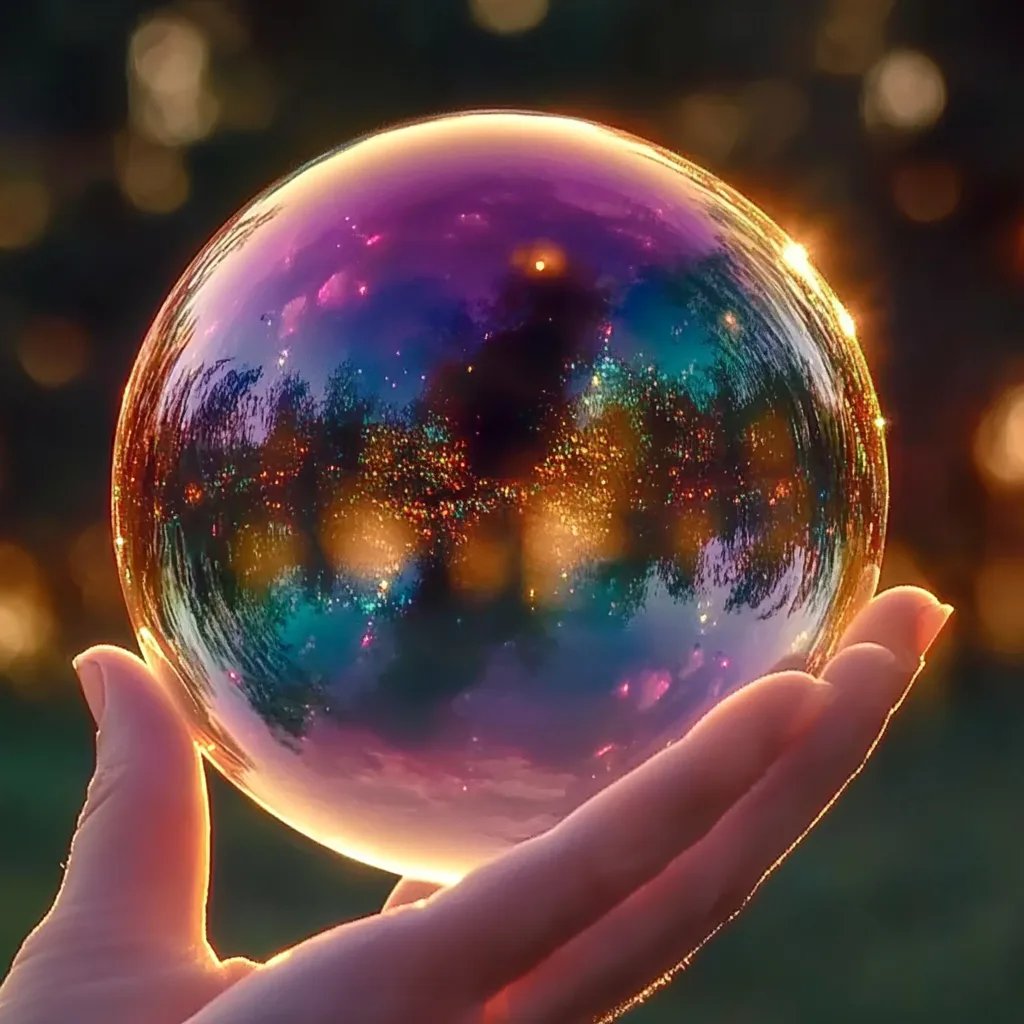
- Visual Appeal: Iridescent bubbles sparkle in the sunlight, creating a magical atmosphere that captivates both children and adults.
- Fun Activity: Making bubbles is a fun, hands-on activity that encourages outdoor play and creativity.
- Unique Experience: The allure of watching someone bounce a bubble instead of watching it burst is truly enchanting.
Essential Materials
Before we begin, let’s gather the materials. You probably have most of these at home, but if something is missing, it’s easy to find at your local grocery or craft store.
Key Ingredients:
- Dish Soap: About 1 cup (preferably a concentrated brand).
- Water: 4 cups (distilled water works best for a clear solution).
- Glycerin: 2 tablespoons (found at drugstores or with baking ingredients).
- Corn Syrup: 2 tablespoons (this adds durability).
Tools Needed:
- A mixing bowl.
- A whisk or spoon for stirring.
- A dipper (like bubble wands, straws, or even your hands).
Step-by-Step Tutorial
Step 1: Mix the Ingredients
- Combine Water and Soap: In a large mixing bowl, pour 4 cups of water. Next, gently add the 1 cup of dish soap. Use a whisk or spoon to stir slowly. It's crucial to *not* whisk too aggressively, as you want to avoid creating foam.
*Why it matters*: The water and soap form the base of the bubble mixture. Gentle mixing ensures the soap molecules align properly.
Step 2: Add Glycerin and Corn Syrup
- Incorporate Glycerin and Corn Syrup: Add 2 tablespoons of glycerin and 2 tablespoons of corn syrup into the mixture. Stir gently but thoroughly until fully combined.
*Why Glycerin?*: Glycerin helps the bubbles retain moisture, making them less prone to popping. Corn syrup enhances the elasticity, making them bounce!
Step 3: Let it Rest
- Resting Period: Cover the mixture and let it sit for at least 30 minutes (or up to 24 hours in the fridge for even better results). If possible, let it sit overnight!
*What could go wrong*: If you try to use the mixture immediately, your bubbles may burst quite easily. Patience is key!
Step 4: The Bubble Test
- Test the Bubbles: After resting, grab your bubble wand or dipper and gently dip it into the mixture. Blow gently to create bubbles. Observe how they bounce off a surface!
*Troubleshooting*: If your bubbles pop immediately, you may need to add a touch more glycerin or corn syrup. Experiment until you find the right consistency.
Step 5: Play and Enjoy
- Time to Play: With your bubble solution ready, you can start having fun! Try different blowing techniques and see how large you can make your bouncing bubbles.
Tips for Success
- Environment Matters: Using your bouncing bubble solution outdoors, on a calm day with some sunlight enhances the experience. Windy days can cause your bubbles to pop prematurely.
- Wands and Dippers: Experiment with different sizes of bubble wands and even homemade tools like straws or cookie cutters to create unique bubble shapes!
- Safety First: Ensure that children handle the mixture safely. While the ingredients are non-toxic, they can be messy and slippery.
Personal Anecdotes
I remember the first time I made bouncing bubbles with my niece. We set up on our lawn, with the sun casting rainbows through the shimmering orbs. It brought laughter and joy as we competed to see who could make the biggest bubble! Watching her face light up when a bubble bounced off the grass was simply magical— one of those moments that become cherished memories.
Creative Variations
- Colorful Bubbles: Add food coloring to your bubble mixture for vibrant hues! Just a drop or two will do the trick— experiment with combinations for rainbow bubbles.
- Scented Bubbles: Add a few drops of essential oils for a fun twist. Remember to choose skin-safe scents.
- Glow-in-the-Dark Bubbles: For nighttime fun, try incorporating glow-in-the-dark paint into your solution. Just keep in mind that less is more, as too much may affect the consistency of your bubbles.
Final Thoughts
Making Fun Bouncing Bubbles is a delightful activity perfect for all ages. Through trial and error, I’ve learned the magic of creating bubbles that bounce instead of pop. Don’t be afraid to experiment with the recipe, and remember that the most important part is to enjoy the process. Whether you're a crafting novice or a seasoned pro, I hope this guide sparks your creativity and adds joy to your bubble-making adventures.
So, gather your materials, summon your inner child, and let the bubble fun begin! Happy crafting!