How to Make Fun Bouncing Bubbles: A Comprehensive Guide
As a crafting enthusiast, I’ve always found joy in creating playful projects that spark joy and creativity. Today, I am excited to share how to make Fun Bouncing Bubbles—an entertaining activity that merges science and artistry right in your backyard. These bubbles are not just a sight to behold; they offer endless fun for kids and adults alike, making them a hit at birthday parties, playdates, or family gatherings. Imagine a sunny afternoon where giggles reign as colorful bubbles bounce and float in the air. What’s even better? You can easily create these wonderful bubbles at home with just a few simple ingredients!
What are Fun Bouncing Bubbles?
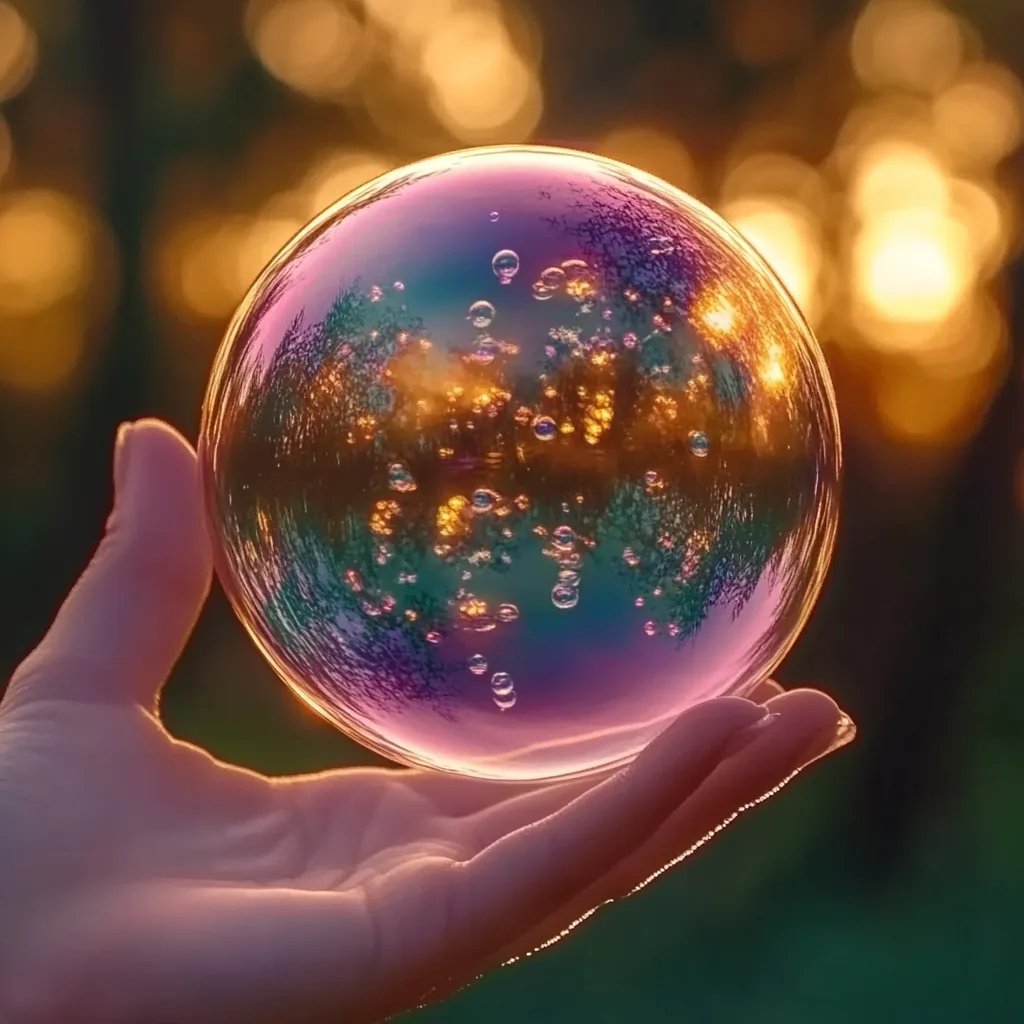
Fun Bouncing Bubbles are a special type of bubble that can bounce on surfaces instead of popping immediately upon contact. This phenomenon is attributed to a unique recipe that enhances the elasticity of the bubble solution. They are hugely popular as they combine the timeless joy of soap bubbles with the added excitement of a "game." They can be used for party entertainment, science experiments, or simply a way to connect with family and friends under the sun.
Materials Needed
Before we jump into the exciting process, let me walk you through the necessary materials you’ll need to make these Fun Bouncing Bubbles. Many of these ingredients are likely already in your pantry:
- Water: 1 cup (distilled water works best for quality)
- Liquid Dish Soap: ⅓ cup (the more concentrated, the better—Dawn and Joy are excellent choices)
- Glycerin: ⅓ cup (this adds elasticity and helps enhance bubble longevity; it can often be found in pharmacies or craft stores)
- Corn Syrup: 1 tablespoon (for added moisture and stability)
- Bowls: For mixing the solutions
- Whisk or Stirring Spoon: To blend the ingredients
- Bubbles Wands: You can use store-bought ones or create your own with household items like straws or pipe cleaners.
Step-by-Step Guide to Making Fun Bouncing Bubbles
Step 1: Prepare the Solution
- Combine the Liquid Ingredients: Start by pouring 1 cup of water into your bowl. Then, add ⅓ cup of liquid dish soap, ⅓ cup of glycerin, and 1 tablespoon of corn syrup.
Why This Matters: Each ingredient plays a crucial role—water acts as the base, dish soap provides the bubble's surface tension, glycerin gives it elasticity, and corn syrup adds moisture.
- Stir Gently: Use a whisk or a spoon to mix the ingredients. Be cautious not to create too many bubbles while stirring; you want your solution to be smooth.
What Could Go Wrong: If you stir too vigorously, you might end up with a frothy mess that could result in bubbles popping too quickly.
- Let It Rest: Cover the bowl with a cloth or plastic wrap and allow the mixture to rest for at least an hour, preferably overnight. This resting time allows the ingredients to bond more effectively.
Anecdote: One time, I was so eager that I skipped this step and ended up with a batch of disappointing bubbles. Patience truly is a virtue!
Step 2: Make Your Bubbles Wands
- Create Wands: If you’re using straws or pipe cleaners, fashion them into your desired shape. For instance, you can bend a pipe cleaner into a circle or simply use a straight straw.
Why This Matters: The shape of your wand can affect the size and shape of the bubbles! Experimentation can lead to delightful outcomes.
Step 3: Bubble Time!
- Dip and Swirl: Immerse your wand fully into the bubble solution. Allow it to soak up the mixture; then gently lift it out.
- Create Bubbles: Gently blow through the wand or swing it through the air to create bubbles. If you notice they’re popping too quickly, you might need to readjust your mixture by adding more glycerin or dish soap.
Troubleshooting: If your bubbles aren't bouncing, they might be too small, or the mixture may need a little tweaking—try letting it rest longer or adjusting the ingredients.
Step 4: Watch Them Bounce!
- Bounce Them Safely: When you see a bubble land on a surface, gently tap it with your finger or another soft object. If you’re lucky, you’ll witness it bounce rather than pop!
- Experiment: Have fun creating different sizes and watching how they behave upon bouncing. This is where creativity and curiosity can thrive.
Tips & Variations
- Safety First: While this activity is generally safe, avoid contact with eyes or ingestion of the bubble solution. If a child is involved, please supervise and ensure they understand the precautions.
- Non-Toxic Alternatives: If you’re concerned about the ingredients, you can substitute glycerin with sugar. While not as effective, it still provides some bounce.
- Colorful Bubbles: For added flair, you can mix in a few drops of food coloring into the bubble solution (keep in mind to avoid staining surfaces).
- Scented Bubbles: Add a few drops of essential oils to your mixture for a delightful aroma as the bubbles float by.
Creative Ideas to Expand Your Bubble Adventures
- Glow-in-the-Dark Bubbles: Using non-toxic glow-in-the-dark paint, you can make your bubble-wand glow, adding magic to nighttime bubble blowing.
- Bubble Games: Create friendly competitions based on size, longest floating time, or most bubbles in a minute. You’d be surprised how much laughter can be harnessed in these simple games!
- Bouncing Bubble Art: Use food-safe dyes and let your children bounce their bubbles onto paper, creating colorful art as they play.
Conclusion
Creating Fun Bouncing Bubbles is a delightful blend of crafting, science, and creativity. With this simple guide, I hope you feel empowered to gather your materials and start your bubble-making adventure. Remember, each step and each ingredient plays an integral role in crafting your beautiful, bouncy bubbles. Don’t hesitate to tweak the recipe or try out new wands. The sky's the limit when it comes to creativity.
So, gather your loved ones, make some bubbles, and let the joy of bouncing bubbles bring smiles and laughter into your home. Happy bubbling!