How to Make Friendly Glowing Bottle Ghosts: A Step-by-Step Guide
As an experienced crafter, there's nothing more satisfying than creating something that adds a touch of whimsy to your home, especially during the Halloween season. One of my favorite projects in this category is making Friendly Glowing Bottle Ghosts. These playful little specters are not only simple to make but also incredibly charming, perfect for lighting up your porch or adding fun to your indoor Halloween décor.
These glowing ghosts have skyrocketed in popularity over the past few years because they strike just the right balance between spooky and friendly, making them suitable for all ages. Whether you're a seasoned DIYer or just starting out, I’m excited to share my step-by-step process, tips, and personal anecdotes to help you create your own Friendly Glowing Bottle Ghosts.
Why Make Glowing Bottle Ghosts?
These glowing ghosts are great for several reasons:
- Simplicity: They require minimal crafting skills, making them perfect for beginners.
- Accessibility: Most materials are common household items or easily sourced.
- Versatility: You can use them for Halloween decoration or even as an enchanting night light in a kid's room.
- Customizability: There’s plenty of room for creativity in terms of shapes, sizes, and colors, so you can tailor them perfectly to your style.
Materials You’ll Need
Before we start, gather the following materials. Don’t worry—most of these should be easy to find, and I’ll give alternatives and substitutions along the way.
- Plastic Bottles: 1-liter or 2-liter bottles work well.
- White Paint: Choose acrylic or spray paint.
- LED Tea Light Candles: They glow without the dangers of an open flame.
- Black Marker or Paint: For drawing eyes and mouth.
- Hot Glue Gun: For securing the tea lights.
- Cheesecloth or White Fabric: For an extra ghostly effect, optional.
- Glow-in-the-Dark Paint: For extra glow; it adds a magical touch (optional).
- Scissors: To cut the bottles.
- Paintbrush: If using regular paint.
- Bowl of Water: For cleaning brushes or if spills occur.
Step 1: Prepare the Bottles
Start by cleaning and removing any labels from your plastic bottles. I usually soak them in warm soapy water for a few minutes and then scrub them off. This step ensures that the paint adheres properly.
Common Pitfall: If you skip this step, you might end up with peeling paint. Cleanliness is key!
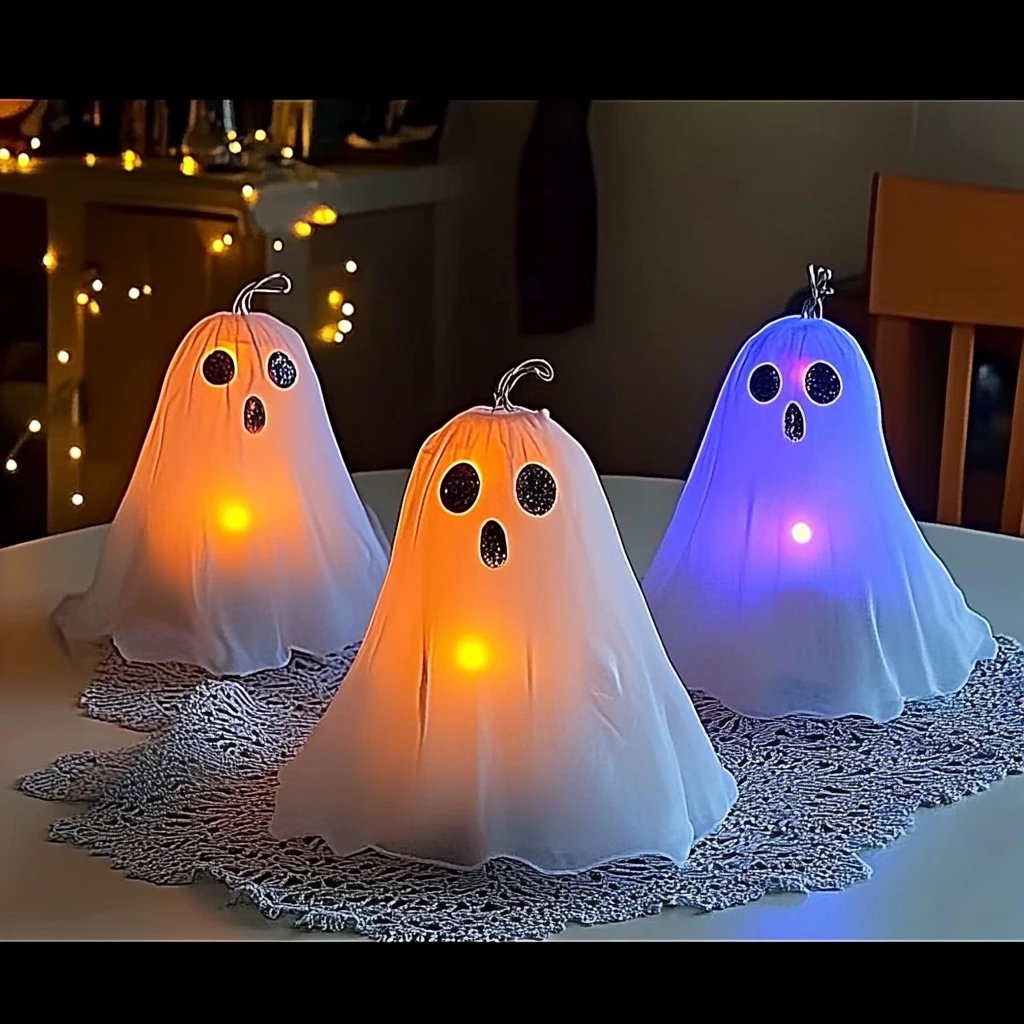
Once the bottles are clean and dry, use scissors to cut the tops off, creating an open bottle shape that resembles the ghost's body. You can adjust the height according to your preference—the shorter the bottle, the fatter your ghost will be.
Step 2: Paint the Ghosts
Now comes the fun part: painting! Using either a brush or spray paint, carefully coat the entire exterior of your bottle ghost with white paint.
Tip: If you're spray painting, do it in a well-ventilated area or outside to avoid inhaling fumes. Also, wear gloves to prevent paint from getting on your hands.
Allow the paint to dry completely—this usually takes about an hour or so. If you’re using regular paint, a quick second coat can enhance the opacity and ensure a nice, even finish.
Why It Matters: A well-painted base allows the glowing effects to show through better later on.
Step 3: Add the Glow
For those who want a brighter glow at night, you can now apply a layer of glow-in-the-dark paint. This step is optional but highly recommended if you want to elevate your ghostly creations to a new level. Apply this paint to the upper parts of your bottle ghost and allow it to dry in a dark area for the best effect.
If glow-in-the-dark paint isn’t available, a battery-operated submersible LED light can work wonders. Just place it inside before sealing up the top of the bottle.
Step 4: Create the Faces
Once everything is dry, it’s time to bring your ghosts to life! Grab your black marker or paint and draw eyes and a mouth on your ghosts. You can make them friendly (with smiling mouths) or silly (crossed eyes, open mouths)—it’s entirely up to your vision.
Common Pitfall: Make sure your markers or paint are completely dry before handling them further. Otherwise, you might smudge that adorable face you just created!
Step 5: Illuminate Your Ghosts
The final step is to place your LED candles inside the bottles. If you want to secure the tea light, a dab of hot glue can keep it in place. I often find it best to leave the ghost's top open for airflow, causing the light to spread more evenly.
Tips, Safety Warnings, and Creative Variations
- Consider Age Appropriateness: If crafting with children, be mindful of using hot glue. Supervise them closely during that part.
- Alternative Materials: If you don’t have plastic bottles, you can use paper lanterns or repurposed mason jars, though the effect will differ slightly.
- Make it a Craft Party: This project is a delightful activity for parties. Gather friends, family, or kids for a fun night of crafting.
- Create a Ghost Family: Vary the sizes to create a family of ghosts—a small, medium, and large version can look delightful.
- Embrace Imperfections: One of the best parts of crafting is that it doesn’t need to be perfect. Each ghost will have its unique charm!
Personal Anecdote
I recall one Halloween crafting session where a few friends and I made these ghosts. We all used different facial expressions, and it turned into a hilarious competition. My favorite ended up being a goofy ghost with mismatched eyes and a crooked smile. It became a centerpiece on my display, reminding me that crafting should always be fun!
Final Thoughts
Making Friendly Glowing Bottle Ghosts is a fantastic way to indulge your creative side while preparing for Halloween. Following these steps, you should feel empowered to create a set of charming spirits that light up not just your space but your spirit too. With your new knowledge, I encourage you to experiment, innovate, and most importantly, have fun. Happy crafting, and may your ghosts be as friendly and whimsical as you imagine!