How to Make Fluffy Pet Rocks: A Step-By-Step Guide to Crafting Your Own Cute Creations
Hello, fellow crafters! Today, I’m excited to share a whimsical project that has been bringing joy to homes everywhere: Fluffy Pet Rocks. These adorable, garden-friendly companions are the perfect blend of quirky charm and easy DIY fun. Whether you’re looking for a unique gift, a fun family project, or simply a delightful way to embrace your creative side, fluffy pet rocks are sure to bring smiles and laughter.
What Are Fluffy Pet Rocks?
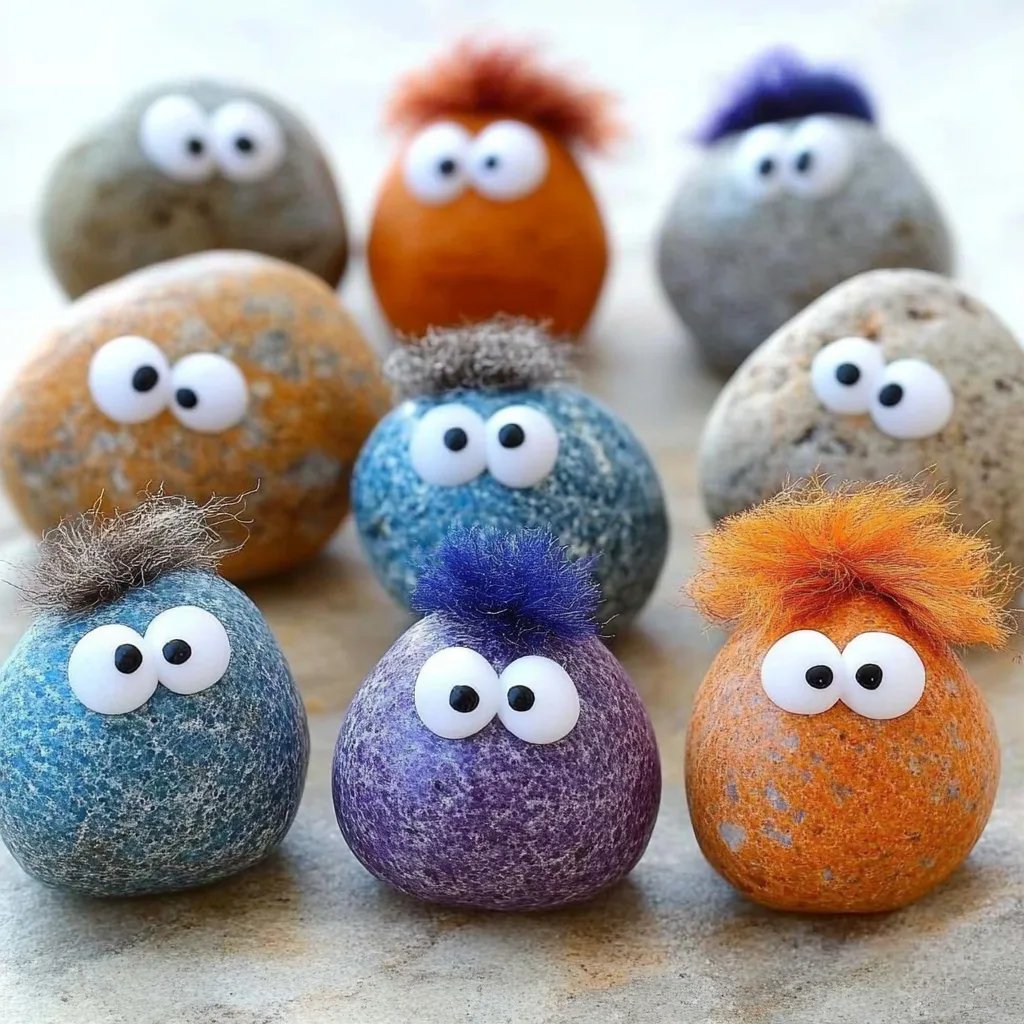
Fluffy pet rocks are essentially soft, lovable miniatures made by wrapping smooth stones in fluffy materials—often fleece, yarn, or faux fur. They can be styled to resemble animals or characters, and their creativity is truly boundless. Popularized during the DIY trend of the past few years, they’ve found homes as decor pieces, garden accents, and even delightful gifts for friends and family. Their charm lies in their uniqueness and the personal touch each creator brings to their furry friend!
When and How Can You Use Fluffy Pet Rocks?
Imagine decorating your garden with these cheerful companions or using them as bookends or paperweights on your desk! You can even make a series, showcasing different colors and designs for themed decorations during holidays. Plus, these fluffy buddies are perfect for lovely, simple gifts that pack a massive creative punch. You can even turn it into a fun activity for kids during playdates or birthday parties.
Now, let’s dive into the step-by-step process of creating your very own fluffy pet rocks!
Materials Needed
Before we get started, here’s a comprehensive list of materials you’ll need. Many of these items might already be in your home!
- Smooth, clean rocks (as many as you want to make)
- Fluffy fabric (felt, fleece, or faux fur work great)
- Hot glue gun and glue sticks (or fabric glue, but know it takes longer to dry)
- Scissors
- Googly eyes (or small beads for a custom touch)
- Markers or paint (for additional details)
- Crafting pom-poms (optional, for additional decoration)
- Wire or string (for creating a hanger if desired)
- Optional embellishments (like sequins, bows, or other decorative items)
Step-by-Step Tutorial
Step 1: Choose Your Rocks
Selecting the right rocks is crucial. Look for smooth, clean stones that fit comfortably in your hand. They should be devoid of dirt, moss, or rough edges to ensure easy handling. If your rocks have a bit of dirt, give them a good wash and let them dry completely before proceeding.
*Tip:* Take some time in nature to find your rocks! Not only is it a great way to relax, but you’ll be amazed at what unique shapes and colors you discover.
Step 2: Cut Your Fabric
Once your rocks are clean and dry, it’s time to prepare your fluffy covering. Measure and cut your fabric into pieces large enough to wrap around your stones. The fabric should be at least 3-5 inches larger than the rock on all sides so that it can gather neatly on the bottom.
*Common Mistake:* If your fabric is too small, it will lead to a silly, sad-looking rock. Always err on the side of more fabric!
Step 3: Wrap the Rock
Now, take your cut piece of fabric and fold it over your rock, gathering it at the bottom. This will create a fluffy, rounded look on the top and messy but adorable fluff at the bottom.
*Why It Matters:* Gathering the fabric helps create that fluffy look, making your pet rock wonderfully inviting!
Step 4: Secure the Fabric
Use your hot glue gun to secure the fabric. Add a dab of glue at the gathered point to hold everything in place. Be cautious when handling hot glue—it’s no fun to experience a burn!
*Troubleshooting Tip:* If your fabric starts to slip around, add small dots of glue around the rock to keep it securely in place.
Step 5: Decorate Your Pet Rock
This is my favorite step! Grab your googly eyes and glue them on to give your rock character. You can also draw or paint on a nose and mouth. If you’ve got small crafting pom-poms, you can use them for a nose or ears.
*Personal Anecdote:* My first fluffy pet rock was a little brown bear. I was nervous about where to place the eyes, but after some practice, I mastered it. Pro tip: Don’t overthink it! Your rock will show its charm no matter what!
Step 6: Add the Finishing Touches
Once you’ve glued on all your decorative elements, take a step back and observe. Feel free to add any embellishments you desire—sequins, bows, or even a little scarf around your rock’s neck!
Creative Variations
- Animal Themes: Create cats, dogs, bunnies, or even mythical creatures like unicorns!
- Seasonal Twist: Change your fabric and colors according to holidays—red and green for Christmas, orange and black for Halloween.
- Personalize: Add your name or a fun message using fabric paint, making it a perfect gift for birthdays!
Safety Warnings
- Hot Glue: Use caution with hot glue guns as the glue can cause burns.
- Multicolor Fabrics: Keep small items like googly eyes and sequins away from younger children or pets to avoid choking hazards.
Alternative Methods
If you’d prefer different materials, you can experiment with recycled cotton fabric instead of fluffy fur or even paint the rocks directly to achieve unique colorful designs. You can also use felt, which is more forgiving and easier to manipulate.
Conclusion
And there you have it! Creating your fluffy pet rocks is not just a fun craft, but it provides an avenue for self-expression—turning ordinary stones into extraordinary companions! I hope you enjoy this process as much as I do. Each rock tells its own story, and with every creation, you’ll cherish the memories attached to your crafting adventure.
Don’t forget to share your fluffy pet rock journey with family and friends, and consider hosting a crafting night where everyone can join in the fun. Happy crafting, and may your fluffy pet rocks bring joy and smiles to your home!