How to Make Fluffy Green Slime: A Comprehensive Guide from an Experienced Crafter
Hello fellow crafting enthusiasts! Today, I’m excited to share with you one of my all-time favorite DIY projects—making fluffy green slime! If you haven’t jumped on the slime-making bandwagon yet, you’re in for a treat. Fluffy slime is not only super fun to make, but it’s also incredibly satisfying to play with. The squishy texture, vibrant colors, and delightful stretchiness make it a popular choice for kids and adults alike. Plus, it’s a fantastic sensory activity that can spark creativity and inspire imaginative play. Whether you're hosting a kids’ party or looking for a fun weekend project, fluffy green slime is the perfect addition to your crafting repertoire.
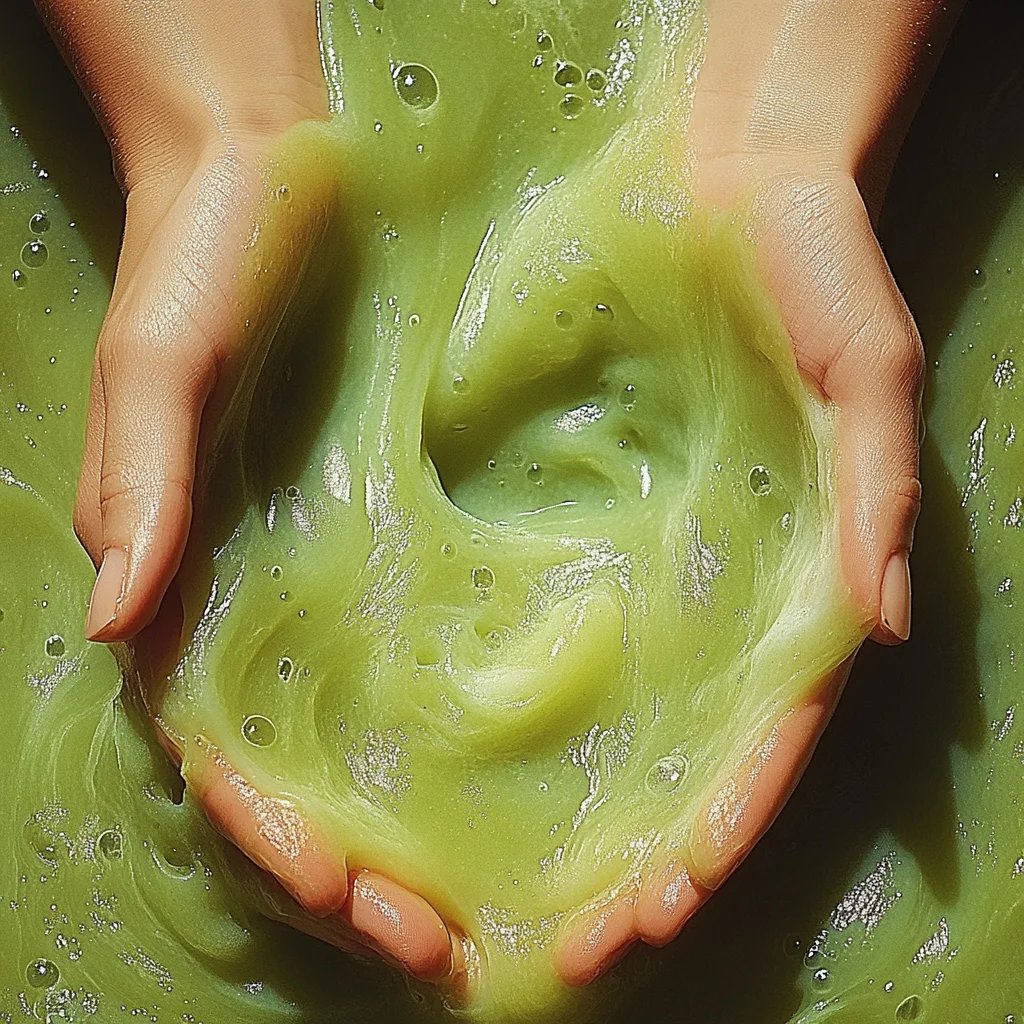
What Makes Fluffy Green Slime So Special?
The reason fluffy green slime has gained immense popularity is due to its unique, puffy texture that sets it apart from traditional slime. It incorporates shaving cream into the mix, which lends it an airy quality that makes it feel like a soft cloud when you squeeze it. It’s versatile, too. You can use it as a stress-relief tool, a sensory activity for children, or even as a fun science experiment to learn about polymers. The possibilities are endless, and I promise you, once you start making it, there’s no stopping you!
What You’ll Need
Before we embark on this slime-making adventure, let’s gather all the necessary materials:
- White school glue (8 oz) – PVA glue is the key ingredient that forms the slime base.
- Baking soda (1 tsp) – This will help to thicken your slime and give it that stretchy consistency.
- Shaving cream (2 cups) – The secret ingredient that adds the fluffiness!
- Liquid food coloring (a few drops) – To achieve your perfect shade of green.
- Contact lens solution (1-2 Tbsp) – This acts as the activator and helps the slime form.
- Mixing bowl – For combining all your ingredients.
- Measuring cups and spoons – Precision is key in crafting the best slime.
- Plastic spatula or spoon – For mixing everything together.
- Airtight container – For storing your slime after you’ve created it.
Step-by-Step Tutorial: Making Fluffy Green Slime
Step 1: Combine Glue and Baking Soda
Start by pouring your 8 oz of white school glue into a mixing bowl. Next, add in 1 teaspoon of baking soda. The baking soda helps create a firmer texture and will enhance the slime’s elasticity. Mix these two ingredients thoroughly until they’re well incorporated. If you skip this step or don’t mix well enough, your slime may not achieve that perfect stretchy texture, so take your time!
Step 2: Add Shaving Cream
Now it’s time to add the fluffy goodness! Carefully pour 2 cups of shaving cream into your glue and baking soda mixture. Gently fold the shaving cream in using a spatula or spoon. You want to create a light and airy mixture, so avoid over-mixing. If you find that your slime is too dense, it won’t have that delightful fluffiness we’re aiming for.
Step 3: Dye Your Slime
Here comes the fun part! Add a few drops of green food coloring to your fluffy mix. You can adjust the amount to achieve your desired hue, mixing it in until the color is even. Just remember, the food coloring can stain, so it's wise to wear old clothes or an apron during this step. If you want a lighter green, add less, or go for a darker shade by adding a few extra drops.
Step 4: Activate Your Slime
To get your slime to the right consistency, you'll need to add liquid contact lens solution. Start with 1 tablespoon and stir it into your mixture. You’ll notice it starting to come together, becoming less sticky and forming a ball. If your slime is still too sticky, slowly add more contact lens solution a little at a time, continuing to mix. A common pitfall is adding too much activator too quickly, which can lead to a rubbery texture. Aim for a balance, and if it’s too stretchy, you can knead in a touch more baking soda.
Step 5: Knead and Play!
Once your slime has reached the desired consistency, use your hands to knead it. This is where the magic happens! Kneading activates the slime even further and helps to integrate the air pockets caused by the shaving cream. Get it mixed well until it feels soft and fluffy. If it’s slightly sticky, adding a pinch more baking soda can help resolve that without compromising the fluffiness.
Personal Tips and Tricks
- Storage: Remember to store your slime in an airtight container to keep it fresh and fluffy. If you notice that it becomes less fluffy over time, you can simply add a bit more shaving cream to revive it.
- Variations: Feel free to experiment with different colors or even add glitter for some sparkle! This can turn your fluffy green slime into a magical concoction.
- Safety First: Always supervise young children during this crafting process. While the materials are generally safe, contact lens solution can irritate eyes, so ensure kids wash their hands thoroughly after playing with slime.
- Ingredient Substitutions: If you don’t have contact lens solution, you can use liquid laundry detergent or saline solution. Just be mindful that ratios may vary slightly, so test it out while mixing!
Troubleshooting Common Issues
- My slime is too sticky: If it feels too sticky to the touch, it likely needs more contact lens solution. Add a bit, knead it, and see how it feels.
- My slime is too rubbery: This usually means you’ve over-activated it. Next time, try adding the activator slowly.
- The color wasn’t vibrant enough: Don’t hesitate to adjust the food coloring. You can always remix it once you’ve gotten your slime to the right texture.
Conclusion
And there you have it, my friends—a detailed guide to making your very own fluffy green slime! This project not only taps into your creative side but also serves as a wonderful way to bond with friends or family. With just a few simple ingredients and a little bit of practice, you’ll be a slime-making expert in no time.
I hope you enjoy crafting this delightful slime as much as I do. Remember, patience is key, and don't hesitate to experiment with different colors and textures. Happy crafting, and may your slime always be fluffy!