How to Make Fluffy Green Slim: A Comprehensive Guide
Hello there, fellow crafters! I’m excited to share my journey with creating one of the most delightful, squishy, and popular crafts around: Fluffy Green Slim! If you’ve wandered into the world of DIY crafts, you surely know that slim – especially fluffy green slim – has taken the internet by storm. It's not just a fun DIY project; it's a sensory delight that appeals to children and adults alike. Whether you want to occupy your kids on a rainy afternoon, engage in a creative group activity, or simply indulge your inner child, fluffy slim is a versatile and satisfying choice.
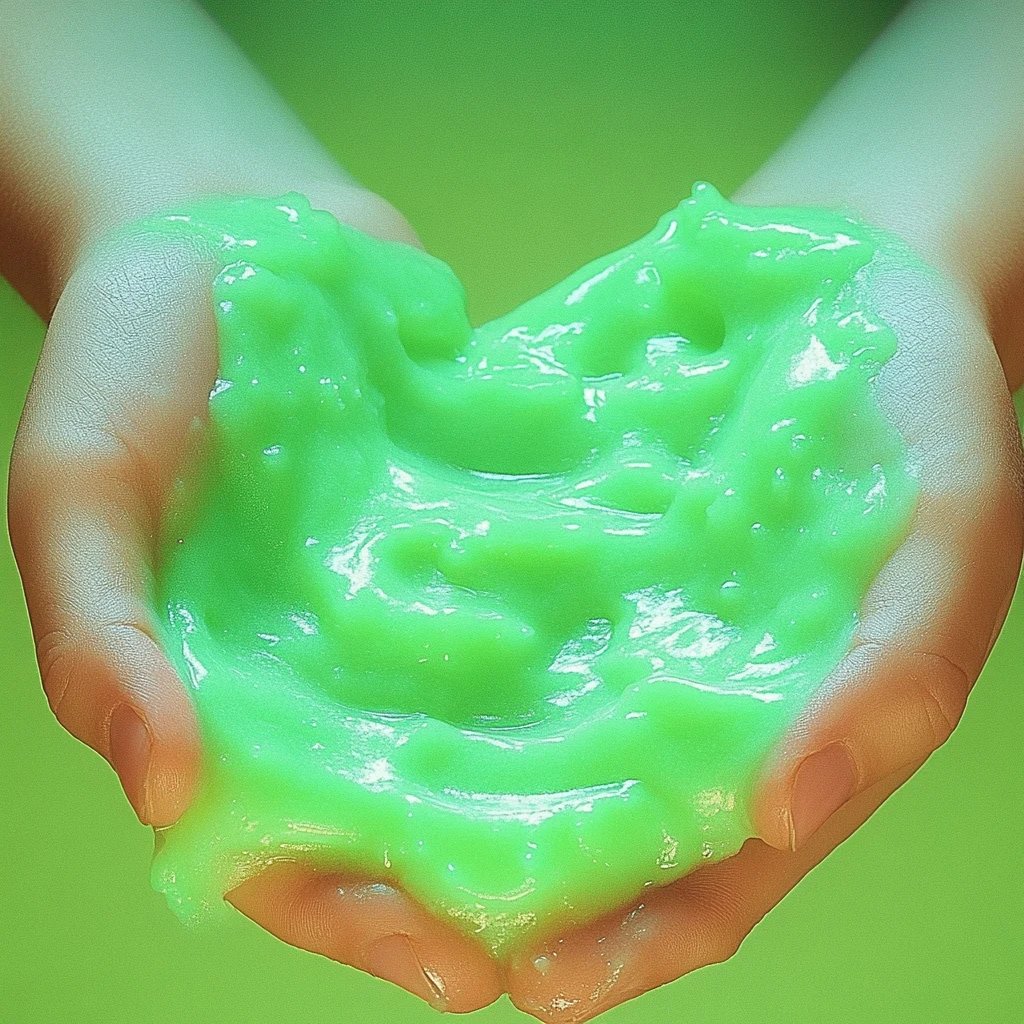
What is Fluffy Green Slim?
Before we jump into the nitty-gritty of crafting, let’s clarify what fluffy green slim is. Essentially, it’s a stretchy, squishy substance made primarily with household ingredients, which can be customized in countless ways. Its fluffy texture and vibrant green color make it a unique sensory experience, perfect for squishing, stretching, and forming into fun shapes. This slime is often used in stressed relief, as a playful sensory tool for kids, or just as a pleasant distraction for adults!
When and How Can Fluffy Green Slim Be Used?
You can use fluffy green slim in a variety of scenarios:
- Sensory Play: It’s perfect for toddlers and preschoolers who love tactile activities.
- Party Favor or Gift: Pack in small containers for party favors or gifts.
- Stress Relief: Squishing slime can be surprisingly calming for teenagers and adults alike.
- Teaching Tool: Use it to teach basic science concepts in a fun way.
Now that we’ve set the stage, let’s dive into how to make this delightful concoction!
Materials Needed
Here is a list of simple and easily accessible materials that you will need:
- White school glue (1 cup): This is your slime's base.
- Foam shaving cream (1 cup): This is what gives your slime that delightful fluffy texture.
- Baking soda (1 teaspoon): Helps to thicken the mixture and adds some body.
- Contact lens solution (2–3 tablespoons): This is your activator, changing the glue mixture into slime.
- Green food coloring: Add as much or as little as you like for color intensity.
- Mixing bowl and spoon: For combining your ingredients.
- Airtight container: To store your finished slime.
Optional Add-Ins:
- Glitter: For extra sparkle.
- Essential oils or fragrance: To give your slime a pleasant scent.
Steps to Create Your Fluffy Green Slim
Step 1: Prepare Your Mixing Bowl
Start by gathering your materials and clearing a flat surface. I always cover my workspace with newspaper or an old tablecloth. This helps with easy cleanup and protects your surface.
Step 2: Combine Glue and Shaving Cream
In a bowl, pour 1 cup of white school glue and 1 cup of foam shaving cream. This combination is critical because the glue provides adhesion while the shaving cream creates the fluffy texture.
*Tip:* It's advisable to use foam shaving cream over gel as it adds more volume and airiness to your slime.
Step 3: Add Baking Soda
Now, add 1 teaspoon of baking soda into the bowl. Baking soda is a key ingredient that acts as a thickening agent, giving your slime a more solid structure. Mix everything until it’s well combined.
*Common Pitfall:* If you skip the baking soda, your slime won't hold its shape and will be more liquid than stretchy.
Step 4: Introduce Color
At this stage, it’s time to add your green food coloring! I recommend starting with 2–3 drops, then mixing thoroughly. You can increase the number of drops until you reach your desired shade. It’s fun to experiment with shades of green using different color combinations.
Step 5: Activate with Contact Lens Solution
Now it’s time to activate your slime. Slowly add 2 to 3 tablespoons of contact lens solution, mixing continuously. You’ll notice the slime starting to form, pulling away from the sides of the bowl.
*Note:* If your slime remains sticky, it might mean you haven’t added enough activator. Just a little more contact lens solution will do the trick. Be careful not to add too much all at once; you can always add more, but removing excess slime is much more challenging.
Step 6: Knead the Slime
Once the slime starts pulling away, it’s time to knead it with your hands! This step is essential as it activates the slime fully, giving you that stretchy, fluffy texture. If it's too sticky, add a few drops of contact lens solution and knead again.
*Pro Tip:* If it feels too dense, a touch of water can achieve a lighter, fluffier slime. Start with a teaspoon and adjust accordingly.
Step 7: Store Properly
After enjoying your fluffy green slim, be sure to store it in an airtight container. This keeps it fresh and stretchy for days.
Troubleshooting Common Issues
- Slime is too sticky: Add a little more contact lens solution.
- Slime is too hard or crumbly: This can happen if you added too much baking soda. A bit of water can restore the balance.
- Not fluffy enough: Increase the amount of shaving cream, mixing well.
Creative Variations to Try
Once you’ve mastered the basic recipe, you can experiment with variations:
- Add-ins: Mix in foam beads or even small plastic animals for texture.
- Scented Slime: Use essential oils (1 drop at a time) for aroma. Lavender, peppermint, or lemon can create a relaxing atmosphere.
- Thematic Colors: Try using red and white for a festive vibe during holidays.
Personal Anecdotes
I remember the first time I made this fluffy green slim; it was for a birthday party. The kids were ecstatic, and so was I! Seeing their faces light up while squishing and stretching the slime made my heart happy. We ended up letting everyone take home a small container. It became a party favorite!
Safety Warnings
While crafting slime is generally safe, please supervise young children and ensure that they do not ingest any materials. If skin irritation occurs, wash hands immediately and refrain from using the ingredients.
Conclusion
Making fluffy green slim can be a rewarding and joyous activity. With just a few simple ingredients and steps, you can create a tactile masterpiece that brings smiles to faces of all ages. I hope this guide inspires you to get crafting! Bear in mind that the process can be as lovely and squishable as the final product. So, roll up your sleeves, unleash your creativity, and happy crafting!
Feel free to share your experiences or variations in the comments below. I can’t wait to see what you create!