How to Make Flower Tealights: A Step-by-Step Guide
Hello, fellow crafters! I’m thrilled to share one of my favorite DIY projects with you today—how to make beautiful and fragrant flower tealights. These delightful creations add a touch of elegance to any setting, making them perfect for special occasions, cozy evenings, or simply as a lovely addition to your home decor. If you're like me and enjoy crafting, then getting creative with natural elements can be incredibly satisfying. Plus, who doesn’t love the soft, warm glow of a tealight flickering away, complemented by the subtle scent of flowers?
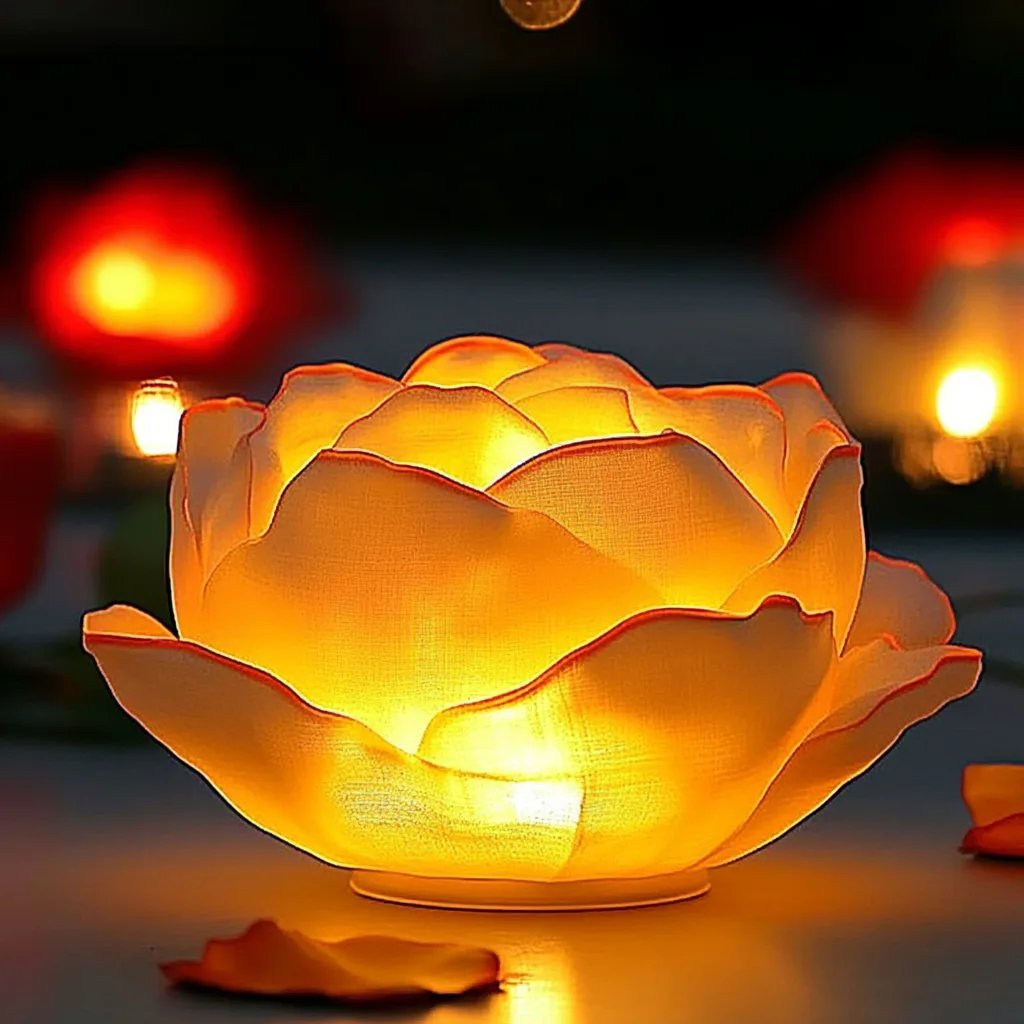
Why Flower Tealights?
Flower tealights have gained popularity not only for their aesthetic appeal but also for their versatility. You can customize them with your favorite flowers, scents, and colors to match any theme or mood. Whether you’re hosting a romantic dinner, celebrating a milestone, or just trying to lift your spirits with some handmade beauty, flower tealights are an excellent choice. Additionally, they make wonderful gifts for friends and family, showcasing your creativity and thoughtfulness.
When to Use Flower Tealights
- Home Decor: Brighten up your living space with a touch of nature.
- Themed Parties: Add to the ambiance of a garden party or summer wedding.
- Gifts: Create personalized gifts for birthdays, housewarmings, or holidays.
- Relaxation: Use them during self-care times to enhance your relaxation routine.
- Celebrations: Light them during special moments to create a warm and inviting atmosphere.
Excited? Let’s dive into the process!
Materials You'll Need
To create your own flower tealights, gather the following materials:
- Tealight Candle Wax: I recommend using soy wax for a cleaner burn and eco-friendliness.
- Tealight Candle Molds or Empty Tealight Cups
- Dried Flowers: Use your favorites! I love lavender, chamomile, rose petals, and calendula.
- Tealight Wicks: Make sure they are appropriate for the wax you’re using.
- Essential Oils (optional): Choose scents like lavender, rose, or eucalyptus for added fragrance.
- Double Boiler: For melting the wax.
- Thermometer: To check wax temperature.
- Wooden Sticks/Chopsticks: For stirring.
- Pouring Jug: For easy wax pouring.
- Mold Release Spray (optional): To help with mold release.
Step-by-Step Instructions
Step 1: Prepare Your Work Area
Before you start, clear your crafting space and gather all your materials. I napkin my workspace with some old newspaper (wax can get messy!), wear an apron, and have a heat-resistant surface to work on. Safety first!
Step 2: Measure the Wax
Using a kitchen scale, measure out enough wax to fill your tealight molds. As a rule of thumb, one pound of wax can fill about 12 tealight cups.
Step 3: Melt the Wax
Fill your double boiler with water, and place it on the stove over low to medium heat. Once the water is simmering, add your wax to the top pot. It's essential to use the thermometer to monitor your wax. Aim for around 170°F (77°C) for perfect melting. Stir occasionally with your wooden stick until fully melted.
*Tip: Be cautious when melting wax; it can ignite at high temperatures. Always keep your boiling pot monitored!*
Step 4: Prepare the Molds
While the wax is melting, prepare your molds or tealight cups. If you're using a mold, spray the insides lightly with mold release spray. Position your wicks in the center of the molds or cups. Secure them down with a bit of melted wax or by using a wick holder if you have one.
Step 5: Add the Dried Flowers
Once the wax is melted, remove it from the heat and allow it to cool slightly to around 160°F (71°C) so it doesn’t scorch your flowers. This is when you can stir in your essential oils (if using) and then gently fold in the dried flowers.
*Tip: Use a variety of flowers for different colors and textures, but be cautious not to overload it—too many flowers can affect the burning and aesthetics.*
Step 6: Pour the Wax
Carefully pour the wax mixture into your molds or cups, filling them about three-quarters of the way. Ensure the wick remains centered while pouring.
*Note: If bubbles form, you can spritz the surface with rubbing alcohol or gently tap the cups on your work surface to release them.*
Step 7: Let Them Set
Allow the tealights to cool and harden completely. This usually takes about 4–6 hours at room temperature. If you’re in a hurry, placing them in the refrigerator can speed up the process (but avoid the freezer).
Step 8: Trim the Wicks
Once your tealights are completely solid, it’s time to trim the wicks to about 1/4 inch above the wax surface. This will help them burn cleaner when lit.
Common Mistakes and Solutions
- Flowers Sink: Sometimes, the flowers might settle at the bottom. If this happens, I recommend waiting until the wax cools slightly before adding the flowers—this helps them stay suspended a bit more.
- Uneven Tops: If the top of your tealights is uneven after cooling, you can reheat the tops with a heat gun or hairdryer for a smooth finish.
- Wick Issues: If the wick is not burning properly, make sure it’s made of the right material for the type of wax used and it’s trimmed to the appropriate length.
Safety and Precautions
- Always work in a well-ventilated area.
- Never leave melting wax unattended.
- Keep flammable materials away from your work area.
- Use gloves if you’re sensitive to heat.
Alternative Methods and Ingredient Substitutions
- Dyes: If you wish to color your candles, you may add candle dye in the melting stage. Try natural alternatives like turmeric for yellow or beet powder for pink.
- Molds: You can use muffin tins or silicone molds in creative shapes if tealight cups are not available.
- Wicks: If you can't find tealight wicks, you can cut down regular candle wicks but ensure they're cotton or wooden without metal.
Creative Variations
Feeling adventurous? Here are a few ideas to switch things up:
- Layered Tealights: Pour different colored wax in layers for a stunning effect.
- Herbal Infusions: Infuse your wax with dried herbs like rosemary or thyme for a rustic twist.
- Gifts in Jars: Use small mason jars for a more rustic tealight that can double as a gift container.
Final Thoughts
I hope this guide inspires you to create your own beautiful flower tealights! Not only are they a treat for the eyes, but they also bring warmth and comfort to any space. Remember, crafting is about experimenting, so don’t hesitate to mix and explore different flowers, fragrances, and techniques. Each batch is an opportunity to learn and grow. Happy crafting! 🌸✨
Should you have any questions or want to share your tealight creations, feel free to comment below! I can’t wait to hear about your experience and see your beautiful floral creations.