How to Make Fizzy Chalk Paint: A Fun and Creative Guide
Hi there, fellow crafters! Today, I’m excited to share one of my most treasured crafting secrets: fizzy chalk paint. If you’ve never experienced the sheer delight of creating vibrant artwork that fizzes and pops, you’re in for a treat! In this article, I’ll walk you through everything you need to know about making your own fizzy chalk paint—from what it is to how you can use it for sophisticated art projects or playful activities with the kids.
What is Fizzy Chalk Paint?
Fizzy chalk paint is a unique, interactive art medium that combines the simplicity of chalk and the excitement of a fizzy reaction. Made from basic ingredients you probably have at home, this paint not only provides a vivid and colorful finish but also adds a layer of sensory experience as it reacts with water to create bubbles. It's particularly popular for outdoor activities, crafts, and even educational purposes, like teaching kids about chemical reactions!
Why is Fizzy Chalk Paint Following the Crafting Trend?
- Educational Value: Fizzy chalk paint allows children to explore basic chemistry concepts in a hands-on way. As they mix the ingredients, they can witness a reaction firsthand, making learning fun.
- Versatile Uses: You can use fizzy chalk paint for everything from art projects and sidewalk drawings to party decorations. It's ideal for outdoor play and can easily wash off most surfaces with a little water.
- Safety: This paint is typically made from non-toxic ingredients, making it a safe option for children. It’s important to always verify the safety of your materials, but most common ingredients are entirely child-friendly.
- Accessibility: Many of the ingredients are common household items or can be found easily at craft stores—no need for fancy colors or extravagant supplies.
Now, let's jump into the fun part: making your own fizzy chalk paint!
Step-by-Step Tutorial for Making Fizzy Chalk Paint
Materials You’ll Need
Before you begin, gather the following ingredients and supplies:
- 1 cup baking soda
- 1 cup corn starch
- 1 cup water
- Food coloring (liquid or gel)
- 1 cup white vinegar (for the fizzy effect)
- Mixing bowls (one for dry ingredients, one for wet)
- Whisk or spoon for mixing
- Containers or ice cube trays for storing the paint
- Paintbrushes, sponges, or squeeze bottles for application
- Water for cleaning up and making the fizzy effect
Step 1: Combine the Dry Ingredients
I always start by creating a clean workspace. In a mixing bowl, combine 1 cup of baking soda and 1 cup of corn starch. Use a whisk or spoon to blend them together well.
Why This Step Matters
Mixing the dry ingredients thoroughly ensures that the baking soda gets evenly distributed. If not, some parts of your paint may fizz more than others, resulting in inconsistent texture and application.
Tip: Make sure your mixing bowl is completely dry! Any moisture can affect the consistency of your paint.
Step 2: Add Water
Gradually add 1 cup of water to your dry mixture, stirring continuously. You’re looking for a smooth, pourable paint consistency. If it feels too thick, add a little more water, a tablespoon at a time.
Common Issues
If your paint is too runny, it may not stick to your surface properly. If this happens, just add a bit more corn starch to thicken it up, and keep adjusting until the consistency feels right.
Step 3: Color It Up
This is where the magic happens! Add a few drops of food coloring to the mix. You can choose a single color or get creative by mixing different colors together to create unique shades. Whether you want gentle pastels or vibrant hues, the choice is yours!
Personal Anecdote
One time, I decided to mix blue and yellow to create green for a nature-themed sidewalk mural. Watching the colors blend as I painted was an exhilarating experience, and it instantly made my project more dynamic!
Step 4: Store in Containers
Once your paint is ready, pour it into containers or an ice cube tray for easy access. Make sure to label each container, especially if you’ve created multiple colors.
Storage Tip
For best results, use airtight containers. If you have leftover paint, it can be stored in the fridge for a couple of days, but keep in mind that the fizzing reaction will weaken over time.
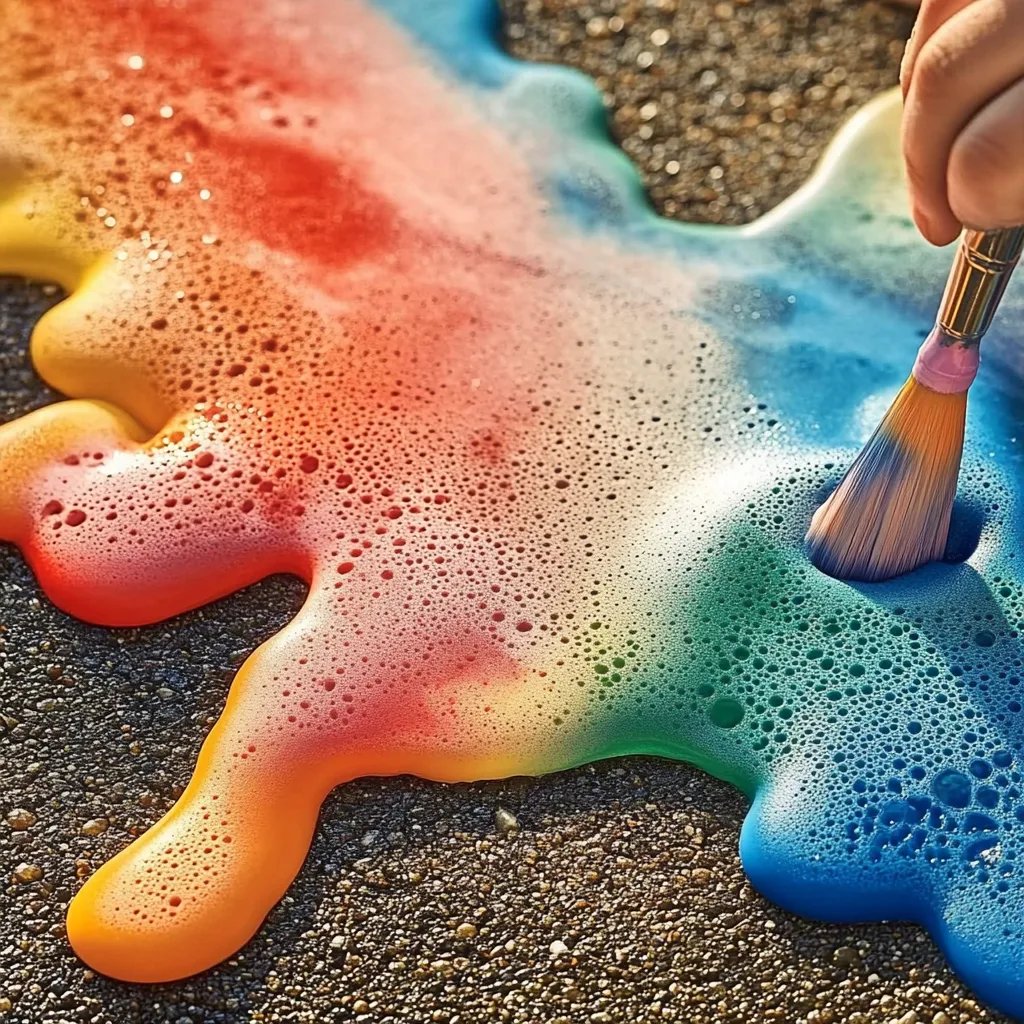
Step 5: The Fizzy Fun Begins
To use your fizzy chalk paint, all you need is white vinegar and water. Start by applying your chalk paint onto a suitable surface, like pavement, a canvas, or even a large piece of cardboard. Then, pour or squirt a small amount of vinegar directly onto the painted area.
Safety Warning: Ensure your work area is well-ventilated and keep vinegar away from your eyes and sensitive areas, just to be extra cautious.
What Could Go Wrong?
If it doesn’t fizz, you may not have added enough vinegar, or you might have let your paint sit too long. If you find that the reaction is lackluster, just go back and mix in a little more baking soda to give it another chance to fizz!
Creative Variations
Here are a few creative tweaks and variations to elevate your fizzy chalk paint experience:
- Glow-in-the-Dark Option: Add a little glow-in-the-dark paint to your mixture for nighttime visibility. It’s a hit with kids during evening craft sessions!
- Scented Paint: Try using flavored gelatin or scented extracts to add a pleasant aroma to your paint! It’ll make painting more of a sensory experience.
- Textured Paint: Stir in a bit of sand or small pebbles for a textured finish. This works beautifully for outdoor murals and gives an added layer to your projects.
- Theme-Based Colors: For special occasions like birthdays or holidays, curate a set of colors that match your theme. Think pink and white for a bridal shower or green and red for Christmas!
Conclusion
There you have it—a comprehensive guide to creating your own fizzy chalk paint! I hope this inspires you to unleash your creativity and enjoy some wonderful crafting moments, whether alone or with your loved ones. Remember, crafting is not just about the final product but also the joy of the process, so don’t be afraid to make mistakes and experiment!
Feel free to share your experiences or any unique variations you come up with in the comments below—I’d love to hear how your fizzy chalk paint adventures turn out. Happy crafting, and may your artworks fizz with joy!