How to Make Fizzing Lava Rocks: A Step-by-Step Guide to Creating Magical Moments
Hello, fellow crafters! Today, I’m excited to share with you a project that has become a favorite in my crafting repertoire: Fizzing Lava Rocks. If you haven't heard of them yet, let me introduce you to this fun and fizzy activity. Fizzing Lava Rocks are not only visually stunning, but they also provide a sensory experience that is perfect for kids' science experiments, themed parties, or simply as a creative project to share with family and friends.
Why Fizzing Lava Rocks Are Popular
So, what are Fizzing Lava Rocks, and why have they captured the hearts (and eyes) of so many? Imagine this: a pile of multicolored, rock-like structures that bubble and fizz when in contact with water. This playful reaction mimics volcanic activity, making it not only fun to watch but also educational. It introduces concepts of chemical reactions and is a delightful way to get kids engaged in scientific exploration.
You can utilize Fizzing Lava Rocks in various settings—whether it's a birthday party, a rainy day indoor activity, or even as a unique centerpiece for a summer barbecue. The best part? They promise hours of fun, making them a versatile project that's easy to charm anyone with.
The Basics: Materials Required
Before we get our hands a little messy, let’s gather the materials we’ll need. Thankfully, this project uses simple, accessible items that you might already have at home:
Basic Ingredients:
- Baking Soda (1 cup) – The base of your fizzing rock, which will react with vinegar.
- Citric Acid (½ cup) – Provides the fizzing action when combined with the baking soda.
- Cornstarch (1 cup) – Acts as a binding agent, giving structure to your rocks.
- Water (up to 1 cup) – This will help with the molding process and start the reaction.
- Food Coloring – For adding vibrant colors; feel free to get creative with your choices!
Optional Materials:
- Essential Oils – Add a few drops for a fragrant twist.
- Flour – Can be used to replace cornstarch for a different texture.
- Glitter – If you want to add an enchanting sparkle to your rocks!
Safety Gear:
- Safety goggles (just in case!)
- Gloves (if you prefer)
Step-by-Step Tutorial: Crafting Your Fizzing Lava Rocks
Now that we've assembled our materials, let’s get crafting!
Step 1: Mixing the Dry Ingredients
In a large mixing bowl, combine 1 cup of baking soda, ½ cup of citric acid, and 1 cup of cornstarch. Stir these dry ingredients gently with a wooden spoon until they are evenly blended. This step is crucial because these three components are the foundation of your future fizzy magic.
Tip: Make sure to break up any clumps in the baking soda; otherwise, you’ll wind up with uneven fizzing results later on.
Step 2: Adding Color
If you'd like your lava rocks to have some personality, it’s time to add the food coloring. Start by adding a few drops (around 5-10) of your chosen food dye to the dry mixture. Mix thoroughly to ensure the color is evenly distributed.
Personal Anecdote: When I first made these, I went a bit overboard with the food coloring and ended up with a vibrant “lava” that looked spectacular but was a little too dark for my taste. Less is more—trust me!
Step 3: Adding Water
To activate your mixture and form the dough-like texture, slowly add water to the dry mix while stirring. Start with half a cup and add more gradually until you achieve a moldable consistency. The mixture should hold together without being too wet.
What Could Go Wrong: If you add too much water, you’ll end up with a batter instead of a dough. If this happens, simply add a bit more baking soda and cornstarch to absorb the excess moisture.
Step 4: Molding Your Rocks
Once your mixture is the right consistency, it’s time to mold it into rock shapes. I usually create small chunks by pressing the mixture firmly into my hands, but you can use silicone molds for more uniform shapes. This is where your creativity shines!
Tip: Aim for irregular, rocky shapes; the more natural, the better! Leave your rocks thick enough to hold together but thin enough for the fizzing reaction to occur effectively.
Step 5: Adding Texture
To make your rocks even more interesting, you can sprinkle some glitter on top of the molded shapes or gently press it into the surface before they dry.
Creative Variation: Try using a variety of molds to create different shapes—maybe dinosaur eggs or surprise shapes for a treasure hunt!
Step 6: Drying Time
Place your molded rocks on a baking sheet lined with parchment paper and allow them to dry for at least 24 hours. A longer drying time can provide sturdier rocks, so if you can wait, I encourage you to do so!
What Could Go Wrong: If the rocks are not dried sufficiently, they may crumble when you try to use them. If this happens, worry not! Simply add a bit more water to the leftover mixture, re-mold them, and let them dry again.
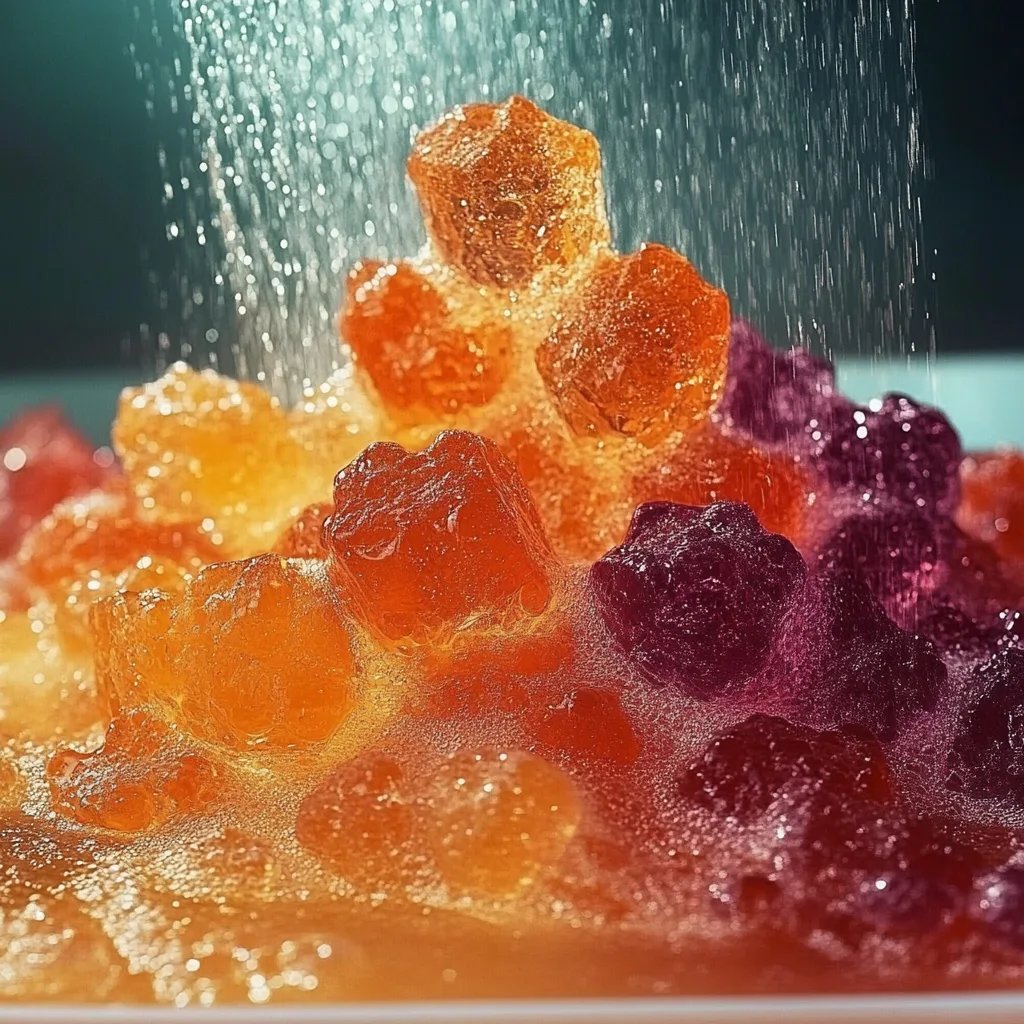
Step 7: The Grand Finale—Fizzing Test
After your rocks have dried, it’s time for the show! Fill a bowl or a tray with water, take your fizzing lava rocks, and drop them in. Stand back and witness the joyful fizzing reaction as they bubble and foam!
Safety Warnings
Working with baking soda and citric acid is generally safe, but it's wise to supervise young children during the process. If you or children have sensitive skin, using gloves is advisable. Always conduct fizzing experiments in a designated area to avoid messes.
Alternative Methods and Ingredient Substitutions
If you’re looking for alternative methods or ingredient substitutions, here are a few ideas:
- Alternative Acid: Instead of citric acid, you can use tartaric acid or even lemon juice in a pinch.
- Coconut Oil: For a fun twist, add melted coconut oil into your mixture instead of water for a unique texture!
Final Thoughts
Making Fizzing Lava Rocks has become one of my absolute favorite projects to share with family and friends. It’s a simple and satisfying way to engage creative minds of all ages. Whether you’re hosting a party or creating a fun science experiment at home, these vibrant creations will surely impress.
I hope this detailed guide inspires you to jump in with both feet! Remember, crafting is all about experimentation and joy. Don’t be afraid to tweak the process to suit your taste or style. Most importantly, have fun and enjoy the fantastic fizzing results of your hard work! Happy crafting!