How to Make Fizzing Colors: The Ultimate Baking Soda and Vinegar Experiment
Hello, fellow crafters! Today, I’m beyond excited to share one of my all-time favorite experiments that doesn’t just unleash your inner scientist but also serves as a vibrant art project. We're diving into the delightful world of Fizzing Colors, a simple yet spectacular baking soda and vinegar experiment that’s perfect for kids, families, or anyone eager to explore their creative side.
This colorful explosion of fizz and color is not only a classroom favorite but also a fantastic weekend activity or a vibrant playdate idea. Trust me, there’s something magical about mixing the effervescent reaction of baking soda and vinegar with vibrant colors that captivates audiences of all ages. Whether it’s for a school project, a birthday party, or just a fun afternoon, you’ll find this experiment incredibly rewarding.
Why Fizzing Colors?
The popularity of the fizzing colors experiment stems from its simplicity and the sheer joy it brings. Not only do we get to witness a delightful chemical reaction, but we also get to express our creativity through colors! The combination of baking soda (a base) and vinegar (an acid) creates carbon dioxide, resulting in a bubbling and fizzing effect. Add in some colors, and you've got an eye-catching spectacle!
Best Times to Use Fizzing Colors:
- Science Fairs: Perfect for showcasing chemistry in a fun way.
- Birthday Parties: An excellent party activity that keeps kids entertained.
- Family Activities: Create cherished memories during weekends or family gatherings.
- Seasonal Crafts: Customize it for holidays like Halloween (glowing colors with neon) or Easter (pastel shades).
Now, let’s get into the nuts and bolts of this colorful adventure!
What You’ll Need:
Materials:
- Baking Soda – ½ cup
- Vinegar – 1 cup
- Food Coloring – Red, blue, yellow, and green (or your choice!)
- Containers – Small bowls, cups, or even muffin tins
- Plastic Tray – To contain the mess (a cookie tray works great!)
- Spoon or Pipette – For pouring vinegar
- Measuring Cups – For accurate measurements
- Protective Gear – Safety goggles (especially for young kids)
Optional:
- Essential Oil – For scent (like lemon or peppermint)
- Cornstarch – To create a thicker paste
- Glitter – To add some sparkle and pizazz
Step-by-Step Tutorial
Step 1: Set Up Your Workspace
Before diving into any exciting experiment, a well-organized workspace is crucial. Cover your table with a plastic cloth or newspaper to catch any drips and spills. I learned that the hard way during my first experiments — messy is fun, but too messy can be stressful!
Step 2: Prepare Your Bases
In a small bowl, add ½ cup of baking soda. The baking soda acts as the base in our chemical reaction. For a more vibrant visual, I often mix in a little bit of cornstarch at this stage to create a thick paste that holds the color better when the reaction occurs. This is optional, but it’s one of my secret tricks!
Step 3: Add Color
Now, it's time for the fun part! Squeeze a few drops of your chosen food coloring into the baking soda. Don’t worry about it being uniform—let your artistic spirit run wild! Each color will bring out a different hue when it fizzes, and you can even mix different colors for unexpected results.
Step 4: Create Your Reaction
With your mixture ready, it’s time to launch the fizzing action. Gather your vinegar in a separate cup and use either a spoon or pipette to carefully pour it over the colored baking soda mixture.
Here’s why this step is crucial: The ratio of vinegar to baking soda is essential for a satisfying reaction. Too little vinegar means weak fizz, while too much can lead to a soupy mess. If you find your fizzing is lackluster, try adding a tad more vinegar.
Step 5: Observe and Respond
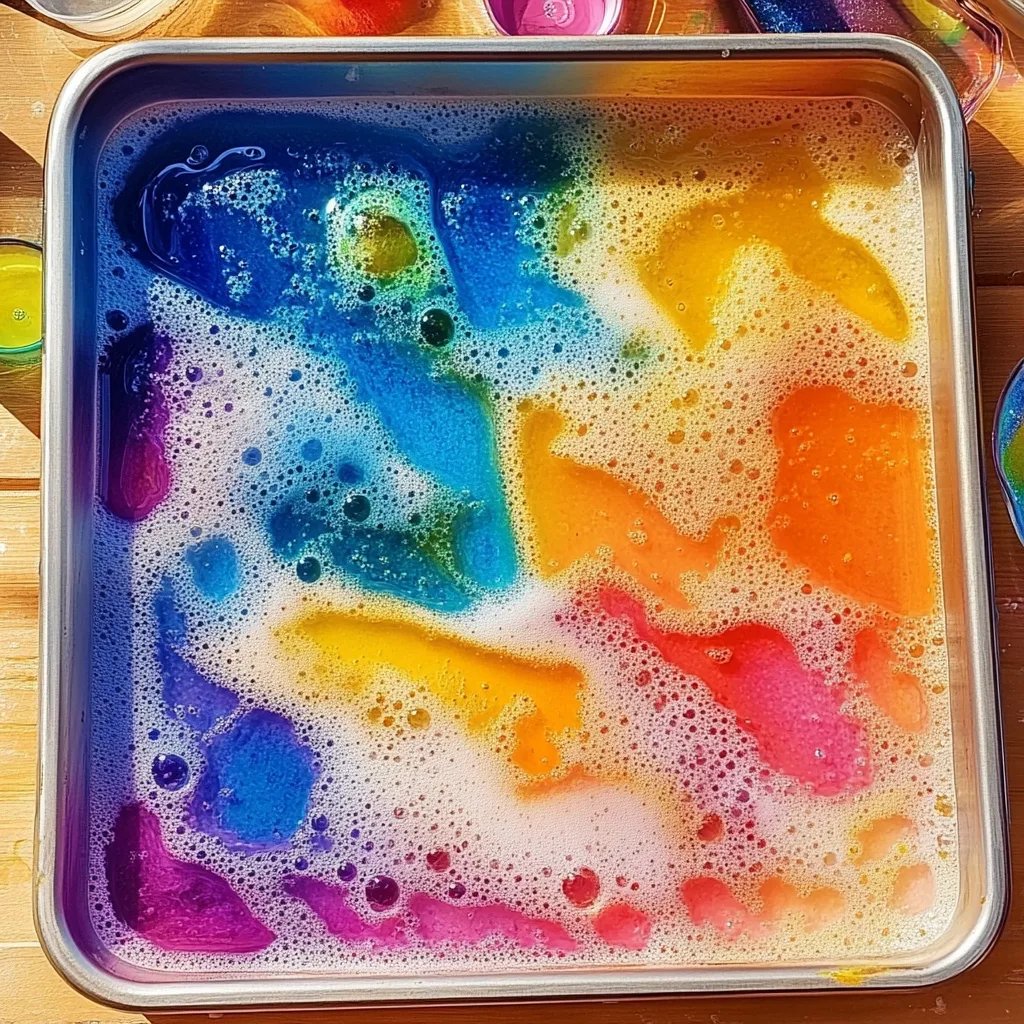
Stand back and watch the magic happen! You should see your baking soda mixture bubble and fizz with fantastic colors combining and swirling together. This is the point where I often think, “Wow! How did we get so lucky to have such simple ingredients creating such joy?”
Troubleshooting Tips:
- Weak Fizz: Consider mixing your baking soda and food coloring into a thicker paste, as mentioned earlier. Ensure your vinegar is fresh, as older vinegar might not react as vigorously.
- Too Much Liquid: If you accidentally added too much vinegar, the reaction could turn watery. This can be fine in terms of learning, but for a better visual experience, stick with the recommended amounts.
Step 6: Clean Up
Once the excitement subsides, clean-up becomes the next priority. Baking soda is wonderfully easy to clean with water, but I always recommend rinsing your work area to eliminate any remaining residue.
Safety Considerations
While this experiment is generally safe, it’s pivotal to keep a few safety measures in mind, especially when working with kids:
- Always wear protective goggles to shield against any unintended splashes.
- Conduct the experiment in well-ventilated areas, especially if you're using essential oils.
- Encourage kids not to ingest the materials, as they are not food.
Creative Variations
Feeling adventurous? Let’s discuss some variations to enhance your Fizzing Colors experience:
- Rainbow Reaction: Create layers of colored baking soda in a tall glass. Pour vinegar over the top and watch it fizz down through the colors.
- Sensory Play: Use small plastic toys or figurines in your baking soda mixture. The fizzing will create a fun sensory experience for little hands.
- Edible Colors: For a more eco-friendly approach, use natural food coloring to achieve beautiful results without artificial additives.
Final Thoughts
Whether you’re diving into the world of fizzing colors for educational purposes, family fun, or a unique art project, I hope my insights and tips have equipped you to undertake this delightful adventure confidently. Remember, science is all about experimentation and curiosity. Embrace any mess-ups, learn from them, and most importantly, have fun!
So gather your materials, invite your friends or family, and let the fizzing colors create unforgettable memories. Until next time, keep crafting and exploring, my friends! ✨