How to Make Festive 4th of July Rice Krispie Treats: A Sweet Celebration
Hello, fellow crafters and dessert lovers! As the 4th of July approaches, I find myself getting excited not just for the fireworks and barbecues, but for a special treat that always has a place at my holiday festivities: Rice Krispie Treats! With their delightful crunch and sweet flavor, these classic snacks are like an edible canvas, perfect for celebrating our nation’s Independence Day in a colorful and creative way.
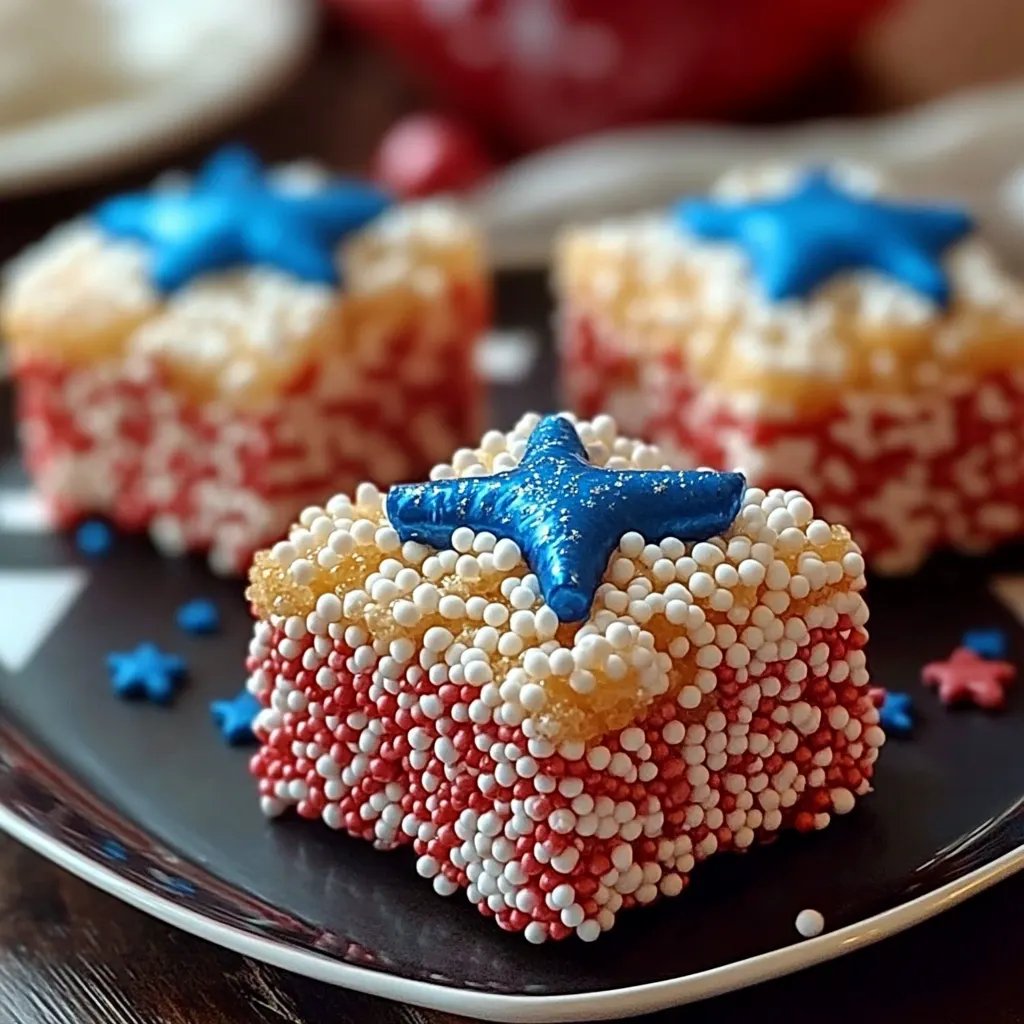
Rice Krispie Treats are a nostalgic staple in many households, loved by both kids and adults. They combine the crispy texture of Rice Krispie cereal with gooey marshmallows, creating a simple yet irresistible treat. What makes them even more exciting on the 4th of July is the opportunity to add some festive flair—think red, white, and blue! Whether you're hosting a family get-together, attending a picnic, or simply want to spread some joy in the community, these treats are the perfect addition.
Why I Love Making Rice Krispie Treats:
Rice Krispie Treats are not only easy to make, but they’re also a fantastic way to bring a little creativity into your kitchen. During my earlier days experimenting with recipes, I learned that the magic happens with just three core ingredients. And now, I’m excited to guide you through my process so you can whip up a batch of 4th of July Rice Krispie Treats that will wow your friends and family!
What You'll Need
Ingredients:
- 6 cups Rice Krispie cereal
- 4 tablespoons unsalted butter
- 2 bags (10 oz each) mini marshmallows (or 16 oz of regular marshmallows)
- 1/2 teaspoon vanilla extract
- Food coloring (red and blue)
- Sprinkles (red, white, and blue) for decoration (optional)
Tools:
- Large mixing bowl
- 9×13 inch baking pan
- Parchment paper (for easy cleanup)
- Large pot
- Wooden spoon or spatula
- Microwave-safe bowl (if using the microwave method)
- Knife and cutting board
Step-by-Step Tutorial
Step 1: Prep Your Workspace
Before diving into any recipe, I recommend prepping your workspace. I like to lay out all my ingredients and tools, set the oven to a low temperature, and line the baking dish with parchment paper. This simple step ensures that you have everything within reach and keeps the treats from sticking to the pan.
Step 2: Melt the Ingredients
Now the fun begins! In a large pot, melt the butter over low heat. This step is crucial because if you let the butter get too hot too quickly, it may burn. Low heat ensures a smooth melt. Once the butter is melted, add in the mini marshmallows. Stir continuously as they begin to melt, turning into a gooey mixture that smells divine.
Why It Matters:
The goal here is to create a smooth and cohesive marshmallow mixture. If you don’t stir continuously, the marshmallows can scorch or clump together, leading to undesirable texture in your treats.
Step 3: Incorporate the Vanilla
Once the marshmallows have melted completely (it should take around 3-5 minutes), add the vanilla extract. Stir well to incorporate, as this will enhance the flavor of your treats.
What Could Go Wrong:
If your mixture is too stringy, it may mean the marshmallows were heated too quickly. Don’t worry; just remove the pan from heat and keep stirring to break up any lumps.
Step 4: Fold in the Cereal
With the marshmallow mixture nice and smooth, it’s time to fold in the Rice Krispie cereal. Pour the cereal into the pot and use your wooden spoon or spatula to gently mix it. Be careful not to crush the cereal; we want those crispy bits intact!
Helpful Tip:
For extra festive flair, separate the mixture into three different bowls before adding the food coloring, making one bowl blue, one red, and leaving one white.
Step 5: Color the Mixture
If you’ve opted for color, now's the time to mix in your food coloring. Make sure to add a few drops, mix well, and check the shade. Remember, it’s easier to add more color than to take it away!
Step 6: Layer in the Baking Pan
Once your mixtures are ready, it’s time to layer them in the prepared baking pan. I typically start with the white mixture, spreading it evenly across the bottom. Then I follow with the red and blue layers, using a spatula to flatten them down gently. Don’t press too hard; this can lead to dense treats!
Creative Variation:
Use cookie cutters to create various shapes after they've set, or use mini flags as garnish.
Step 7: Let Them Set
Allow the Rice Krispie Treats to cool at room temperature for about 30 minutes. If you’re in a hurry, you can speed up the process by placing them in the fridge, but be cautious not to leave them too long as they can become hard.
Step 8: Cut and Serve
Once cool and set, use your knife to cut out squares or any shapes you want. These treats are now ready to be devoured!
Tips and Alternate Methods
- Storage: Keep them in an airtight container to maintain freshness. They'll generally last for up to 3 days at room temperature.
- Microwave Method: If you prefer a microwave method, melt the butter and marshmallows in a large microwave-safe bowl, heating in 30-second intervals and stirring in between.
- Ingredient Substitutions: If you want to make them gluten-free, check that your cereal is labeled as gluten-free AND try using coconut oil instead of butter.
- Add-ins: Chocolate chips, nuts, or dried fruit are great additions for variety.
Personal Anecdotes
I fondly remember making Rice Krispie Treats with my grandmother for picnics in the park. She would always say, “A little more marshmallow brings a lot more joy!” Her wisdom still rings true. These treats may be simple, but the memories they create are anything but.
Safety Warnings
- Always be careful when melting marshmallows—steam can build up and be hot.
- Be mindful of small children helping; the mixture becomes sticky and hot!
Final Thoughts
Creating 4th of July Rice Krispie Treats is a beautiful way to channel creativity while making delicious memories. Whether enjoyed at a backyard barbecue or as a surprise treat for friends, these festive snacks will surely bring smiles all around. So roll up your sleeves, gather your ingredients, and let’s make Independence Day a little sweeter this year! Happy crafting!