How to Make DIY Tissue Paper Lanterns: A Step-by-Step Guide from an Experienced Crafter
Hello fellow crafter! Today, I’m thrilled to share one of my all-time favorite DIY projects with you—making tissue paper lanterns. Not only are they a stunning addition to any space, but they also create an enchanting ambiance, perfect for celebrations, cozy evenings, or festive gatherings. Trust me; once you learn the ropes, you’ll be making these delightful lanterns for every occasion, from birthday parties to holiday décor.
Why Tissue Paper Lanterns?
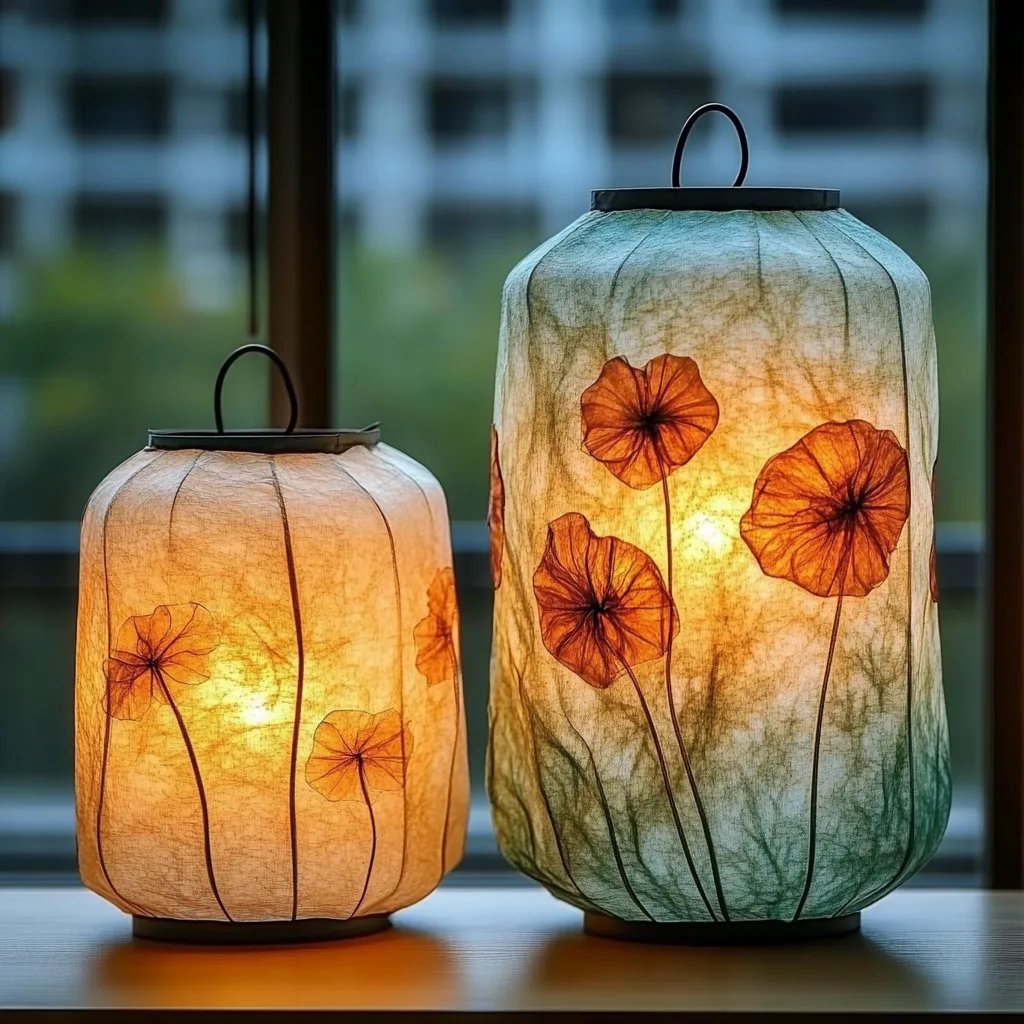
Tissue paper lanterns have soared in popularity over the years, thanks to their versatility and visual appeal. They can brighten up a drab corner, add whimsy to your next party, or even serve as a gentle nightlight in a child's room. The best part? You can customize them to match your color scheme, theme, or personal style.
Imagine hosting an outdoor summer gathering and watching as the glowing lanterns dance in the soft evening breeze. Or think of decorating a cozy nook in your home for a heartwarming vibe during the winter season. The possibilities are endless, and I can’t wait to dive into the crafting process with you!
What You'll Need
Before we get started, let’s make sure you have all the necessary supplies:
Materials:
- Tissue Paper: Choose a palette that suits your aesthetic—bright colors for a lively atmosphere or soft whites and pastels for a more subdued effect.
- Balloon: A round balloon serves as the base of your lantern; sticks to a balloon between 12-16 inches for optimal size.
- White Glue or Mod Podge: This will act as the adhesive for your tissue paper.
- Brush: A paintbrush or a sponge brush is ideal for applying glue evenly.
- Scissors: For trimming the tissue paper.
- String or Fishing Line: For hanging your lantern if desired.
- LED Tea Light (optional): For safe illumination.
Tools:
- Bowl: To mix your glue and water if you’re making your own adhesive mixture.
- Water: If needed for thinning your glue.
- Paper Towels: For any messes.
- Apron: To keep your clothes clean—trust me, it can get sticky!
Now that we have everything ready, let’s jump into creating your stunning DIY tissue paper lantern!
Step-by-Step Tutorial
Step 1: Inflate the Balloon
First things first—inflate your balloon. You want it to be nice and round, so make sure there are no leaks. A well-inflated balloon serves as the foundation for your lantern.
Tip: If you’re making more than one lantern, try varying the sizes for a dynamic look. Use a mixture of small and large balloons.
Step 2: Prepare Your Tissue Paper
Cut the tissue paper into squares or rectangles—about 4×4 inches works nicely. You can experiment with sizes depending on your design preferences.
Why this matters: Smaller pieces will create a more intricate look, while larger ones can cover more area quickly. Finding a balance will help you create a beautifully layered effect.
Step 3: Mix Your Adhesive
If you’re using plain white glue, consider mixing it with a bit of water to make it more pliable. A 2:1 ratio (two parts glue to one part water) usually works well. If you prefer Mod Podge, you can use it straight from the bottle.
Step 4: Layer the Tissue Paper
Now it’s time for the fun part! Using your brush, apply a layer of glue to a section of your balloon. Gently place a piece of tissue paper on top. Use your brush to apply more glue on top of the tissue paper, sealing it to the balloon. Repeat this process, overlapping each piece slightly, until you've covered the balloon adequately.
What could go wrong: If your balloon punctures while you are layering tissue, don’t panic! You can simply deflate it slowly, take off the tissue, and start again with a new balloon.
Step 5: Let it Dry
Once you’ve covered the entire balloon, leave it to dry for at least 24 hours. The drying process is crucial because it will harden your lantern and help it keep its shape when you pop the balloon.
Tip: If you’re in a hurry, you can use a hairdryer on a cool setting to speed up the drying process, but be careful not to overheat the tissue paper, or it may warp.
Step 6: Pop the Balloon
When your lantern is fully dry, it’s time to pop that balloon! I recommend doing this cautiously by using scissors to gently prick the balloon at the knot. As it deflates, the balloon will pull away, leaving you with a beautiful, hollow lantern.
Step 7: Add Light
If you’re using an LED tea light, place it inside the lantern. This is where the magic happens! Watching your lantern glow softly is incredibly rewarding.
Safety Warning: Always use LED lights instead of traditional candles. Tissue paper is highly flammable, and safety should always come first.
Step 8: Hang or Display
You can attach string or fishing line to the top of your lantern for hanging. Alternatively, they look lovely sitting on tables or nooks around your home.
Creative Variations
Now that you've mastered the basics, why not personalize your lanterns?
- Multiple Colors: Use various shades of tissue paper for a rainbow effect. Layer different colors for a unique design.
- Patterns: Cut out shapes from colored paper and glue them onto the tissue paper before layering. This will create stunning textures and designs.
- Shape it: Instead of using a balloon, create a frame out of craft wire to achieve more geometric shapes—think cubes or stars.
- Themed Lanterns: For holidays or special events, utilize themed colors. Orange and black for Halloween, red and green for Christmas, or pastels for Easter.
Tips from My Crafting Journey
- Patience is Key: The process of layering takes time, but each layer adds character to your lantern. Don’t rush; enjoy the creation.
- Practice Makes Perfect: Your first few lanterns might not be perfect, and that's okay! I still remember my first attempt—a delightful mess but a learning experience nonetheless.
- Make It a Group Activity: Gather friends or family, and have a crafting night. You’ll create lasting memories along with beautiful lanterns.
Wrapping Up
Making DIY tissue paper lanterns is not just a wonderful craft; it’s a pathway to creativity and joy. As you learn and evolve through this process, don’t forget to share your creations, whether on social media or with fellow crafters. You’ve got this!
So, what are you waiting for? Gather your materials, unleash your creativity, and let those lanterns illuminate your life. Happy crafting!