How to Make DIY Superhero Cuffs: Your Ultimate Crafting Guide
Hello there, fellow crafters! Today, I’m excited to share with you a fun and creative project: DIY Superhero Cuffs. As someone who adores crafting, I can tell you that these vibrant and personalized cuffs are not just a fun accessory; they’re a stylish way for kids (and adults) to embrace their inner heroes. They’re perfect for costume parties, dress-up playdates, or just feeling special on an ordinary day. So, let’s dive in and turn our crafty dreams into reality!
Why DIY Superhero Cuffs?
Superhero cuffs have gained immense popularity, particularly among children who want to channel their favorite comic book characters. They allow for self-expression and creativity, enabling wearers to design their cuffs to match specific superheroes or their own original creations. Whether you're prepping for Halloween, a comic convention, or just a fun day at home, these cuffs add an extra layer of excitement and personality.
Materials You’ll Need
Before we get started, let’s gather all the materials you’ll need. This project is designed to be simple and accessible, using items you may already have around your home:
- Felt or canvas fabric (multiple colors for customization)
- Fabric scissors
- Velcro strips (or snaps/buttons)
- Hot glue gun (and glue sticks)
- Fabric paint or markers (optional for designs)
- Ruler or measuring tape
- Pencil or fabric chalk
- Embellishments (like sequins, pom-poms, or buttons)
Safety Warning:
Remember, safety first! Use the hot glue gun carefully, as it can cause burns. If children are involved in this project, supervise them to ensure they’re handling tools safely.
Step-by-Step Tutorial
Let’s break down the process into easy-to-follow steps.
Step 1: Measure and Cut Your Fabric
Why it matters: Accurate measurements will ensure your cuffs fit comfortably and securely on the wrist.
- Measure the wrist: Use a ruler or measuring tape to find the circumference of your wrist (or your child's wrist). Add 1 inch to this measurement for seam allowance, then decide how wide you want the cuffs (typically, 3-4 inches works well).
- Cut the fabric: Using fabric scissors, cut out two rectangles from your felt or canvas based on the measurements you gathered. You’ll need one for each wrist cuff.
Common Mistake & Fix:
If your cuffs are too tight after cutting, don’t panic! You can always adjust by adding extra fabric along the edges and trimming again.
Step 2: Prepare the Edges
Why it matters: Properly finished edges will make your cuffs look polished and prevent fraying.
- Fold and press: About half an inch along the long edges, fold the fabric inside and press with an iron to create a crease. This step helps make sewing (or gluing) easier.
- Glue the edges: If you’re using a hot glue gun, fold the edges over and apply a thin line of glue to secure them in place. Hold for a few moments to let the glue set.
Alternative Method:
If you have a sewing machine, feel free to sew down the edges instead of using glue. This will provide a stronger hold!
Step 3: Create the Closure
Why it matters: A secure closure will ensure the cuffs stay in place during wear.
- Attach Velcro: Cut two pieces of Velcro—one for each cuff. One piece should be placed at each end of the cuff. Use hot glue to secure them down, ensuring that they’ll match up when the cuff is wrapped around the wrist.
- Alternative options: If you prefer snaps or buttons, sew these in place for a more traditional cuff look. Just ensure they’re securely fastened and will handle wear and tear.
Step 4: Personalize Your Cuffs
Why it matters: Personalization transforms your simple cuffs into unique handmade treasures.
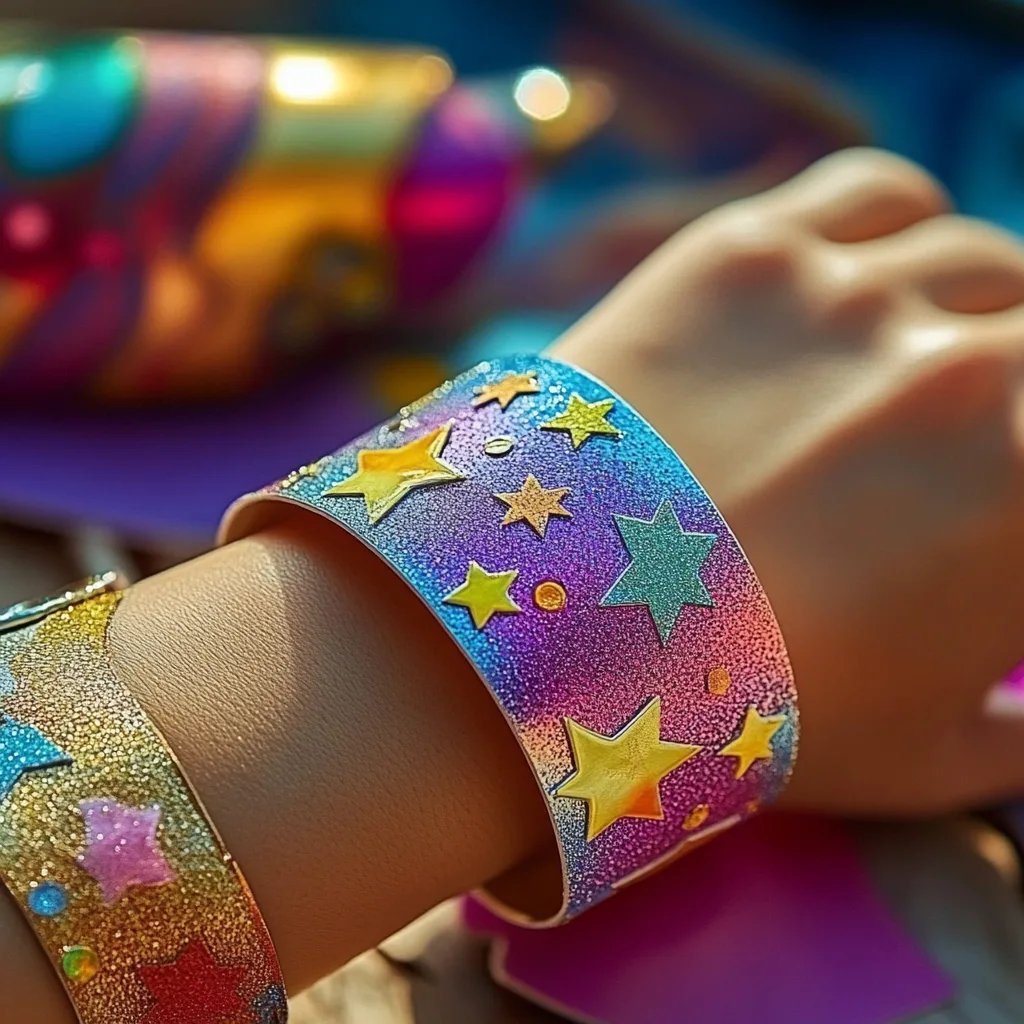
- Design your cuff: Use fabric paint, markers, or embellishments to create your superhero designs. This is where you can add logos, patterns, or initials.
- Let your creativity flow: Think about incorporating glitter for sparkle, or sequins for texture. The more personal, the better!
Common Mistake & Fix:
If your paint bleeds or smudges while creating designs, don’t be discouraged! Carefully use a wet cloth to wipe it away and allow the paint to dry between layers to avoid smudging.
Step 5: Final Assembly
- Double-check closures: Ensure that all glue is dry and secure. Wrap the cuff around your wrist to test the fit.
- Adjust as needed: If it’s too loose or tight, now’s the time to make those adjustments.
Creative Variations
Once you've mastered the basics, consider these fun variations:
- Themed cuffs for different superheroes (think colors and symbols).
- Embellishments like feathers, beads, or glow-in-the-dark paint for a nighttime look.
- Incorporating pockets for small toys or accessories, making them practical as well as fun!
Personal Anecdotes
When I first made superhero cuffs with my niece, we spent hours designing our own unique patterns. It was less about the end product and more about the time we spent chatting, laughing, and expressing ourselves creatively. I remember her delight as she wore her custom cuffs to school. The smiles and compliments she got made every effort worthwhile.
Conclusion
And there you have it! Making DIY superhero cuffs is not only a wonderful way to unleash creativity but also an opportunity to bond with friends or family while crafting. Whether you’re preparing for an event or simply want to have fun, these cuffs will surely turn heads and invite compliments.
Remember, crafting is about enjoying the process as much as it is the final product. So gather your materials, and let your imagination soar—because every great superhero needs their cuffs! Happy crafting!