How to Make DIY Sugar Scrub for Soft Skin: A Step-by-Step Guide
Hello, my fellow crafting enthusiasts! Today, I’m so excited to share a project that not only indulges your senses but also transforms your skincare routine: DIY sugar scrub. If you’re in search of a simple, effective way to achieve soft, glowing skin, you’re in the right place.
What is a Sugar Scrub?
Sugar scrubs are exfoliating treatments that help remove dead skin cells, leaving your skin feeling smooth, fresh, and vibrant. Want to know why they're so popular? Well, they’re easy to make, cost-effective, and can be customized to suit your preferences—from scent to texture. I often whip up a batch to treat myself after a long week, or I gift them to friends and family when the occasion calls for something special.
When to Use Sugar Scrub?
You might be wondering, “When can I use this sugar scrub?” The beauty of sugar scrubs is their versatility. Use them in the shower, before a special event to prep your skin, or just as a delightful, pampering treat during a self-care day. Just be careful not to over-exfoliate; I usually recommend using a sugar scrub once or twice a week to keep your skin looking and feeling its best.
Materials You’ll Need
Before diving into the step-by-step process, let’s gather our materials. Here’s a list of what you’ll need to create your own sugar scrub:
Basic Ingredients:
- Granulated Sugar (1 cup): The primary exfoliant that helps slough away dead skin cells.
- Carrier Oil (½ cup): This could be coconut oil, olive oil, or almond oil. Each offers different benefits.
- Essential Oils (optional): 10-15 drops for fragrance (like Lavender, Citrus, or Tea Tree).
- Container: A glass jar with a lid, for storage.
Optional Add-ins:
- Honey (1-2 tablespoons): Adds moisture and has antibacterial properties.
- Ground Coffee: If you want a caffeine boost for your skin!
- Citrus Zest: For a fresh, invigorating aroma.
- Natural Food Coloring: If you want a fun, colorful scrub!
Step-by-Step Tutorial
Step 1: Measure Your Ingredients
The first step in crafting your sugar scrub is to measure out your ingredients accurately. I usually start with 1 cup of granulated sugar and ½ cup of carrier oil. The sugar provides the texture, while the oil binds everything together and provides moisturizing benefits.
Why It Matters:
Getting the ratios right is crucial for achieving the ideal scrub consistency. If you have too much oil, your scrub will be greasy; too little, and it won’t adhere properly to your skin.
Step 2: Combine the Sugar and Oil
In a mixing bowl, combine the granulated sugar and the carrier oil. I love using coconut oil for its delightful scent and skin-nourishing qualities, but don’t hesitate to choose what you love!
Tips:
- Use a fork or whisk to combine. This isn't just about mixing—it’s about breaking up any lumps in the sugar and creating a smooth blend.
- If your coconut oil is solid, you can gently warm it up in the microwave for a few seconds. Just be careful, as you want it warm, not hot!
Step 3: Add Essential Oils & Optional Ingredients
Now comes the fun part! If you want to enhance your scrub with fragrance, add about 10-15 drops of your favorite essential oil. I’m a huge fan of lavender for its calming properties, but if you prefer something energizing, opt for citrus oils like orange or lemon.
Important Safety Note:
Always conduct a patch test with any new essential oil on a small area of your skin to ensure you don’t have an allergic reaction.
Step 4: Mix Until Well-Combined
Stir the mixture again until everything is well-combined. The texture should be grainy but moist—almost like wet sand. If your scrub is too dry, add a bit more oil, and if it's too wet, add a touch more sugar.
What Could Go Wrong:
If you find your scrub is too oily after mixing, simply add more sugar a tablespoon at a time until you achieve your desired texture.
Step 5: Store in a Container
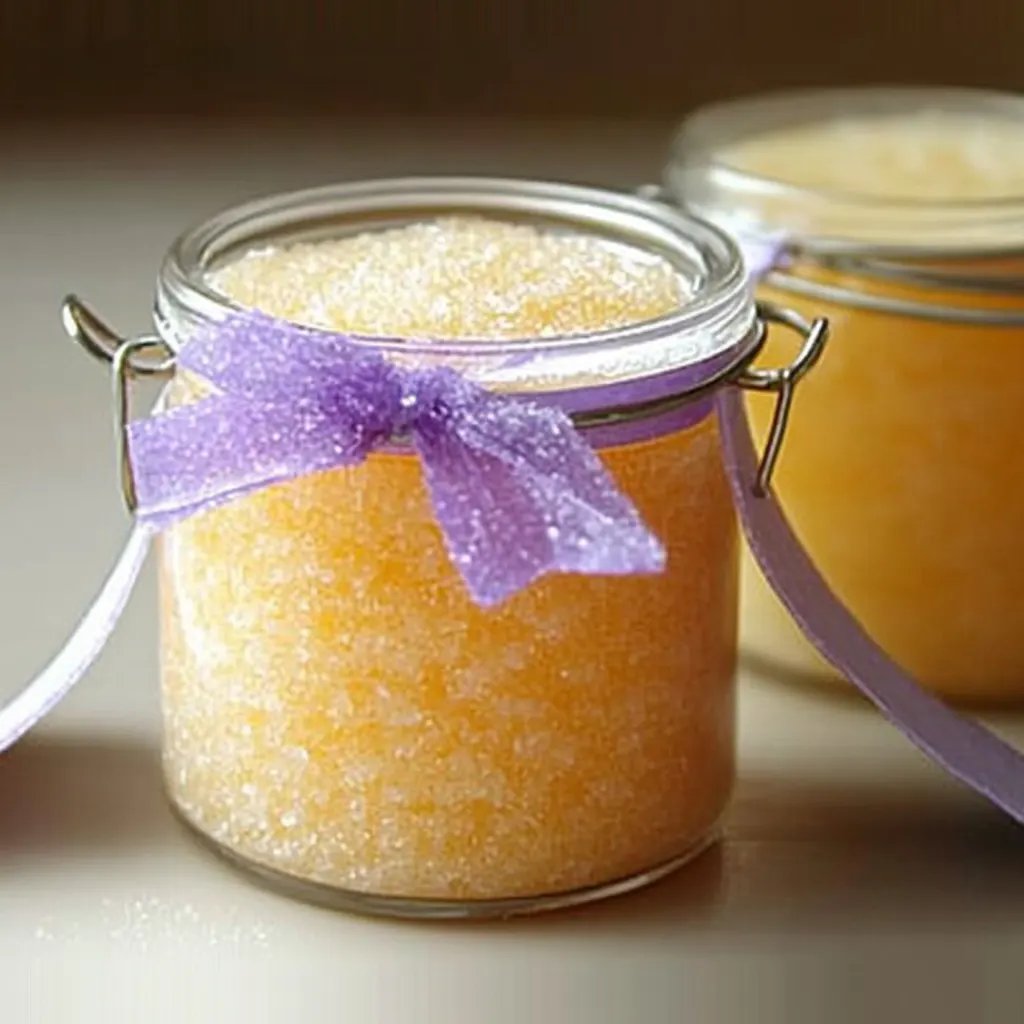
Transfer your finished sugar scrub into a clean glass jar with a lid. I love reusing old jars, as it adds a nice rustic feel to the project.
Personal Anecdote:
I once made a big batch and gifted them to friends in cute, decorated jars. Everyone loved them, and it made me feel great to share my crafting passion!
Step 6: Label and Decorate (Optional)
Consider adding a label to your scrub with its name and date created. You can also tie a ribbon around the jar for that extra touch.
Creative Variations
Feeling adventurous? Here are some delightful variations to try:
- Citrus Sugar Scrub: Add zest from lemons, limes, or oranges for a refreshing scent and additional exfoliation.
- Coffee Sugar Scrub: Substitute half of the sugar with ground coffee for a robust scent and a gentle caffeine boost.
- Lavender Dreams: Add dried lavender flowers to your lavender essential oil for a beautiful texture.
Final Thoughts
Making your own sugar scrub is not only a satisfying DIY project but also a fabulous way to care for your skin. I hope you feel empowered to champion this delightful addition to your self-care routine! Remember, crafting is about exploration and finding what works for you, so don’t hesitate to experiment with the ratios and ingredients.
If you run into any hiccups or have questions along the way, please feel free to reach out. I’m here to help you on your crafting journey! Now go ahead, pamper yourself, and enjoy the beautiful glow that comes from using your homemade sugar scrub. Happy crafting!