How to Make DIY Shaving Cream Slime: A Crafting Journey
Hello fellow crafters! If you’ve been cruising through Pinterest or Instagram recently, you’ve likely come across the delightful world of slime. Among the many types of slime, DIY shaving cream slime has captured the hearts and playtime of both kids and adults alike. Not only is this fluffy, squishy concoction a sensory treat, but it's also incredibly satisfying to make. In this article, I’m excited to share my comprehensive guide on how to create your very own DIY shaving cream slime!
What is Shaving Cream Slime?
Shaving cream slime is a unique and fluffy type of slime that combines the classic slime-making ingredients with the soft, airy texture of shaving cream. This slime is popular because of its incredible texture and the way it feels when you stretch and squish it. It’s perfect for sensory play, stress relief, or simply having fun after a long day. You can easily customize its scent and color, making it a creative outlet for children and adults alike.
When Can You Use It?
You might be wondering when to whip up a batch of this slime. The answer is: anytime! It makes for wonderful indoor activities on rainy days or as a party favor for kid’s birthday parties. You can also use this slime for sensory play with toddlers. Just be sure to supervise younger children while they play.
Materials Needed
Before we dive into the tutorial, let me share what you’ll need. Most of these items are common household staples, making this an accessible project for everyone:
- 1 cup of white school glue (also known as PVA glue)
- 1 cup of shaving cream (not gel)
- 1 tablespoon of baking soda
- 1-2 tablespoons of contact lens solution (the kind that contains boric acid and sodium borate)
- Optional: Food coloring and glitter for customization
- Mixing bowl and spoon (for combining the ingredients)
- Airtight container (for storing your slime)
Why these materials matter:
- White school glue is the base for your slime, providing it with the adhesive quality needed for that perfect stretchy texture.
- Shaving cream introduces a fluffy quality that makes the slime light and puffy.
- Baking soda is crucial for thickening the mixture and enhancing its stretchability.
- Contact lens solution activates the slime, transforming the glue into a delightful, malleable consistency.
Step-by-Step Tutorial: Making Your DIY Shaving Cream Slime
Step 1: Combine Glue and Baking Soda
Start by pouring 1 cup of white school glue into a mixing bowl. Then, add 1 tablespoon of baking soda. Use your spoon to mix them thoroughly until well combined. The baking soda helps to create a stretchy texture that will give the slime its signature feel.
What could go wrong?
If the glue and baking soda aren’t mixed well, you may end up with clumps of baking soda in your slime, which isn’t pleasant to play with.
Step 2: Add in the Shaving Cream
Next, gently fold in 1 cup of shaving cream. This is where the magic happens! Mixing it in will add that delightful fluffy texture. To keep the slime airy, be careful not to stir too aggressively.
Why this step matters:
If you mix too vigorously, you could lose some of the fluffiness that makes the slime special.
Step 3: Color it Up! (Optional)
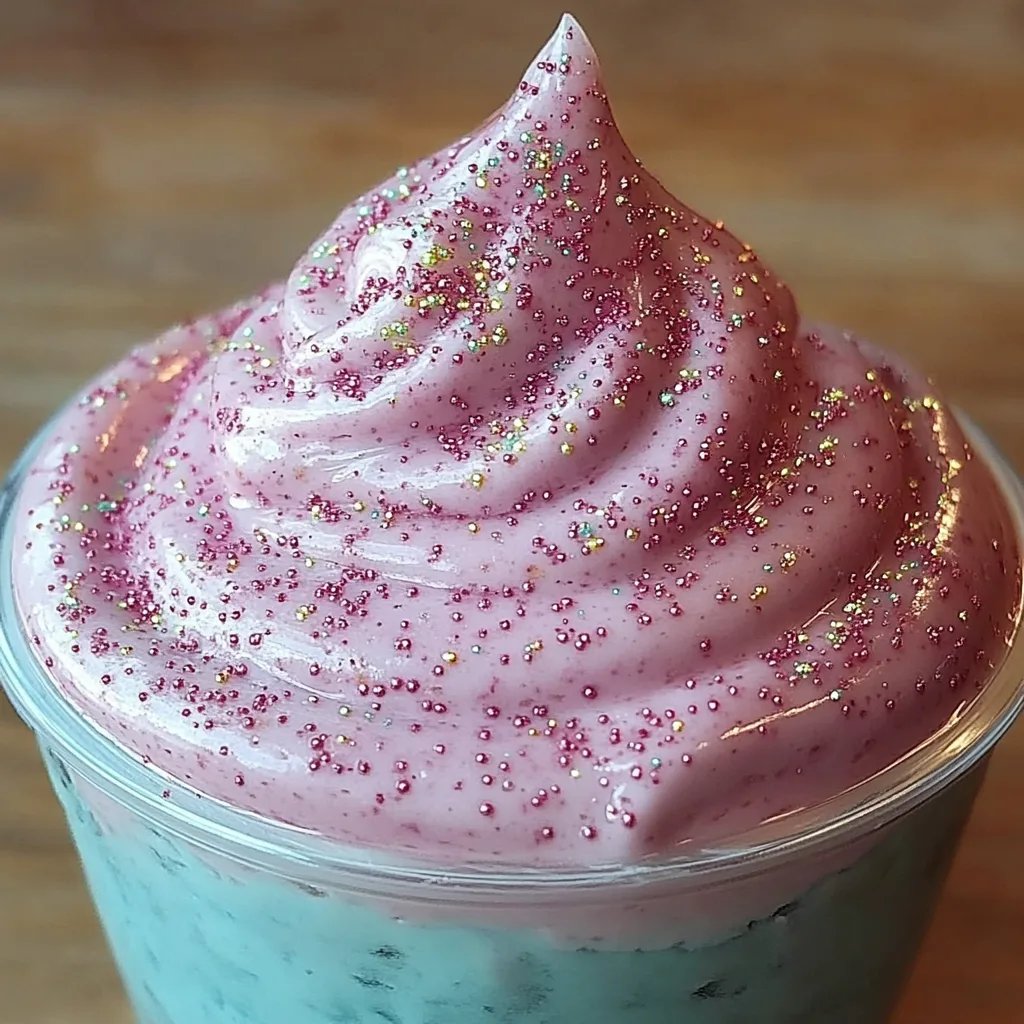
This is a fun step where you can unleash your creativity. Add a few drops of food coloring or glitter into the mixture and fold it until you achieve your desired color. This step is completely customizeable!
Tips for this step:
- Start with a small amount of food coloring as you can always add more.
- Glitter can add a unique sparkle to your slime, making it even more visually appealing.
Step 4: Activate Your Slime
To activate the slime, add 1-2 tablespoons of contact lens solution and mix well. You’ll notice the mixture starts pulling away from the sides of the bowl and forming a cohesive mass. The solution is crucial here as it helps bind everything together.
What if it’s too sticky?
If your slime remains too sticky, you can add an additional tablespoon of contact lens solution until you reach your desired consistency.
Step 5: Knead the Slime
Once it holds together, take your slime out of the bowl and start kneading it with your hands. This is where you can get hands-on. Kneading helps improve the texture and elasticity of the slime.
Safety Warning:
If you have sensitive skin, it’s advisable to wear gloves during this step to avoid any irritation.
Step 6: Store Your Slime
When you’re satisfied with your creation, store your slime in an airtight container to keep it fresh and prevent it from drying out. Properly stored, this slime can last for a week or longer.
Creative Variations
As I’ve mentioned, shaving cream slime is versatile. Here are a few fun variations to try:
- Scented Slime: Add a few drops of essential oils (lavender, lemon, etc.) for a relaxing aroma.
- Foam Ball Slime: Incorporate foam balls or beads into your slime for added texture.
- Glow-in-the-Dark Slime: Use glow-in-the-dark paint or powder for nighttime fun.
- Seasonal Slime: Customize with colors and scents that align with holidays or seasons—think peppermint for winter or pumpkin spice for fall!
Troubleshooting Common Issues
- Slime is too sticky: Add more contact lens solution and knead until the desired consistency is achieved.
- Slime is too runny: This may happen if you didn't use enough baking soda. Carefully sprinkle more in and knead until it thickens.
- Slime has a weird smell: If your glue isn’t fresh, it can affect the smell. Always check the expiration date on your materials.
Final Thoughts
Making DIY shaving cream slime is not only a fun and engaging activity but also a fantastic way to foster creativity while creating something beautiful and tactile. I hope my step-by-step guide has demystified the process and encouraged you to try it yourself!
Happy crafting, and enjoy your delightful slime experience! Don't forget to share your creations and modifications. I love seeing how different crafters take this idea and run with it. Let the squishy fun begin!