How to Make DIY Rainbow Floam: A Complete Guide from an Experienced Crafter
Hello, fellow crafting enthusiasts! Today, I’m beyond excited to guide you through one of my all-time favorite DIY projects: making Rainbow Floam. As an experienced crafter, I find Floam to be not just a delightful sensory experience but also a fantastic medium for creative expression. With its squishy, moldable texture and vibrant colors, Floam is popular among kids and adults alike. It’s perfect for sensory play, stress relief, and even as a creative decor element in your home.
What is Floam?
Floam is a unique, lightweight crafting material that mimics the texture of foam beads combined with a gooey, stretchy element. When mixed properly, it becomes a versatile medium that can be molded into shapes, figures, or even layered for a rainbow effect! It's particularly recognized for its engaging properties, making it a hit in schools and homes for kids' activities.
Why Make Floam?
- Sensory Play: Great for sensory development, especially in children.
- Stress Relief: The act of squishing and molding Floam can be therapeutic.
- Creative Outlet: Endless possibilities for designs, colors, and shapes.
- Cost-effective: Making your own Floam is often much cheaper than purchasing commercial products.
Now, let’s dive into how to make your very own Rainbow Floam!
Materials Needed
Before we get started, gather the following materials. Most of them are easily accessible either at your local craft store or through online retailers:
- Small, smooth foam beads (use about 1 cup)
- White school glue (1/2 cup)
- Foam or cornstarch (1/2 cup)
- Liquid starch (1/4 cup)
- Food coloring (various colors for the rainbow)
- Mixing bowl and spoon (or a spatula)
- Plastic gloves (optional but helpful for easy cleanup)
- Wax paper or a crafting mat (for the workspace)
Step 1: Prepare Your Workspace
Before you begin mixing ingredients, create a clean workspace. Lay down wax paper or a crafting mat to catch any spills. This helps make cleanup much more manageable. Believe me; you don’t want glue and foam beads all over your table!
Step 2: Mix the Glue and Foam
In your mixing bowl, pour 1/2 cup of white school glue. This gives your Floam the base it needs. Using a spoon or spatula, slowly pour in your 1/2 cup of cornstarch or foam. The cornstarch creates a thicker consistency, which is essential for the Floam to hold its shape. Stir until combined.
Troubleshooting:
- Too Sticky? If your mixture is sticky, you might have added too much glue. Add a little more cornstarch until it thickens.
- Too Dry? If it’s too crumbly, slowly add a tiny bit of water. Just be cautious—too much will ruin the consistency!
Step 3: Add Liquid Starch
Now it’s time to add the magic ingredient: 1/4 cup of liquid starch. This is what transforms your mixture into a pliable, stretchy Floam! Pour it in gradually while mixing.
Step 4: Knead the Mixture
Put your hands into those plastic gloves (if you decided to use them) and start kneading the mixture. This step is vital because it activates the starch, creating that stretchy texture we all love. Knead until the Floam feels smooth and well combined. If the dough feels too sticky, sprinkle a bit more cornstarch while kneading.
Common Mistakes and Fixes:
- If the Floam is too sticky to handle: A sprinkle of cornstarch should do the trick.
- Floam too dry? Good news! A little bit of water can fix it. Just remember to add in small amounts to avoid a soupy mess.
Step 5: Color Your Floam
Here’s where the real fun begins! To create a rainbow effect, divide your base Floam into several portions (usually 5-7). Use small bowls to separate them comfortably. Add two or three drops of different food coloring into each bowl and knead the colors into the Floam. You can create as many colors as you like, from classic red, orange, yellow, green, blue, to purple!
Tips:
- Go Bold: Don’t be afraid to add more food coloring for a bolder hue!
- Mix Colors: Try combining colors to make pastels or create unique shades.
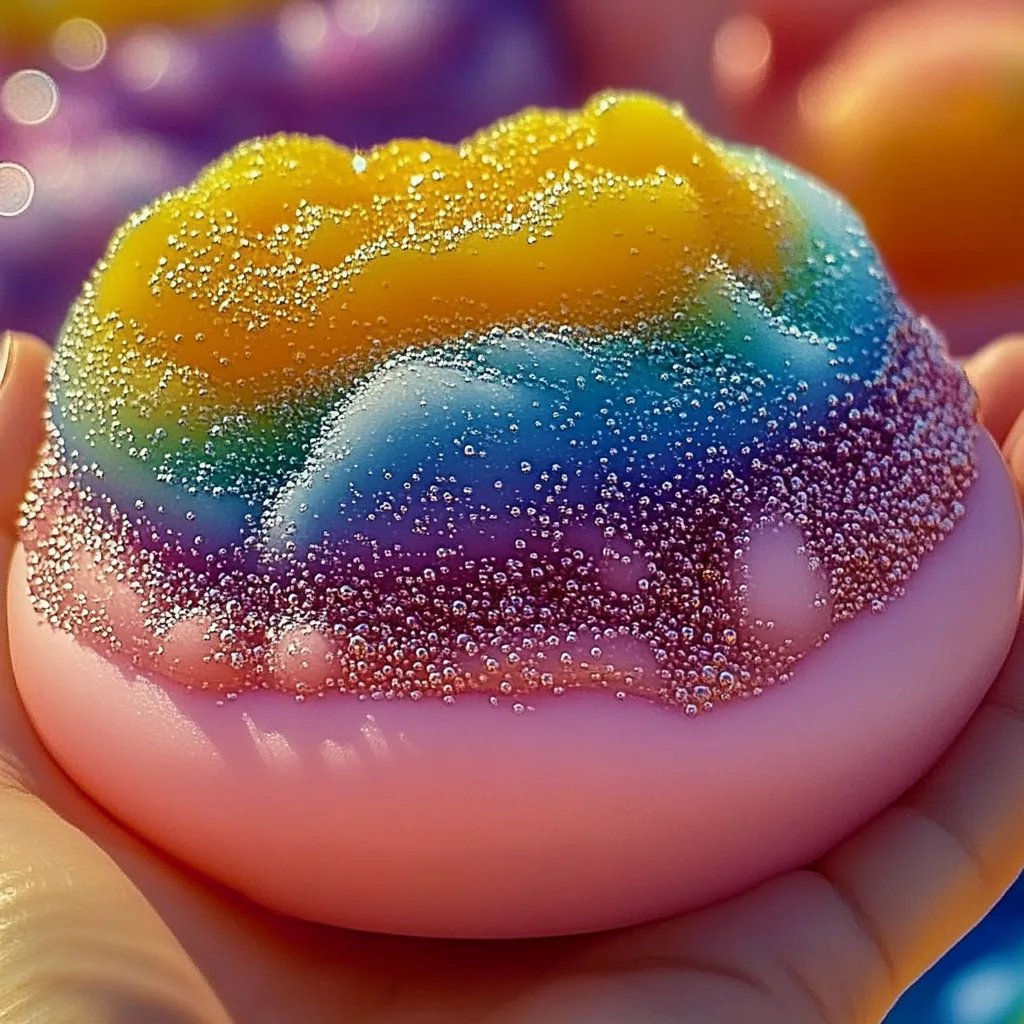
Step 6: Layer in a Rainbow Pattern
Once you have your various colored Floam ready, it’s time to mold it into a beautiful rainbow!
- Start with the First Color: Grab a portion of the first color and flatten it out.
- Add Layers: Repeat this process by stacking each layer of Floam one on top of the other in the order of the rainbow.
- Mold Together: Gently press down on your rainbow stack to help the layers adhere to one another.
Step 7: Store Your Rainbow Floam
Once you’ve created your masterpiece, you want to ensure it lasts! Store your Floam in an airtight container or a resealable plastic bag. It should maintain its shape and texture for a while—up to several weeks if stored properly.
Creative Variations and Ideas
Floam can be customized endlessly! Here are a few variations I love:
- Scented Floam: Add a few drops of essential oils to your base mixture for a delightful scent.
- Sparkly Floam: Mix in some glitter for a shimmering effect.
- Textured Floam: Incorporate fine sand or even tiny beads for different sensory experiences.
Safety Warnings and Precautions
- Allergies: Always check for allergies before using any materials, especially with younger kids.
- Supervision: If children are involved, ensure they have adult supervision when working with small materials.
- Cleaning up: Glue and other materials can be tricky to clean, so prevent messes as much as possible with your prepared surface!
Final Thoughts
Making your own Rainbow Floam is not only a relaxing and creative venture but also allows you to spend quality time with family or friends while trying something new. Remember, every crafter was once a beginner, and the mess is part of the fun. Don’t be afraid to experiment, and most importantly, enjoy the process!
I hope this guide gives you the confidence to get started on your Floam journey. Don’t hesitate to share your creations or modifications in the comments below. Happy crafting!