How to Make DIY Mosquito Repellent Candles: Your Ultimate Guide to Crafting a Buzz-Free Haven
As summer rolls in, so do the mosquitos, buzzing around and vying for their next meal—always at the most inconvenient times. After countless evenings ruined by relentless biting, I decided it was time to take action. Enter: DIY mosquito repellent candles. Not only do these handy candles ward off those pesky insects, but they also add a warm, inviting ambiance to any outdoor gathering. Plus, making them is a delightfully simple craft that anyone can enjoy!
In this guide, I'll walk you through the delightful process of creating your very own mosquito-repelling candles. From selecting the right materials to pouring the wax, I’ll share each step with tips, alternatives, and personal anecdotes to ensure your crafting experience is smooth and enjoyable. So, whether you're prepping for a backyard barbecue or simply want to enjoy a sunset on your porch without the buzz, let's dive in!
Why DIY Mosquito Repellent Candles?
There are countless reasons to craft your own candles, but specifically, these mosquito repellents are gaining popularity for several reasons:
- Natural Ingredients: Many commercial bug sprays contain DEET or synthetic chemicals that can be harsh on the skin and the environment. My DIY candles utilize essential oils and natural ingredients to repel pests safely.
- Cost-Effective: Making your own candles is often more economical than buying beautifully packaged alternatives, which can have hefty price tags.
- Personalization: You can choose scents that resonate with you and customize your candles' look and feel to match your decor.
- Aesthetic Appeal: Not only do they serve a practical purpose, but these candles also bring charm and flair to your space.
- Crafting As Therapy: Engaging in a creative process can be a great way to relax and unwind. I personally find it therapeutic to work with my hands and watch my ideas come to life.
What You'll Need
To embark on this crafting adventure, gather the following materials:
Essential Supplies:
- Wax: I prefer soy wax for its clean burn and ease of use. You’ll need about 1 pound.
- Wicks: Choose cotton or wooden wicks, keeping in mind how large your candle will be.
- Containers: Mason jars, terracotta pots, or any heat-safe containers of your choice.
- Double Boiler: If you don’t have one, you can use a heatproof bowl set over a pot of simmering water.
Repelling Agents:
- Essential Oils: Citronella, lavender, lemon eucalyptus, and peppermint are fantastic choices. I usually opt for a mix of citronella and lavender for a calming effect.
Tools:
- Thermometer: Ideal for ensuring the wax is at the right temperature.
- Stirring Spoon: A regular kitchen spoon will do, but I love using a wooden stir stick for an artisanal feel.
- Scissors: For trimming the wicks.
Step-by-Step Tutorial: Making Your Own Mosquito Repellent Candles
Step 1: Preparing Your Workspace
Start by decluttering your workspace to make the crafting process more enjoyable. Lay out all your materials and tools to ensure you have everything ready before you start. I often put down some newspapers or an old tablecloth to catch spills. Working in a well-ventilated area is also crucial—safety first!
Step 2: Melting the Wax
Place the soy wax in the double boiler and heat it over medium heat until it reaches about 170°F (76°C). Stir gently to help expedite the melting process. Why is temperature important? Overheating can cause the wax to discolor or release unwanted fumes, which you definitely want to avoid.
Potential Issue: If you notice any little chunks of wax sticking around, just give it a few more minutes of stirring.
Step 3: Adding Fragrance and Repellent
Once the wax has melted completely, remove it from heat and let it cool slightly to around 160°F (71°C). This is the perfect time to add your essential oils—generally, a ratio of 1 ounce of essential oils per pound of wax is effective. I usually go for about 25-30 drops in total.
Tip: Experiment with combinations! One of my favorites is blending lemon eucalyptus with lavender for a soothing summer scent.
Step 4: Preparing the Containers
While the wax cools, prep your containers. Ensure that they are clean and dry. If you’re using wicks, secure them at the bottom of the containers using a small amount of melted wax or hot glue. A craft stick or pencil often works well for balancing the wick while the wax sets.
Step 5: Pouring the Wax
Once the wax has cooled to about 140°F (60°C), it’s time to pour! Carefully fill your chosen containers, leaving about half an inch from the top. Don’t worry if it seems a bit messy—each candle will have a unique, handmade quality.
Safety Warning: Wax can be very hot! Use care during this step to avoid burns.
Step 6: Setting the Candle
Let your candles cool completely—this usually takes a few hours. Try not to move them around, as this can lead to unsightly cracks or uneven surfaces. If you notice any top layers that are uneven after cooling, a quick reheat with a heat gun can help smooth the surface.
Step 7: Trimming the Wick
Finally, once cooled, trim the wicks to about ¼ inch above the wax. This helps prevent excessive soot and encourages a steadier burn.
Step 8: Enjoying Your Creation
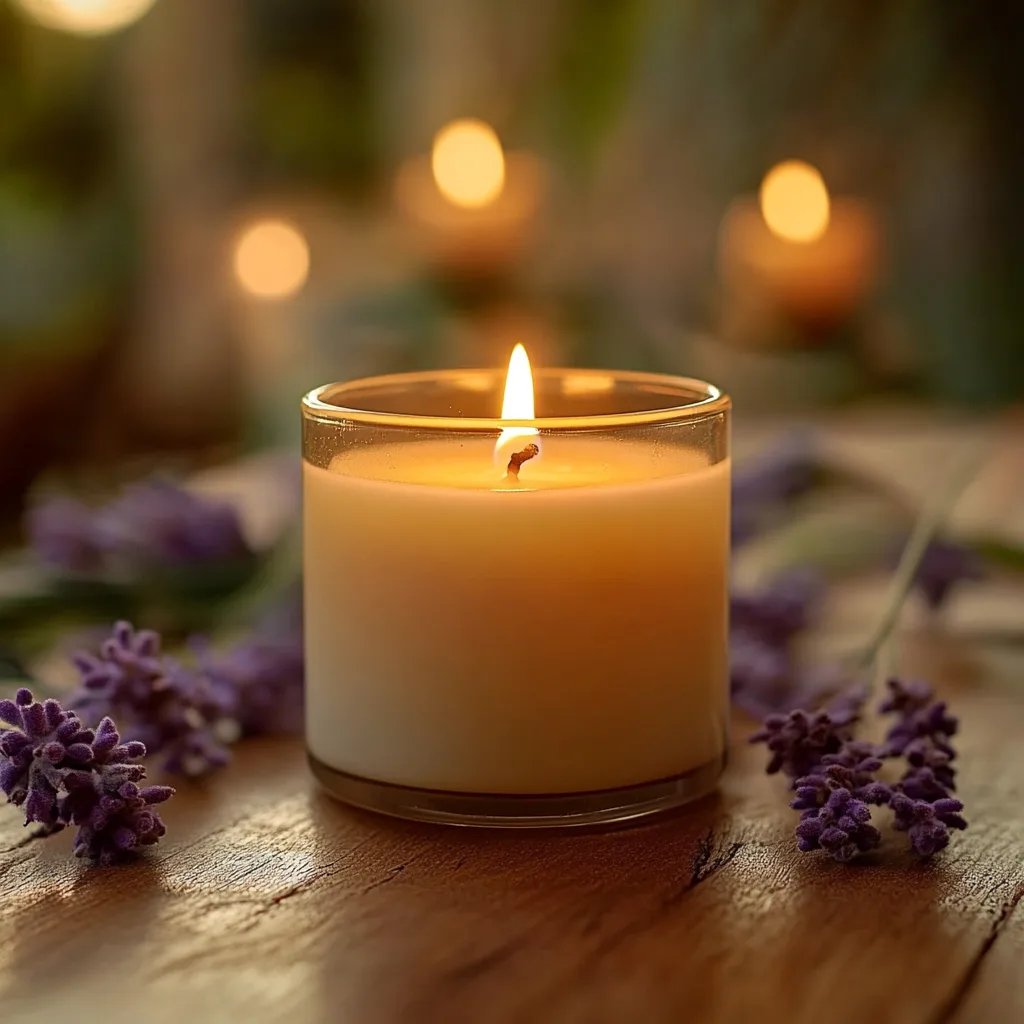
After a few hours, you’re ready to light your candles! Place them around your outdoor area, and enjoy a beautiful, bug-free evening. I never fail to feel accomplished lighting the candles I crafted myself!
Troubleshooting Common Issues
While making these candles is generally straightforward, issues can pop up. Here are a few possible problems and how to fix them:
- Cloudy Wax: This can happen if the wax was heated too quickly. Just keep your heat gentle next time!
- Wick Dipping: If the wick sinks too low, you might need to reinforce it with a bit of wax as it sets or try a longer wick next time.
Alternative Methods & Ingredient Substitutions
- If soy wax isn't available, beeswax is a great eco-friendly alternative, though it might slightly change the burning characteristics.
- For those with sensitivity to certain scents, you can always experiment with just citronella or other oils that you prefer.
Creative Variations
- Herb-Infused Candles: Consider adding dried herbs like rosemary or thyme to your candles for a rustic look and extra fragrance.
- Color with Natural Dyes: You can incorporate natural dyes made from spices like turmeric or beetroot to add a splash of color to your candles.
Conclusion
Making DIY mosquito repellent candles is not only a fun and fulfilling craft but also a way to create a cozy, pest-free outdoor space for yourself and loved ones. With these candles flickering gently, you can enjoy warm summer nights, free from the hassle of incessant buzzing. I hope this guide serves you well on your crafting journey, and may your evenings be ever so relaxing with the delightful glow of your homemade candles!
So gather your materials, roll up those sleeves, and get crafting! If you have any questions along the way or want to share your unique creations, feel free to drop a comment. Happy crafting!