How to Make DIY Mosquito Repellent Candles: A Step-by-Step Guide
Hello, fellow crafters! Today, I'm excited to share one of my favorite DIY projects that combines creativity and functionality: making your own mosquito repellent candles. As someone who enjoys spending time outdoors, I've learned the hard way that enjoying a warm summer evening can quickly become a battle against mosquitoes. After testing various store-bought options that often contain harsh chemicals, I decided to craft my own natural solution. Not only are these candles effective at keeping pesky insects at bay, but they also fill your space with delightful scents, adding to the ambiance of any outdoor gathering.
Why DIY Mosquito Repellent Candles?
DIY mosquito repellent candles are gaining popularity, and for good reason. Many commercial products are laden with synthetic fragrances and potentially harmful ingredients that can irritate the skin or cause allergic reactions. In contrast, homemade candles allow you to choose natural ingredients that are safe for both you and the environment. Plus, crafting your own candles is a rewarding experience! Whether hosting a summer barbeque, enjoying a quiet evening on your patio, or going camping, these candles serve as functional decor that enhances your outdoor experience without the annoyance of biting insects.
Materials Needed
Before we dive into the candle-making process, let’s gather our materials. Here's what you'll need:
- Wax: Natural waxes such as soy wax or beeswax are the best choices. I prefer soy wax for its eco-friendliness and ease of use.
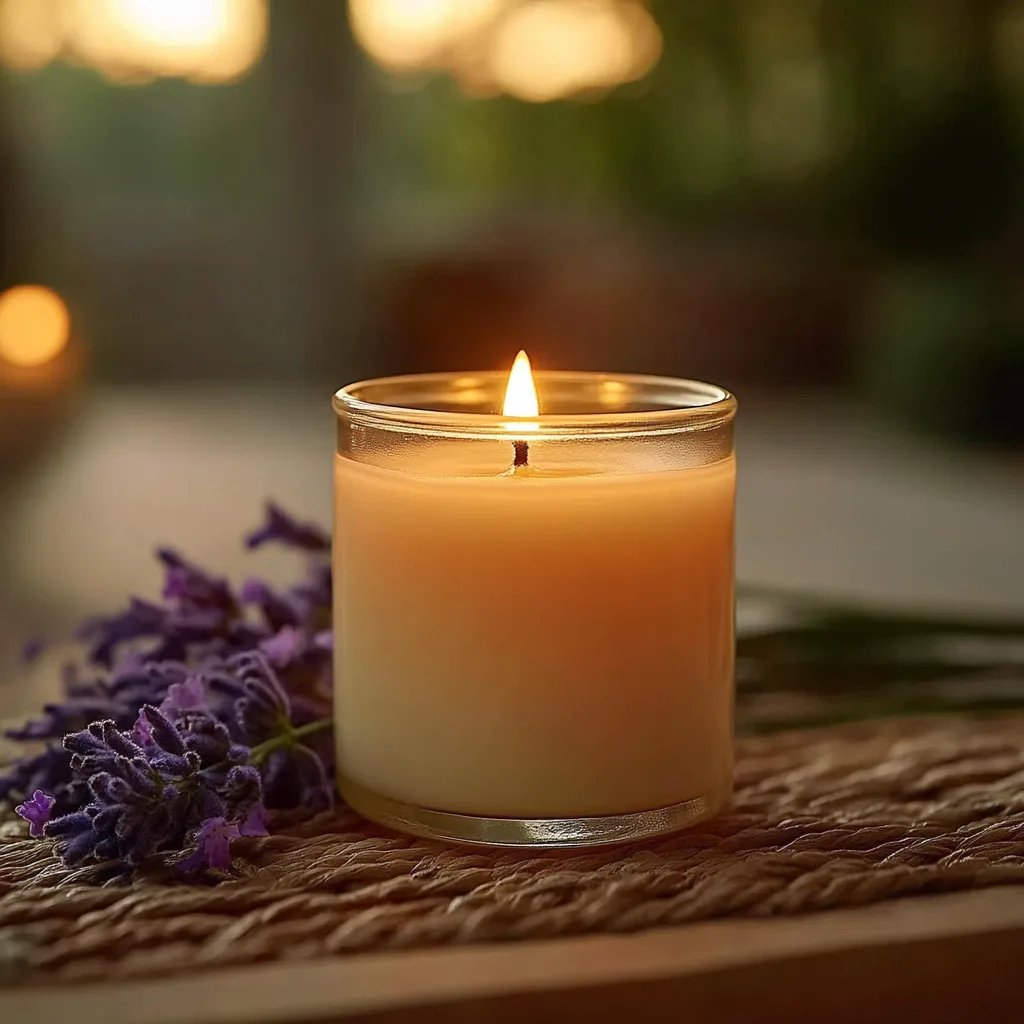
- Essential oils: These are the stars of your repellent candle! Some excellent choices include citronella, lavender, eucalyptus, tea tree, and peppermint. I often mix these for an aromatic blend that’s both pleasant and effective.
- Wicks: Choose wicks appropriate for the size of your container. Cotton wicks are a great eco-friendly option.
- Containers: You can use glass jars, metal tins, or any heat-resistant vessels you prefer. I often repurpose old glass containers from my kitchen.
- Double boiler: If you don’t have one, you can create a double boiler using a pot filled with water and a heat-safe bowl.
- Stirring utensil: A wooden stick or spoon works perfectly.
- Thermometer: To ensure your wax melts at the right temperature.
- Optional: Colorants or additives if you wish to make your candles visually appealing.
Step-by-Step Tutorial
Step 1: Prepare Your Work Area
Start by laying down some newspaper or an old tablecloth to catch any wax spills. Make sure your containers are clean and dry. This preparation step ensures a neat workspace and prevents unwanted accidents.
Step 2: Measure Your Wax
I recommend using a kitchen scale to measure out your wax. A good rule of thumb is to fill your containers to the brim with water, then pour that water into a measuring cup to determine how much wax you'll need. Generally, 1 pound of wax suffices for two medium-sized containers.
Step 3: Set Up Your Double Boiler
Fill a pot with water and place it on the stove over medium heat. Set your heat-safe bowl on top to create a double boiler. This method provides gentle, even heat to melt your wax without risking burning it.
Step 4: Melt the Wax
Add the measured wax into the bowl on top of your double boiler. Stir occasionally, and keep an eye on the temperature with your thermometer. I suggest aiming for around 170°F (77°C). This temperature is perfect for mixing in essential oils later.
Step 5: Add Essential Oils
Once the wax is fully melted, remove it from heat and let it cool slightly (around 160°F or 71°C) before stirring in your essential oils. Use about 1 ounce of essential oil per pound of wax for a strong scent; you can adjust this amount based on your preference. Remember, the blend is all up to you! I love adding about 20 drops of citronella and 10 drops of lavender for a calming yet effective fragrance.
Step 6: Secure Your Wicks
While the mixture cools, prepare your containers by securing the wicks. Dip the wick’s metal base into the molten wax and quickly place it in the center of your container. Hold it in place for a few seconds to let the wax cool slightly and secure the wick. This step is crucial; a centered wick ensures an even burn.
Step 7: Pour the Wax
Once your wax has cooled to about 140°F (60°C), carefully pour the wax into your containers, leaving about half an inch of space at the top. This space will prevent wax from spilling over when the candle burns.
Tip: Pour slowly to minimize air bubbles, which can create unappealing holes in your candles.
Step 8: Let It Set
Allow your candles to cool completely—this usually takes several hours. If you live in a warmer climate, consider placing them in a cool area to accelerate the process. Don’t be tempted to move them before they’re completely set, as this can lead to uneven tops or cracks.
Step 9: Trim the Wicks
Once the candles are cool, trim the wicks to about ¼ inch above the wax surface. This length not only allows for a clean burn but also reduces smoke and soot while the candle is lit.
Troubleshooting Common Issues
- Wicks Leaning: If your wick leans during the cooling process, carefully adjust it while the wax is still soft. You can use a skewer or chopstick to support it while it sets.
- Surface Cracks: If you notice cracks forming on the surface, it’s likely due to rapid cooling. To fix this, you can gently heat the surface with a heat gun or blow dryer to smooth it out.
- Weak Scent: If your first batch doesn’t smell as strong as you'd like, try increasing the concentration of essential oils. Just remember that some oils are more potent, so it’s best to experiment until you find your ideal blend.
Creative Variations and Personal Anecdotes
Get creative with your DIY candles! You can try adding livening ingredients like dried herbs or flower petals for an esthetically pleasing look. I once made a batch with crushed mint leaves; the resultant aroma was refreshing and perfect for summer gatherings.
If you're feeling charitable, consider making sets of these candles as gifts. A beautifully packaged candle set makes an excellent gift for friends and family who share a love of the outdoors.
Safety Precautions
Always practice safety when working with hot wax. Keep a close eye on your melting wax, avoid leaving it unattended, and ensure your crafting area is well-ventilated. If you have young children around, make sure to keep hot wax and tools out of their reach.
Alternative Methods or Ingredient Substitutions
If you don’t have essential oils on hand, you can also consider using natural repellent ingredients like citronella plants or dried herbs (like rosemary and mint) directly in the wax. Just remember that the potency may vary, and you may have to test to find the right balance for effectiveness.
Conclusion
Crafting your own mosquito repellent candles is not just an enjoyable DIY project but a practical solution for enjoying the great outdoors. It’s a personal journey of trial and error, creativity, and discovering what works best for you. I’ve enjoyed countless summers with friends and family, free from the annoyance of mosquitoes thanks to these delightful candles.
So, what are you waiting for? Gather your materials and get crafting! You’ll find satisfaction in making something beautiful, functional, and safe. Here’s to many bug-free nights and the sweet smell of essential oils wafting through the air. Happy crafting, my fellow DIY enthusiasts!