How to Make DIY Mosquito Repellent Candles: A Crafting Guide
As an avid crafter and nature lover, I have spent many delightful evenings outdoors, enjoying the beauty of nature and the company of friends and family. However, my peaceful evenings were often marred by pesky mosquitoes buzzing around me. After countless attempts at store-bought repellents that simply didn’t work, I decided to take matters into my own hands and create my own mosquito repellent candles.
Not only are these DIY candles effective in keeping those annoying bugs at bay, but they also add a lovely ambiance to any outdoor gathering. Plus, they’re a fantastic way to incorporate natural ingredients that you can feel good about using. In this guide, I’ll walk you through my process step-by-step, sharing tips, alternatives, and stories along the way so you can craft your own mosquito-repelling candles to enjoy all summer long.
Why Use DIY Mosquito Repellent Candles?
DIY mosquito repellent candles are becoming increasingly popular for several reasons:
- Natural Ingredients: You can customize them with essential oils that you prefer, avoiding synthetic chemicals and other questionable ingredients often found in commercial products.
- Cost-Effective: Crafting your own candles can be more economical than buying pre-made ones, especially if you make them in bulk for summer gatherings.
- Creative Outlet: Candle-making is a wonderful way to express your creativity. You can experiment with colors, scents, and shapes.
- Eco-Friendly: Controlling the materials and packaging gives you the chance to minimize waste.
When to Use Them
These candles are ideal for those summer evenings spent outside barbecuing, camping trips, or even cozy nights on your balcony. They are perfect for patio parties and can also be a great gift for friends and family during warmer months.
Materials You'll Need
Before we dive into the tutorial, let’s gather everything we need:
- Soy Wax or Beeswax: Soy wax is my go-to because it’s easy to work with and burns clean. Beeswax has wonderful natural properties but can be more challenging to find and is usually more expensive.
- Essential Oils: Choose oils known for their mosquito-repelling qualities. My favorite combinations include:
- *Citronella*: Well-known for its insect-repelling properties.
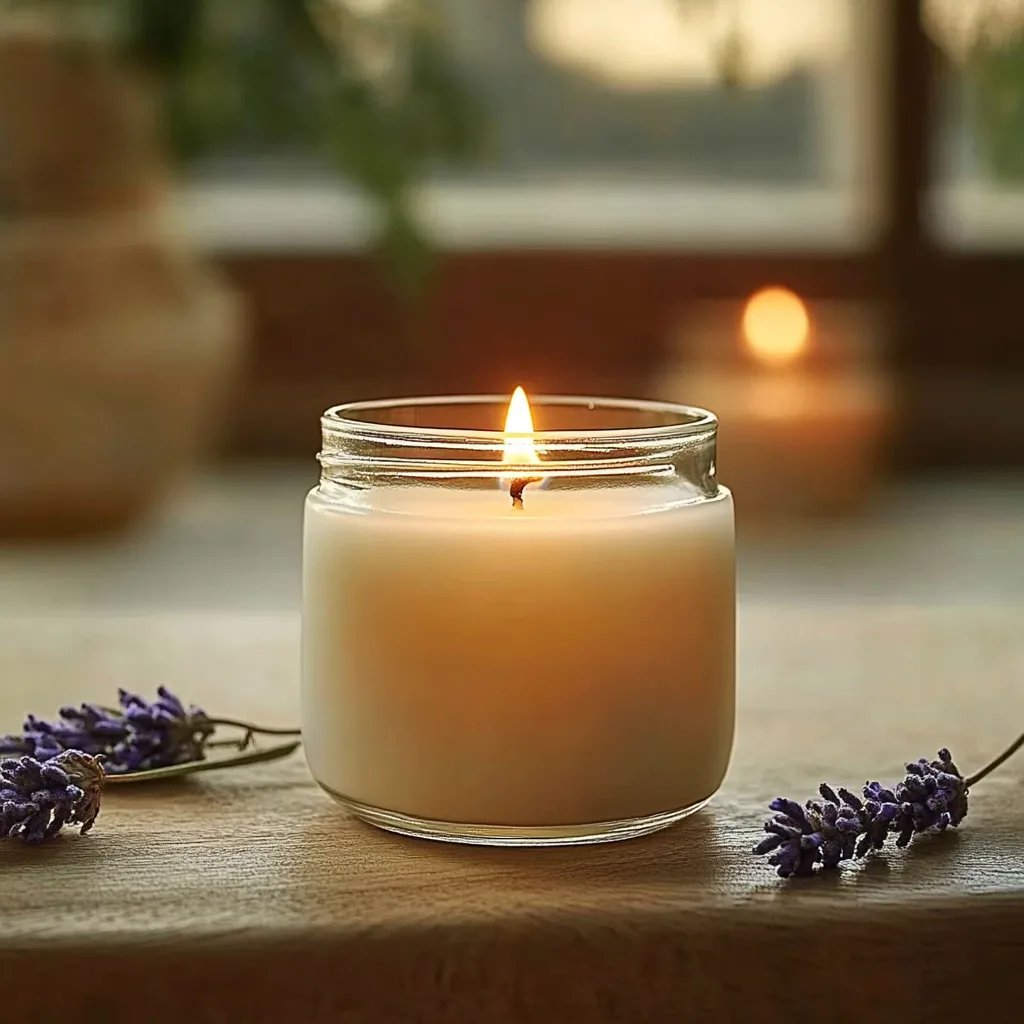
- *Lavender*: Not only smells great but mosquitoes tend to dislike it.
- *Eucalyptus*: Effective in repelling various bugs.
- *Peppermint*: A refreshing choice that mosquitoes avoid.
- Wicks: You can find wick sizes suitable for various container sizes. Consider wood wicks for a rustic look and a soft crackle.
- Containers: Think recycled jars, terracotta pots, or even tin cans for a fun look.
- Double Boiler: If you don't have a double boiler, you can create one by placing a heatproof bowl over a pot of simmering water.
- Stirring Stick: A simple wooden stick or even a spoon will do the job.
- Thermometer: Useful for ensuring your wax is at the right pouring temperature (around 140°F/60°C for soy wax).
Step-by-Step Tutorial
Step 1: Prepare Your Work Area
To begin, ensure your workspace is clean and free of any clutter. Lay out all your materials within reach. This not only makes the crafting process smoother but also enhances your enjoyment.
Why this Matters: A tidy workspace allows you to concentrate fully on the tactile joy of candle-making and prevents mishaps.
Step 2: Melt the Wax
Measure out the amount of wax you'll need based on the size and number of candles you're making. Generally, 1 pound of wax will fill about 5-6 standard-sized candles.
Place your wax in the double boiler, let it melt slowly, stirring occasionally. Keep an eye on the thermometer to avoid overheating as this could change the consistency.
Common Issues: If the wax begins to bubble, it’s overheating. To fix this, simply remove it from heat and let it cool slightly before returning it.
Step 3: Add Essential Oils
Once the wax is melted, remove it from heat and let it cool to around 140°F (60°C). Then, add your chosen essential oils. I typically use about 1 ounce of essential oil per pound of wax.
Tips: Use a combination of oils for a unique fragrance profile. Just be cautious of the quantity—adding too much can create a candle that burns poorly.
Step 4: Attach the Wick
While your wax is cooling, prepare your containers. Use a bit of melted wax to glue the bottom of your wick to the bottom of the container. This helps keep the wick in place while you pour in the wax.
Why This Matters: A securely attached wick is critical for proper burning.
Step 5: Pour the Wax
Once the wax has cooled to around 120°F (49°C), slowly pour it into your prepared containers. Leave about half an inch of space at the top.
Avoiding Mistakes: If you pour too quickly, the wick may move out of place. Keep the pouring steady and slow.
Step 6: Secure the Wick in Place
To prevent the wick from shifting while the wax solidifies, secure it in place using a wick holder or a simple pencil laid across the top of the container.
Step 7: Allow to Cool
Let the candles cool for several hours. Once solid, it’s important to trim the wick to about ¼ inch.
Tip: If you notice any cracks or imperfections, don’t worry! They’re just a reminder of the handmade nature of your candles.
Step 8: Enjoy Your Handcrafted Candles
Light your new candles outdoors and enjoy the ambiance while the mosquito-repelling properties keep those pesky bugs at bay.
Safety Tips
While crafting your candles, here are some safety measures to keep in mind:
- Heat Protection: Always use oven mitts when handling hot pots.
- Ventilation: Ensure your crafting area is well-lit and ventilated, particularly if you’re using strong essential oils.
- Keep Away from Children and Pets: Ensure your workspace is out of reach to prevent accidents.
Alternative Methods & Ingredient Substitutions
Should you find yourself without certain materials, here are some substitutions:
- If you don’t have wax, you can use old candle stubs by melting them down.
- For essential oils, try using some kitchen herbs like rosemary and thyme by boiling them in the water when melting your wax.
Creative Variations
When it comes to customizing your candles, the sky's the limit! Here are a few creative ideas:
- Coloring: Add natural coloring agents like spices (turmeric for yellow or activated charcoal for black) to your wax.
- Layering: Create layered candles with different scent profiles by pouring wax in multiple stages.
- Decorative Elements: Incorporate herbs or dried flowers into the wax for a beautiful visual effect.
My Final Thoughts
Creating your own DIY mosquito repellent candles has become one of my favorite summer activities. Not only do they provide a natural solution to an age-old problem, but they also allow me to pour my creative spirit into something beautiful and functional. Each candle that I light on a warm summer evening becomes a joy less about deterring mosquitoes and more about celebrating the beauty of nature. I hope you find this crafting endeavor as rewarding as I have. Happy candle-making!